
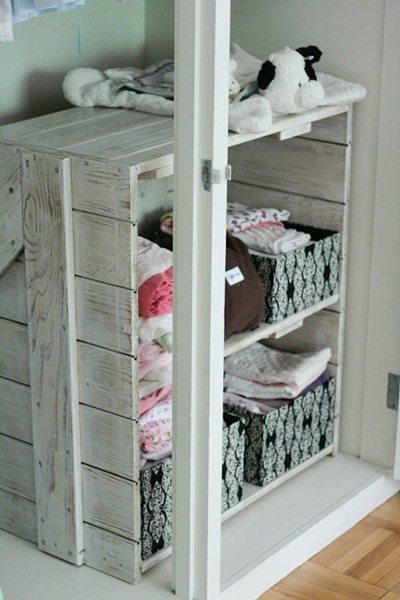
I’m excited to share a gorgeous project with you from Ash of Green Eyed Monster. This cutie is expecting chickadee number two, and you can check out the month-to-month progression of the bump/Sesame Seed right over here. Ash and her hubby James put together a gorgeous little shelf out of old barn doors, and I think it’s a pretty fantastic start to a bedroom for two sweet little girls!!!
Get the rest of of the details, including the “after” after the jump!
Time: about 1 day
Budget: $20 for paint/finish, barn door (or two) and other supplies (nails, screws, etc.) we had on hand
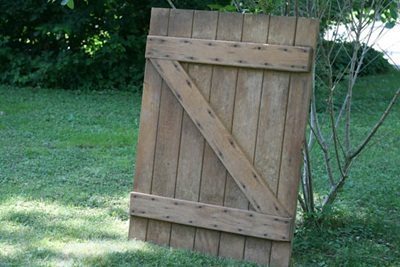
In Ash’s Words: My husband and I recently repurposed an old barn door into a shelf for our daughters’ closet. We’re expecting baby #2 in three weeks (ack!), and the girls are going to share a room, so we needed to make some extra space to organize all the burp cloths and bibs and blankets in our lives, rather than just leaving them in a heap in the closet. Since we’re on a rather tight budget in preparation for life as a family of four, we decided to repurpose material we had readily available.
The hope is that when we move to a bigger home, this lovely little piece won’t be hidden away in a closet but can be out for the world to see. For now, though, it’s serving its purpose quite delightfully!
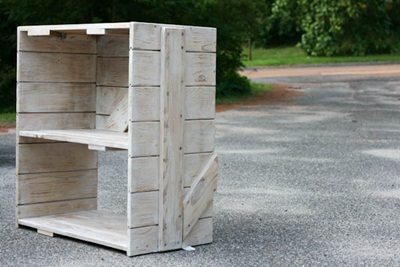
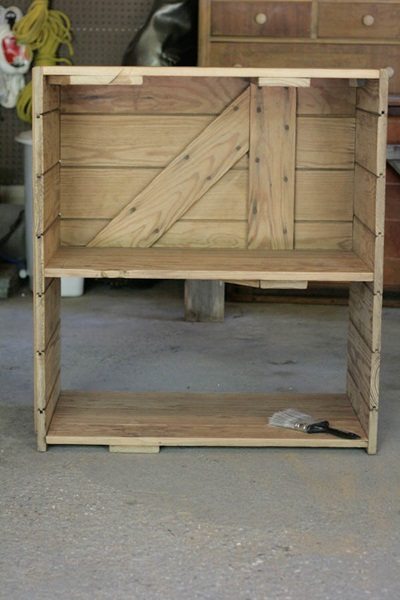
Since we wanted to keep the feel of the doors and highlight the re-use of the wood, we didn’t take any of the tongue and groove paneling apart. Instead we treated each door like one big piece of wood. Careful not to cut through any of the screws that hold it together, we sawed a straight line horizontally about 1/3 from the bottom of the door. When we did this on the other door, it gave us our two sides. We then took the bigger 2/3 pieces and cut them in half vertically. This gave us the four identical pieces we needed – three for the shelves and one for the back. With a little sanding and planing we were able to get these four pieces exactly the same size, which made assembly easy.
We choose what we thought was the most interesting piece to be the back of the shelf. Then we sanded everything down, and fit our six pieces together. Since our little hardware store didn’t have a whitewash stain, we got a latex eggshell and diluted it, almost one-to-one, with water and put a single coat on to help highlight the grain of the wood and give it a softer feel. With such a thin layer of diluted paint, it was easy to sand down and see as much of the grain as we wanted. With a clear poly semigloss on top, we gave it a little bit more protection, and just a hint of sheen. We know that this will get much use throughout our lives in any number of homes and living situations!


Love this!
Sorry about that – technical difficulties! They should be showing up fine now.
– Lindsay
Where are the pictures?