
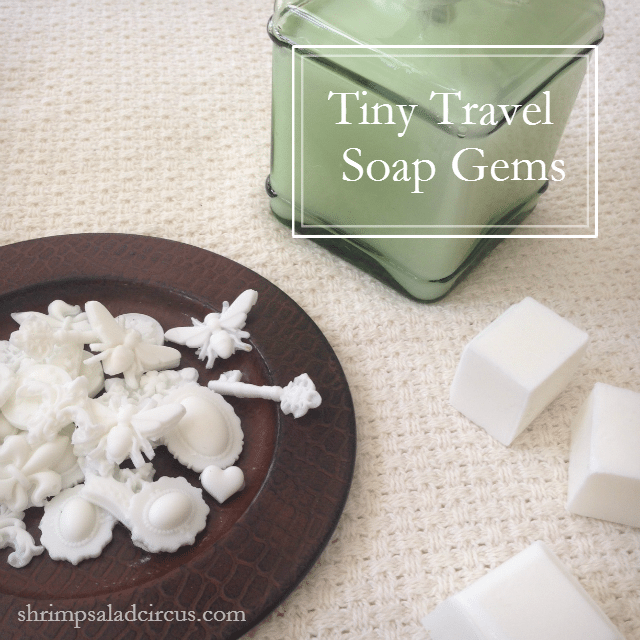
Consumer Crafts is spreading holiday cheer through Random Acts of Kindness. I got to pick supplies from their site to create a craft and gift it to someone deserving. Before I get to the tutorial (for these adorable tiny soaps), let me tell you about my gift recipient.
When I’m not busy being awesome all over the internet (;D), I fundraise for a poverty nonprofit. It’s an incredibly meaningful job that comes with lots of warm fuzzies, and I’m blessed to get to do work that I really love. I think that to be successful at a nonprofit, your heart really has to be in it fully. I recently had a new intern start, and she is one of those people. Her heart is always in the right place. She’s passionate about serving others, and it’s evident in every facet of her life and her bubbly personality.
She has made my work life so much easier, but she also just makes the whole office a little more lighthearted and fun. I wanted to give her a little something to show how much I appreciate her wonderful attitude, spirit, and maaaaybe also the fact that she works for free without complaining a bit. Maybe that. Just a little bit. Like me, she’s an avid traveler. She’s been all over the world doing mission work, and if her travels were anything at all like some of my own, she’s probably had some pretty grimy travel days, too. I remember some days where I would’ve traded my whole backpack full of spare clothes for a bottle of hand sanitizer. I thought maybe we’d upgrade that whole concept just a little, so I made some pretty, happy little travel soap nuggets for Louanne’s trip!
Read on for the full tutorial, and let me know in the commments – who will you gift with a random act of crafty kindness this holiday season?
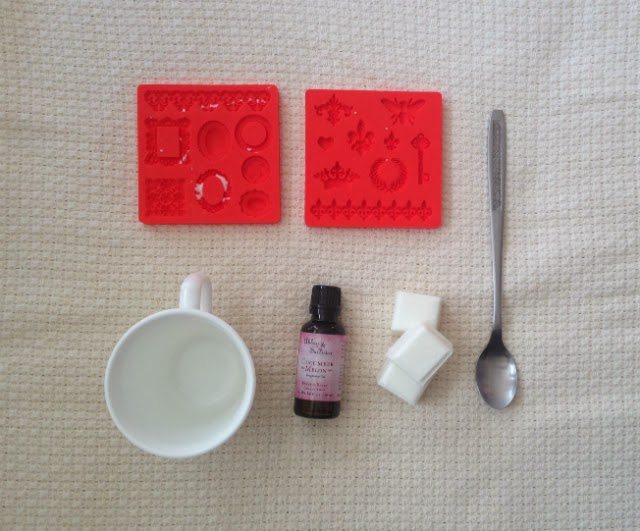
Materials
- Goat’s milk soap base
- Fragrance oil
- Soap dye
- Mod Podge Mod Molds
- Microwave safe mug or bowl
- Spoon
- Knife

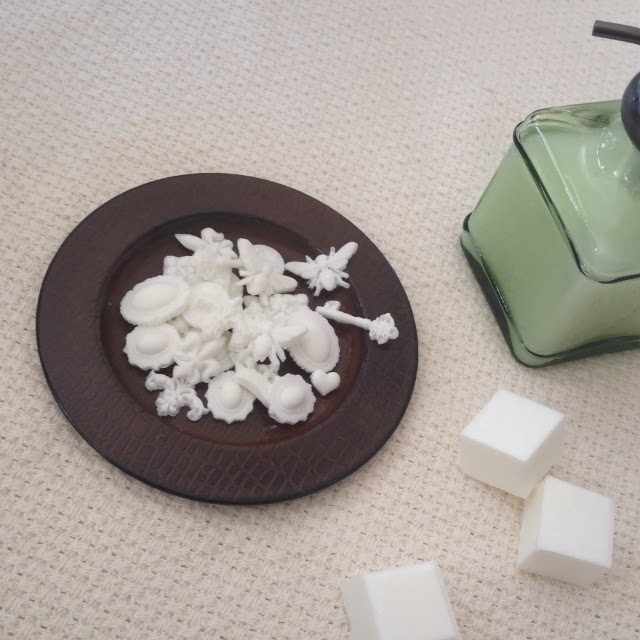
1. Cut two or three cubes off the block of soap. Melt them in the microwave 15 seconds at a time until it’s liquid.
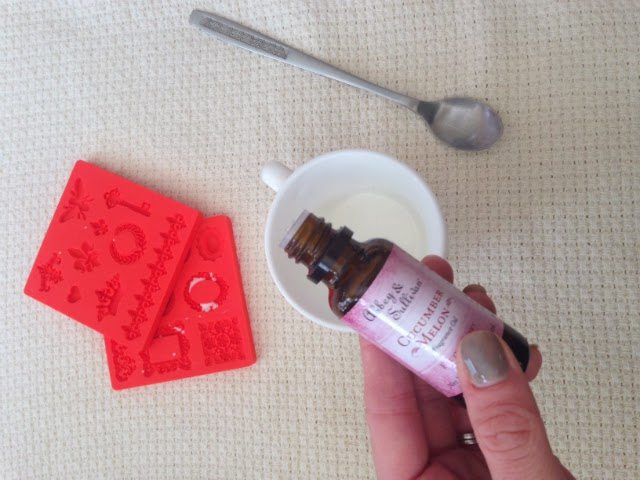
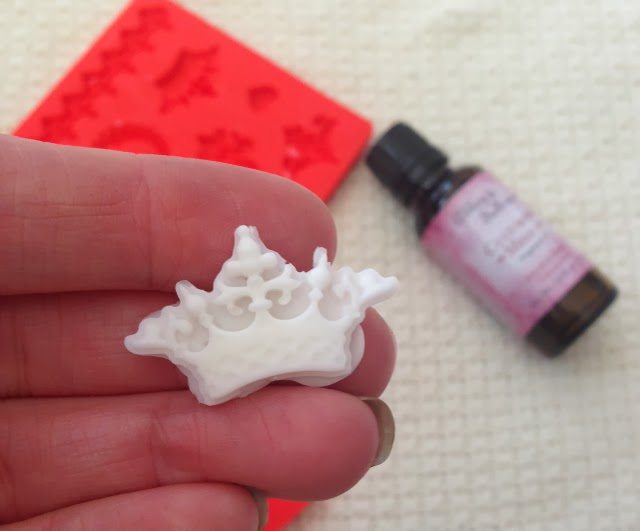
2. Add a few drops of fragrance oil and a few drops of dye if you’d like. Mix it up really well to distribute it evenly.
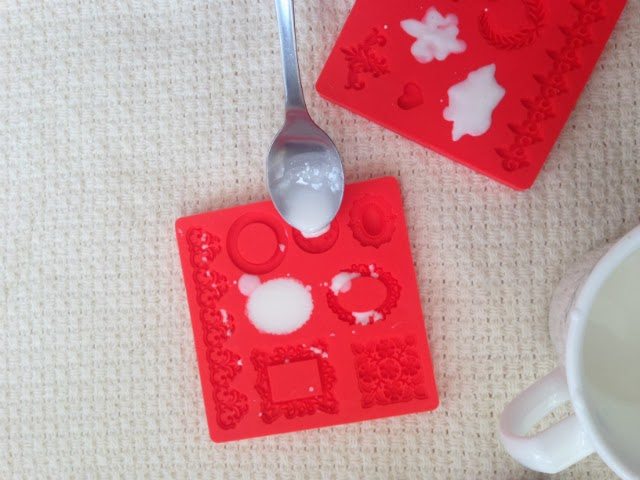
3. Use a spoon to drizzle the melted soap mixture into the wells of the Mod Melts mold. Fill each one completely. It’s okay if you drip or overfill them a bit.
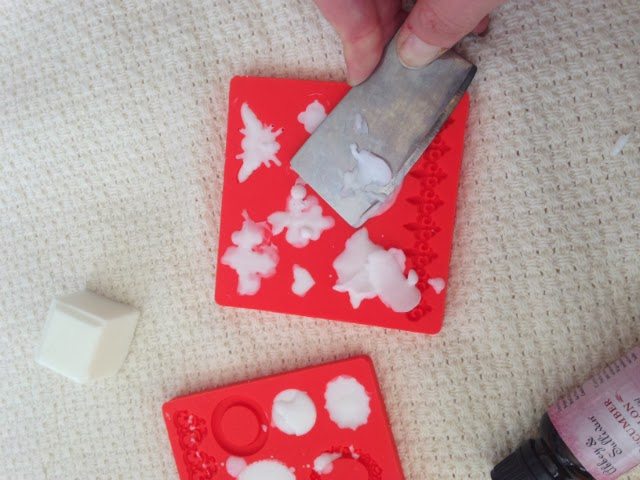
4. After the soap has set up for a couple minutes, use the edge of a knife to scrape the surface of the molds to remove any excess.
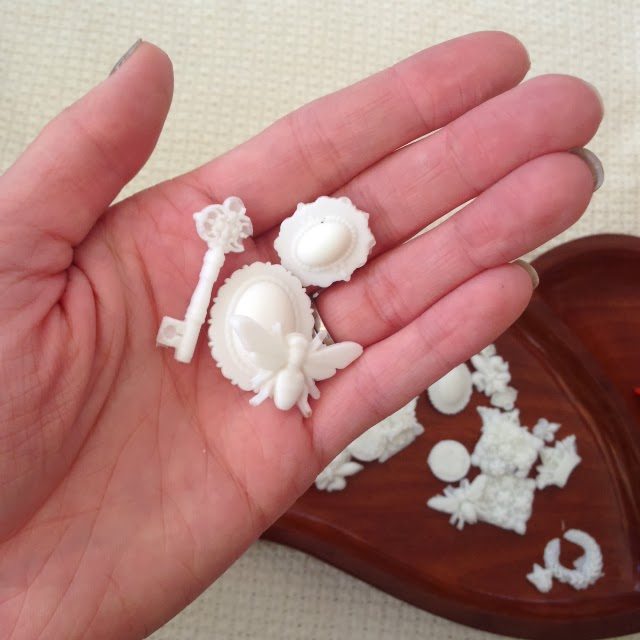
6. Set the molds aside to harden for about ten minutes. You can stick them in the fridge if you’re feeling impatient. I usually am. 😀 Bend the molds to pop out each little soap nugget. They should slide right out. Set them aside so that you can use the molds to make a few more sets.
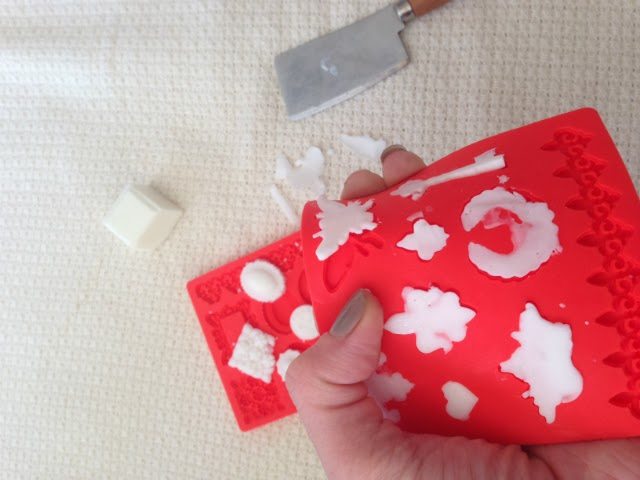
7. While you’re waiting for the next set to be ready, you can trim up any excess bits with a knife. As you can see in the image above, I had a bit of overhang at the edges. It should trim right off.
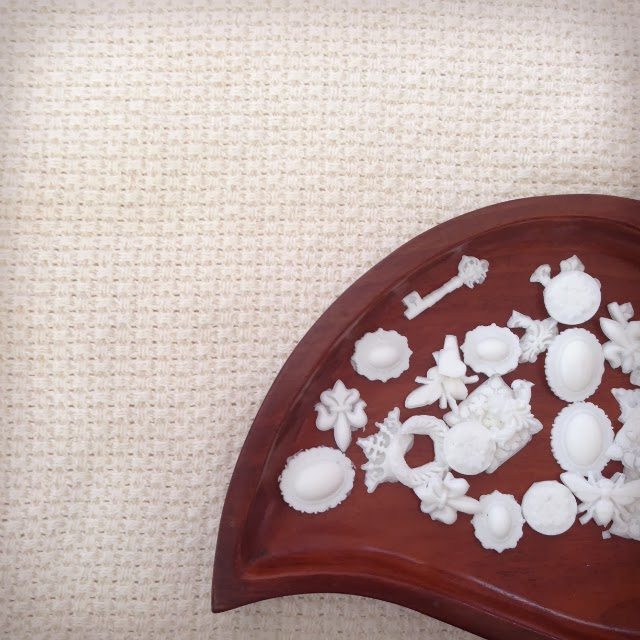
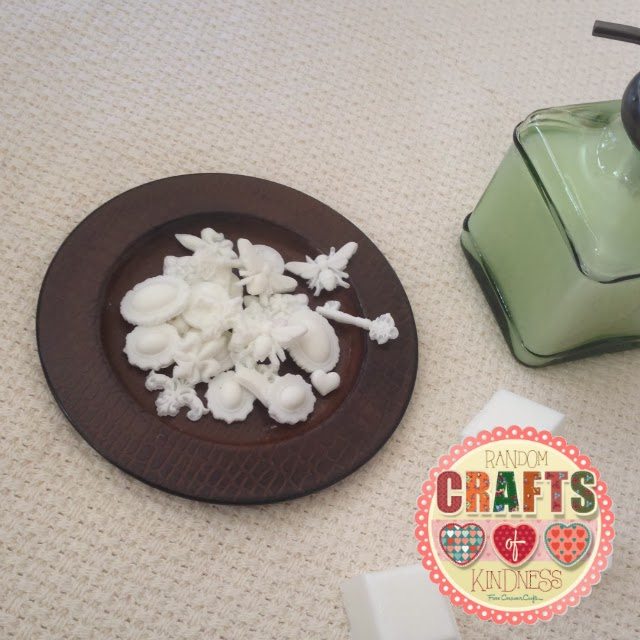
8. Sort them to see if they all came out okay. You can re-melt any broken ones, so there’s nothing wasted. Put them into a pretty little box or maybe a mason jar. You’re all ready for gifting!
Consumer Crafts
* Disclosure – I received free supplies and monetary compensation from The Blueprint Social and Consumer Crafts as part of the Random Acts of Kindness campaign. All opinions about the products and all ideas for the project are my own unbiased crazy craft lady own! See my disclosure statement for more information.


Adorable! I’ll be sharing today on my blog and on pinterest! What a great idea!!!