
Valerie of Threads, Thoughts, Things and Dottie Adele is back with another fun tutorial! I’d love for you to go visit her blog to leave her a comment so that she knows how much we appreciate her incredible sewing tutorials!
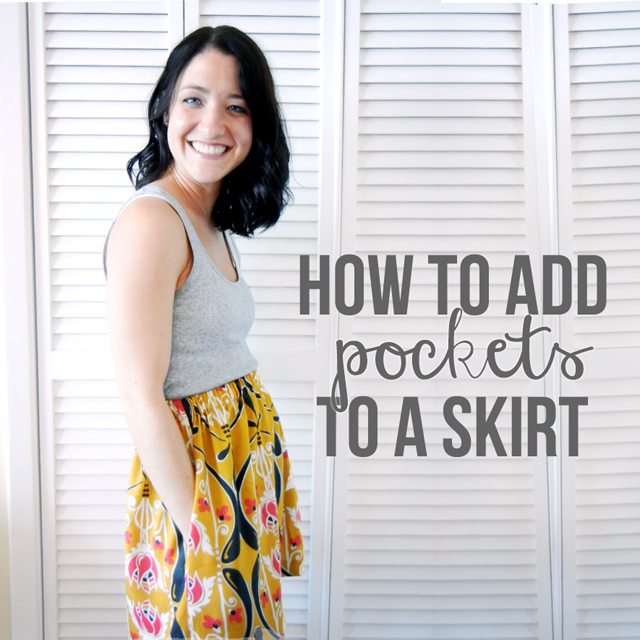
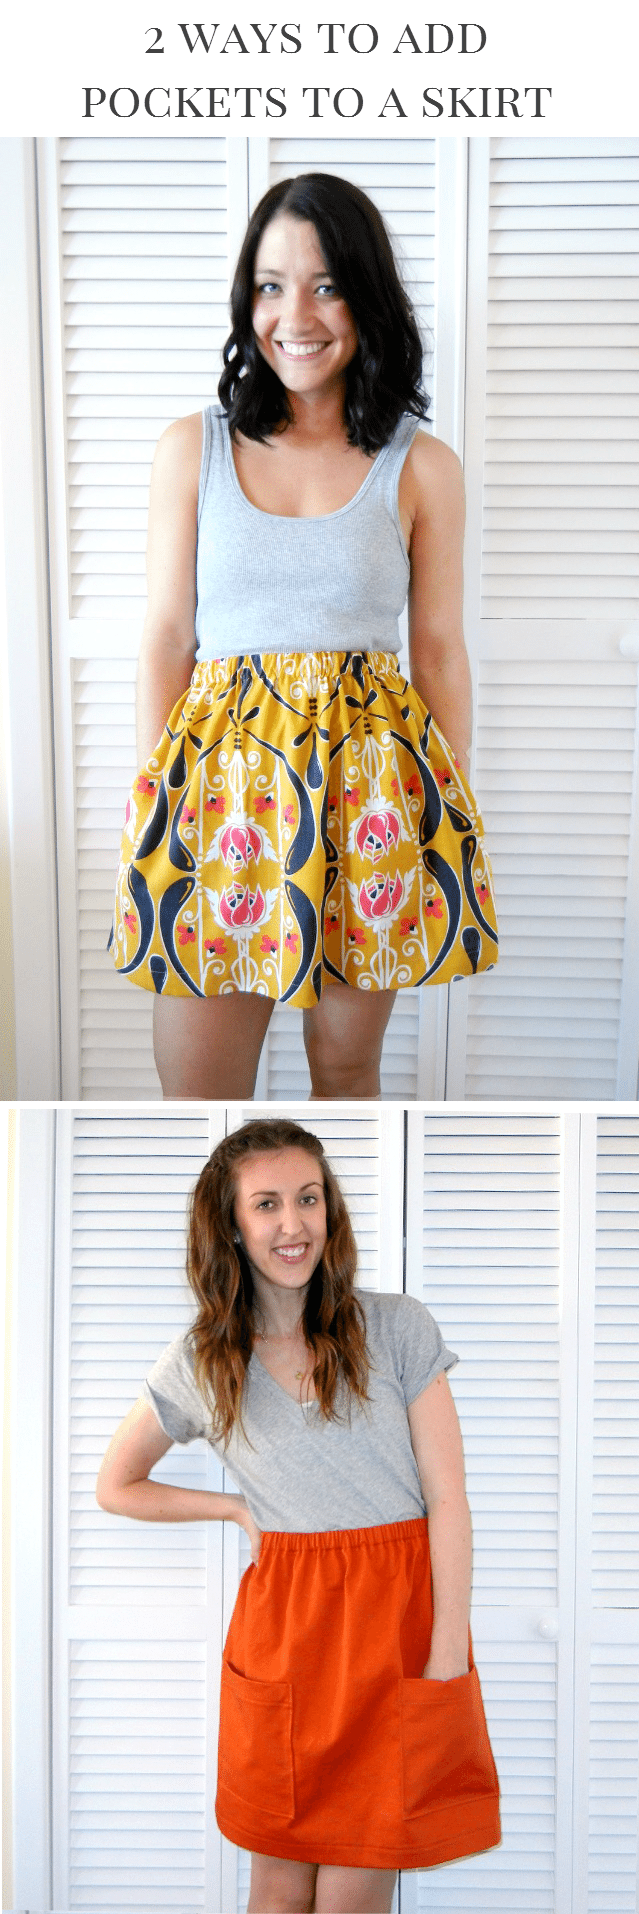
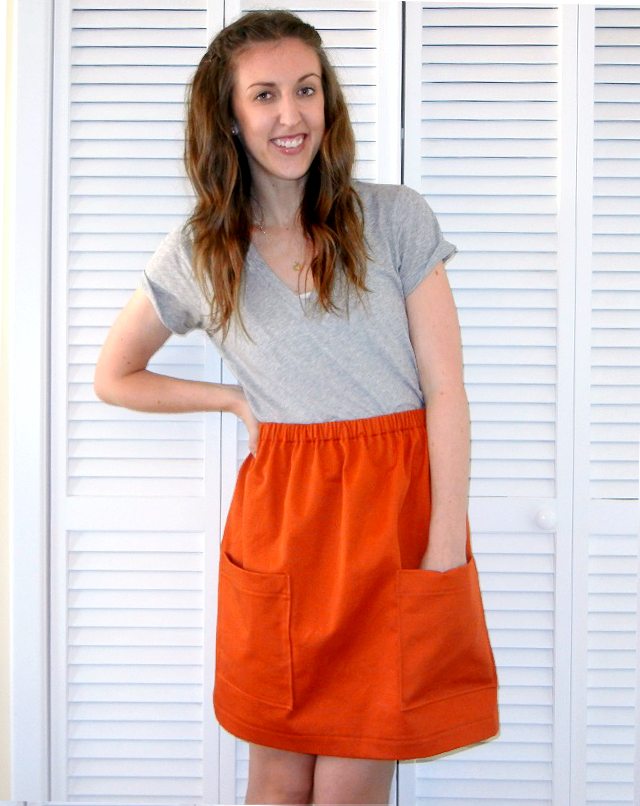
Today we have a fun addition to the Super Simple Skirt Tutorial from a few weeks ago: pockets! In fact, two different kinds of pockets! Both are a breeze to add onto a skirt. Patch pockets go on the outside of the skirt, while the side seam pockets are sewn into the sides.Try them both (though not on the same skirt, of course!).
By the way, if you’ve sewn up their own skirt using the tutorial, I would love to see it! Leave a link to a blog post or picture in the comments, if you’d like! Or share on Instagram with #ShrimpSaladCircus!
Read on to learn how to sew two different kinds of pockets for an easy skirt!
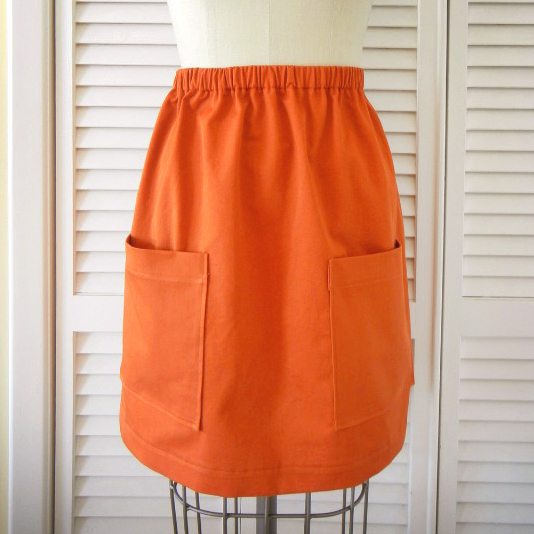
Pocket Style 1: Patch Pockets
Supplies:
- Fabric
- Ruler
- Cutting tool
- Marking utensil (I used a pencil)
- Thread
- Iron and ironing board
- Sewing machine
*Do these steps once you have sewn the top casing for the waistband and the bottom hem (just before you insert the elastic).
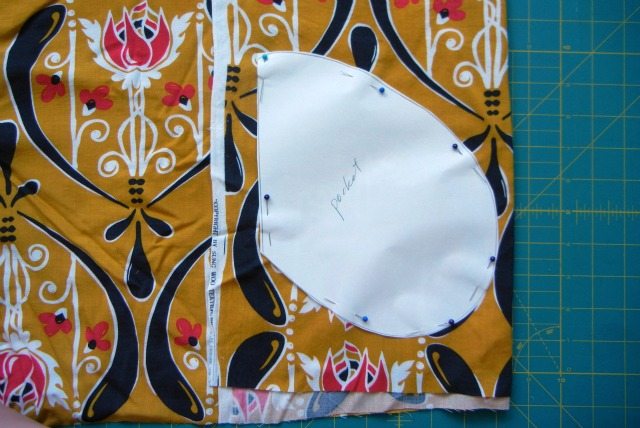
Determine the size of pockets you would like. I want mine to be sort of big and exaggerated, so I have decided on a 7.5″ x 8.5″ pocket. To determine the size of the fabric you need to cut out, add 1/2″ to the width, and 2″ to the length. My fabric size will therefore be 8″ x 10″.
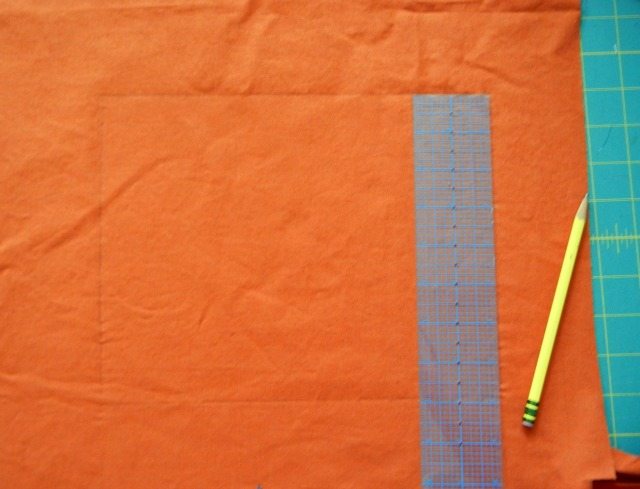
Mark that size on your fabric, and cut out two pockets.
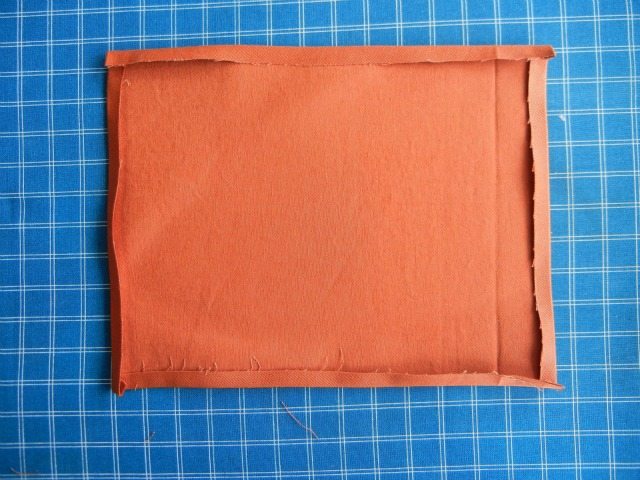
At your ironing board, fold each edge up 1/4″ and press.
Then determine which edge of your pocket you would like to be the top opening. Fold that edge over another 1 1/2″ and press again.
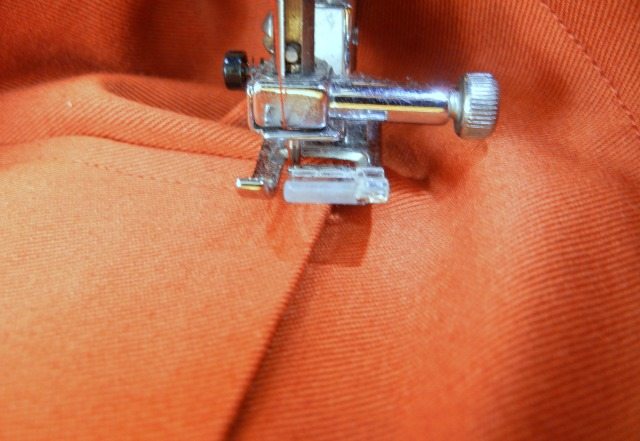
On the right side of your fabric, pin along the edge that you pressed down. Sew along the outside of the pocket (this is called “topstitching”) on that line. Repeat with both pockets.
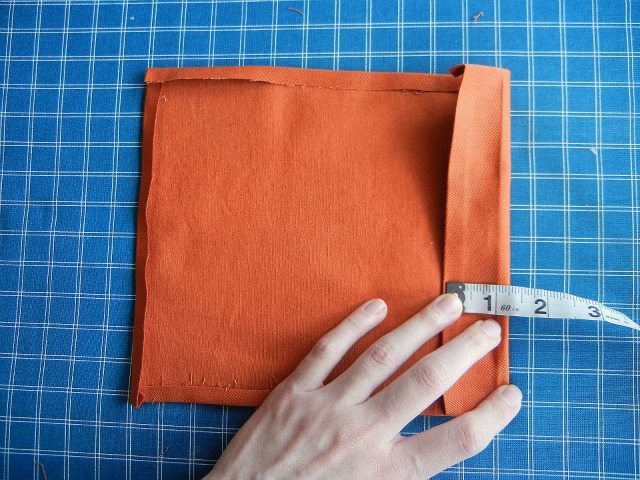
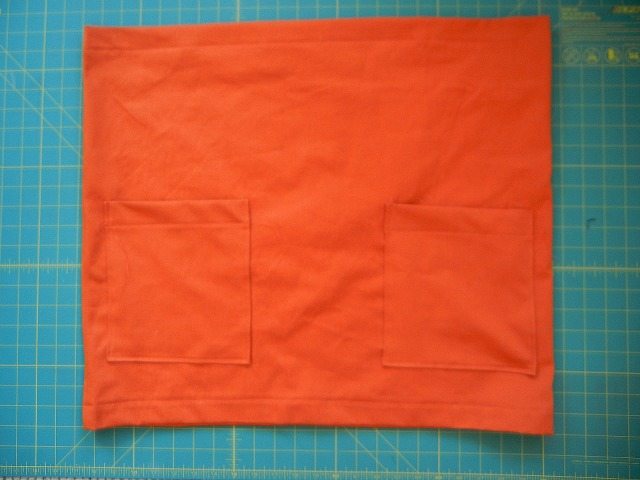
Determine placement for your pockets on your skirt. I am placing mine 1″ from the side seams, and 3″ above the bottom hem.

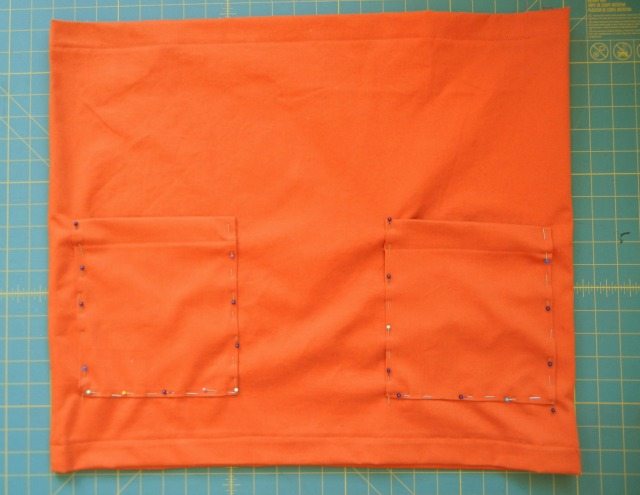
Pin your pockets to the front of your skirt. You will need to use your hand to separate the front of your skirt from the back, and make sure you aren’t accidentally pinning through all the layers!
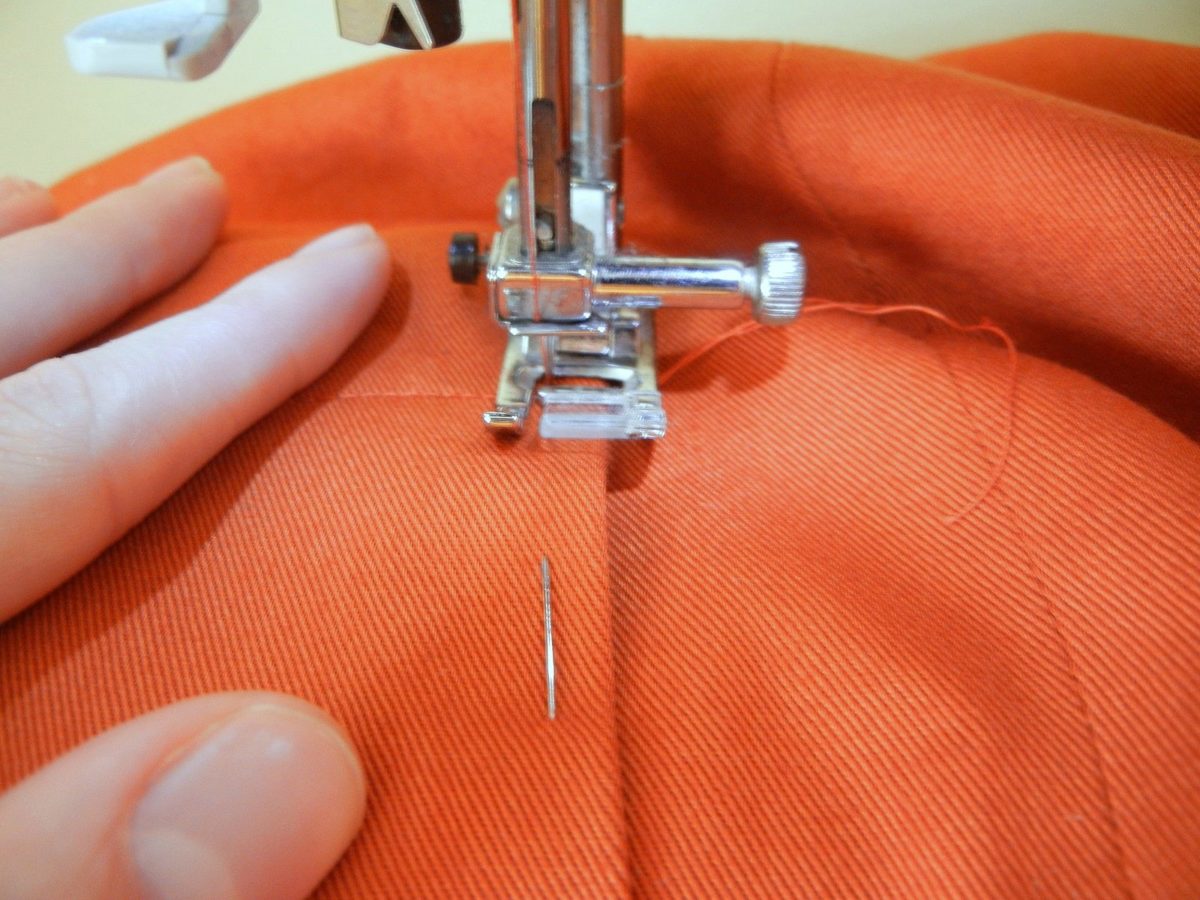
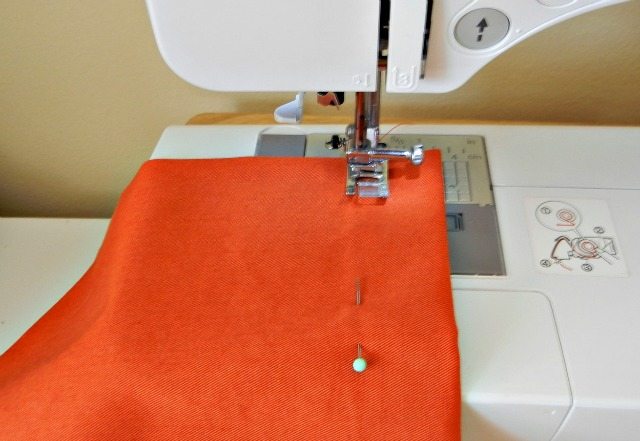
At your sewing machine, sew around the remaining three sides of your pockets (but not the top openings, of course!). Use your machine’s reverse stitch at the beginning and end of your sewing to go backwards and then forwards again to secure the top of the pocket to the skirt. Stitch very close to the edge (about 1/8″ away).
When you reach the corners, stop with your needle in the fabric. Pick up your presser foot, and rotate the entire skirt underneath it until your foot and needle are parallel to your next edge.
After doing both pockets, snip your extra threads, and then continue with the final steps of inserting the elastic into the waistband.
Pocket Style 2: Side Seam Pockets
What You Need
- Fabric
- Ruler
- Cutting tool
- Paper
- Marking utensil (I used a pencil)
- Thread
- Iron and ironing board
- Sewing machine
*Do these steps immediately after cutting our your two rectangles for the front and back of your skirt.
First things first: Let’s draw a pocket template!
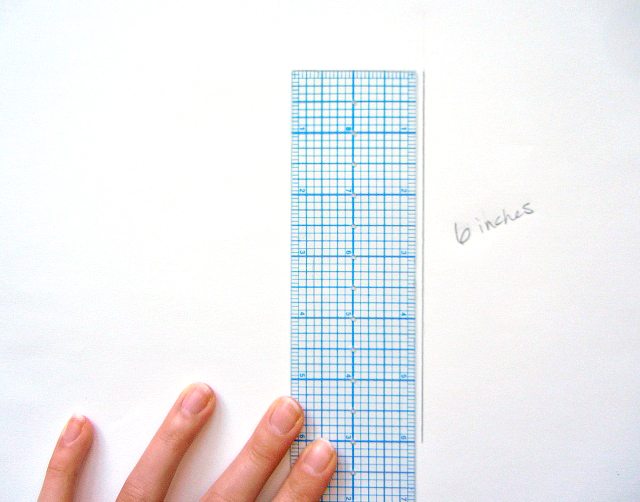
Start with a six inch straight line down the side of your paper.
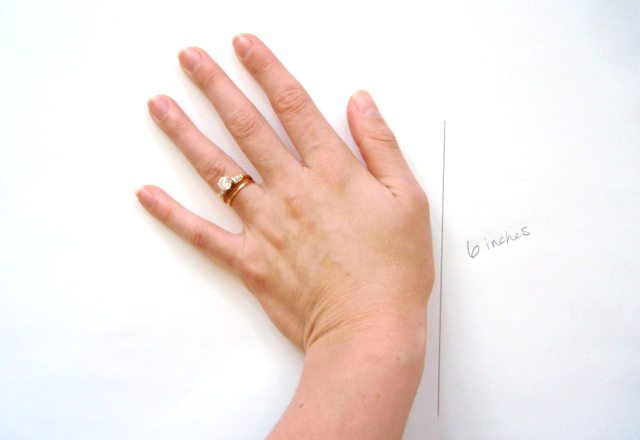
Place your hand on the piece of paper, with your wrist closest to the line.
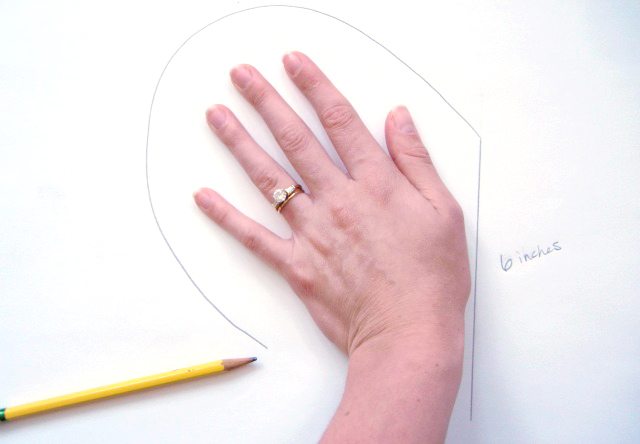
Trace around your hand in a wide curve (not all the fingers, like kindergarten-Thanksgiving-turkey!), connecting it to your line at each end.
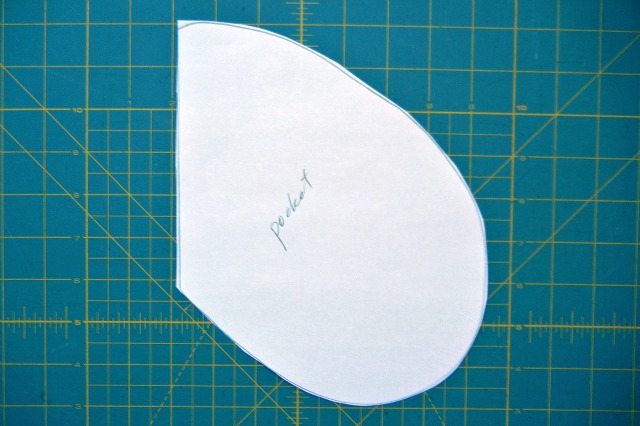
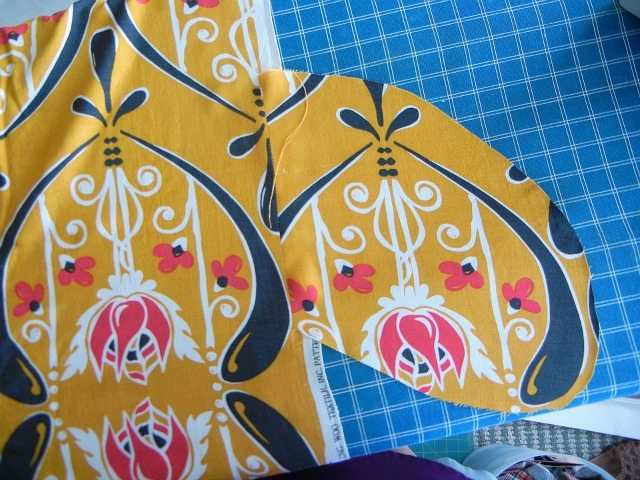
Cut out your pocket along the lines.
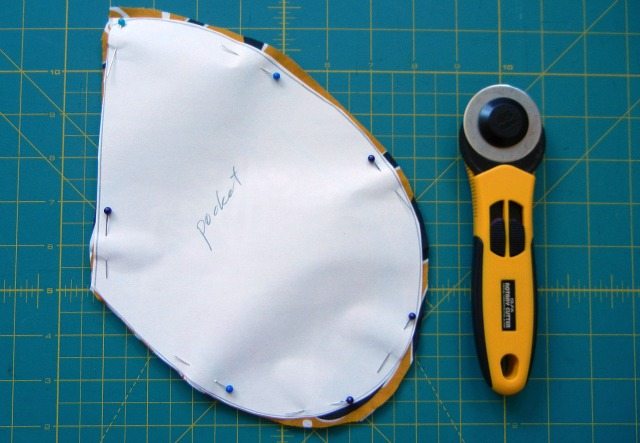
You will need four of these pocket shapes. Fold your fabric over once, and then again, to create 4 layers. Pin down your pocket shape and cut out your fabric around it.
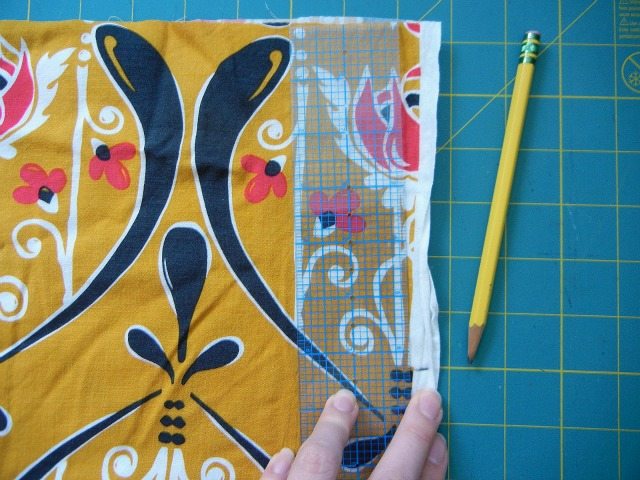
Now, go back to the two rectangles you have already cut out for the front and back of your skirt. Measuring down from the top on both sides, mark the edges at 6 inches.
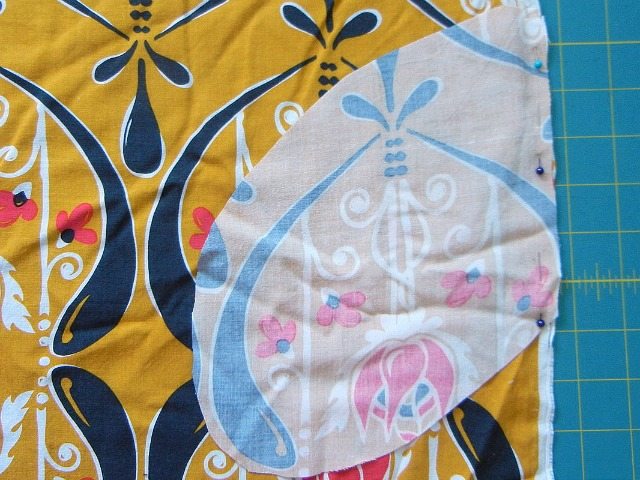
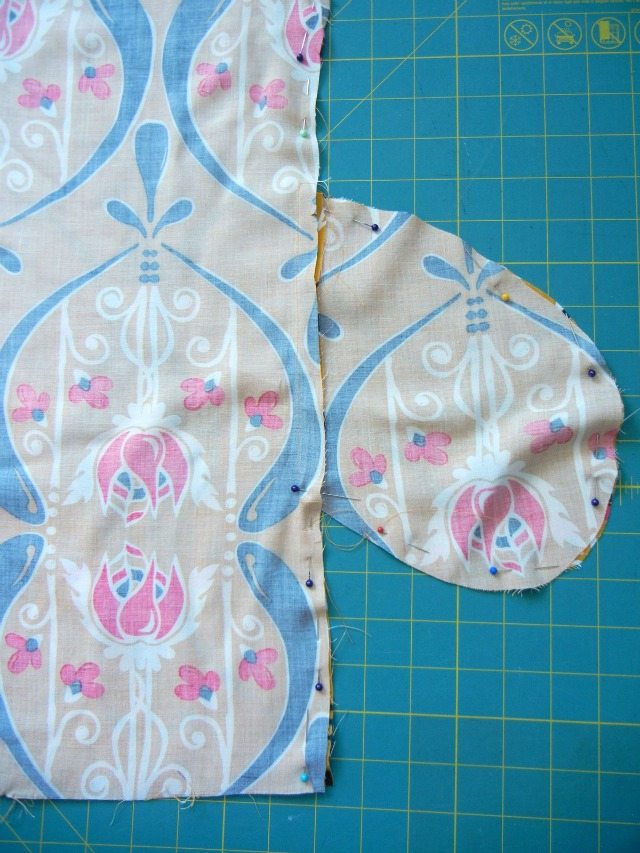
Pin your pocket shapes to the sides of your skirt with right sides together. Place the top of the straight edge of your pocket at the place you have marked on the skirt edge. Use a few pins to pin the straight edges together.
Do this for both front and back rectangles and on both sides. Make sure you are putting the right sides of your fabric together.
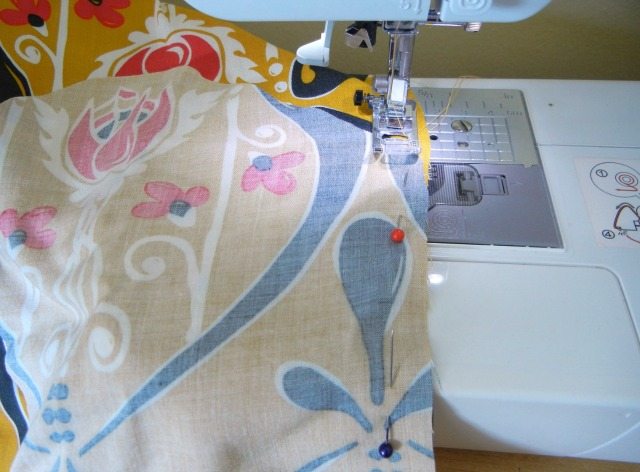
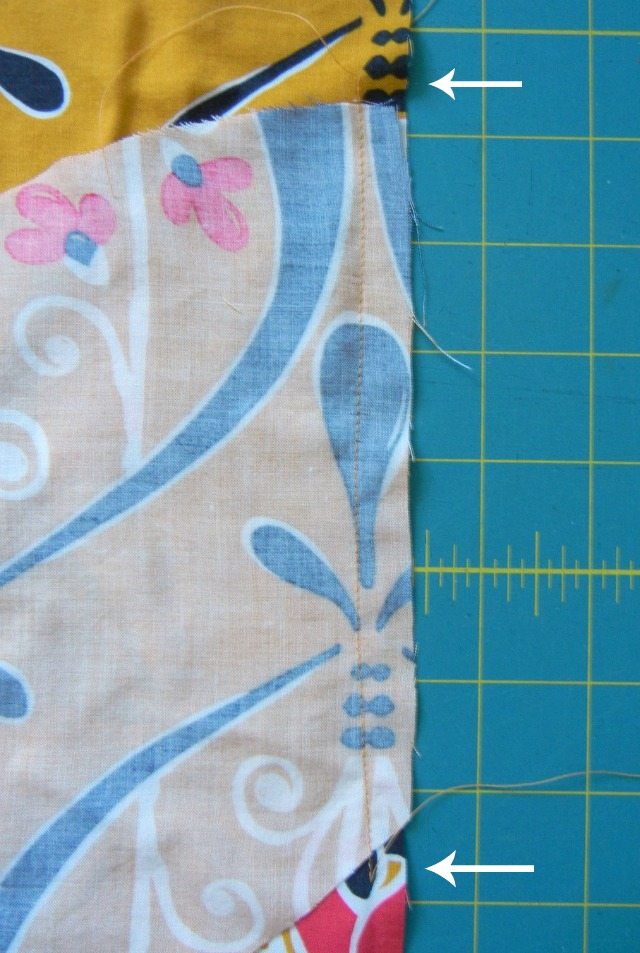
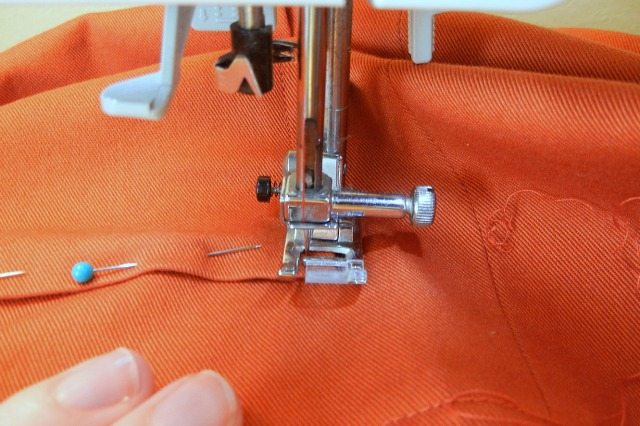
At your sewing machine, sew along the straight edges you have just pinned. You can start an inch below the pocket, sew along the edge, and continue an inch beyond (you don’t need to sew the entire edge, just that part). Remove pins as you go.
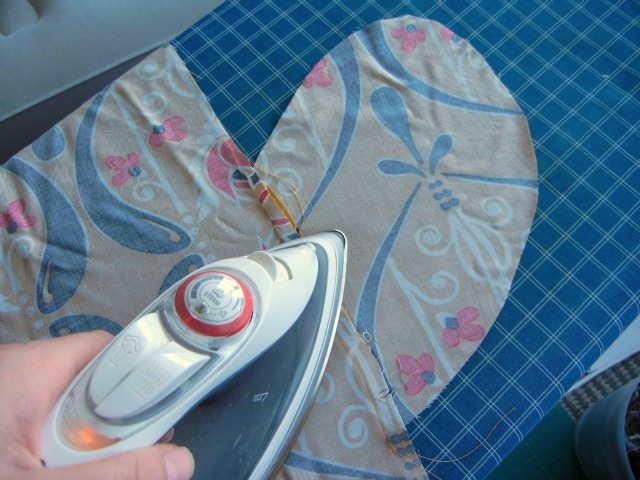
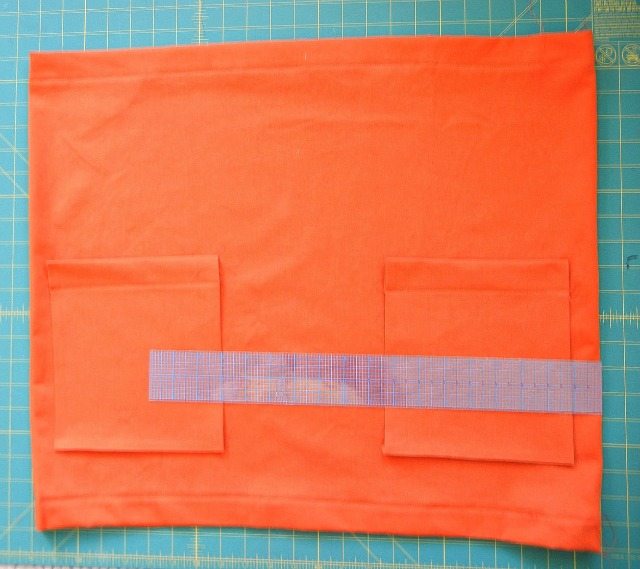
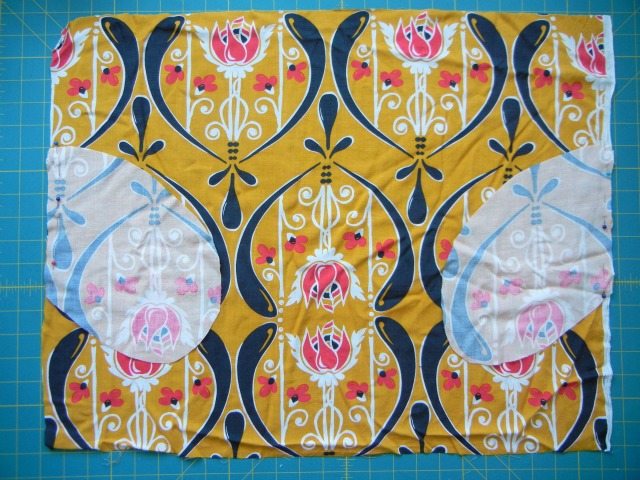
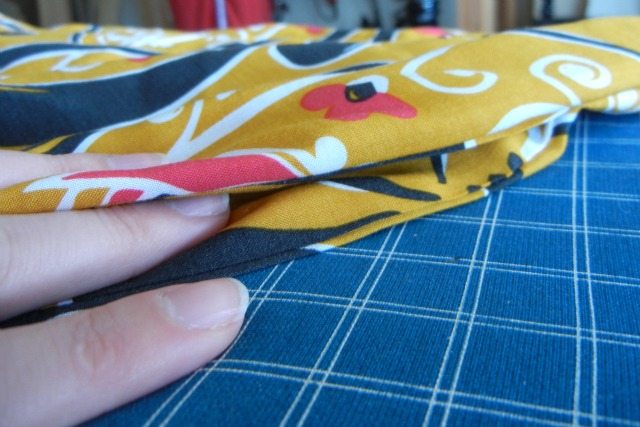
Move to your ironing board, and press all four pockets out away from the skirt, like so.
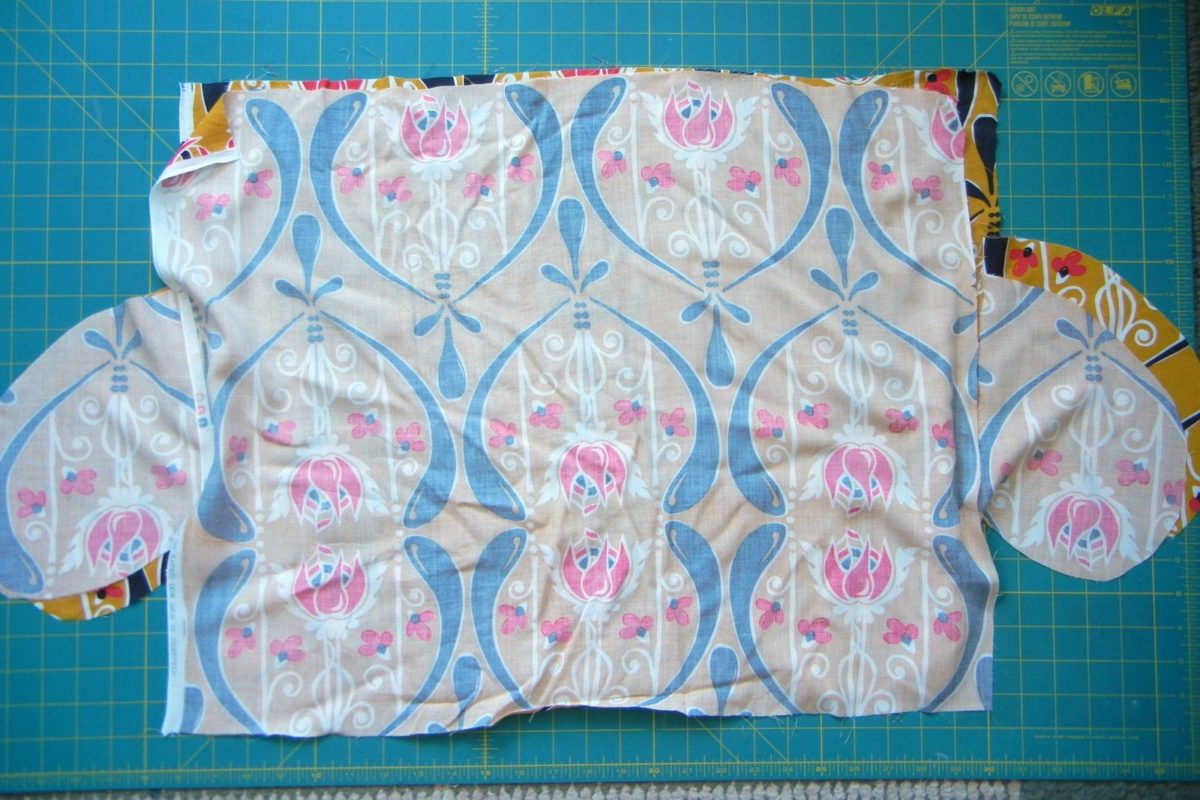
When all your pockets are pressed outward, take your front and back skirt pieces and lay them one on top of the other, with right sides of your fabric together.
Pin both sides seams by pinning along the straight edges above and below the pocket, and then all around the edges of the pockets.
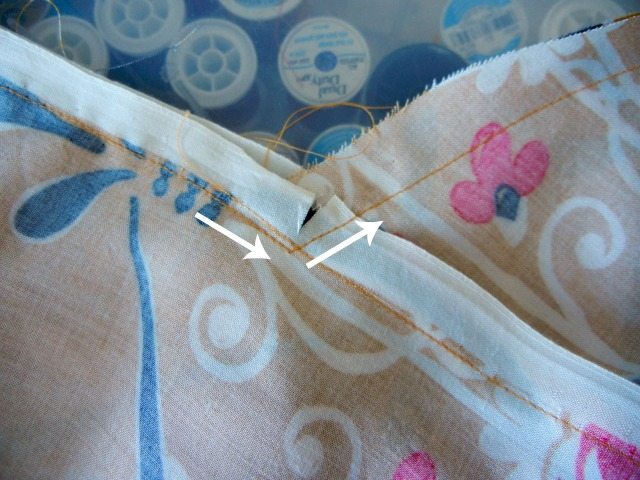
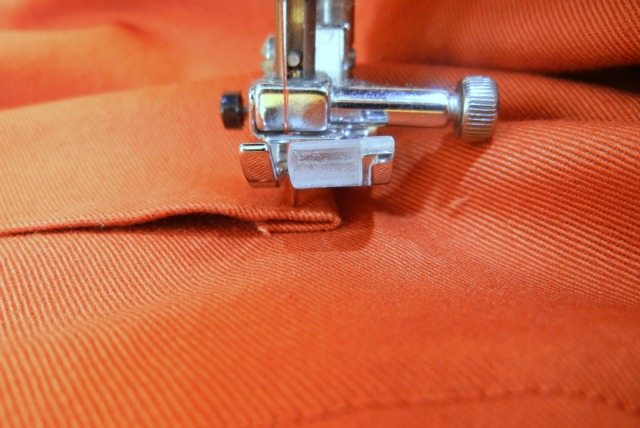
Sew along your pinned path. At the corners of your pockets, pick up the presser foot of the machine and turn your fabric underneath to create a nice, sharp corner. Sew around the edges only; make sure you do not sew your pocket closed!
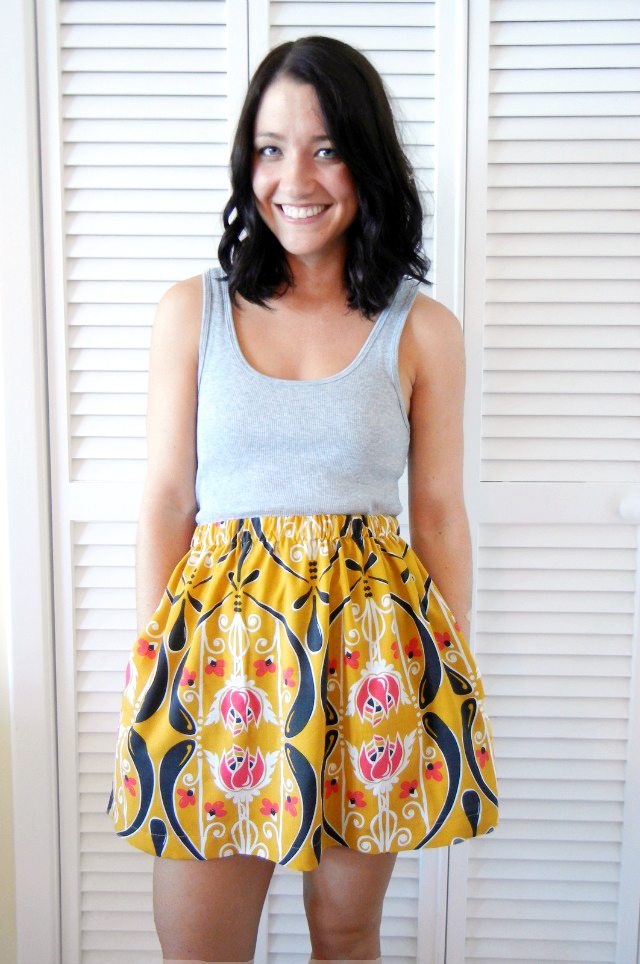
Turn your skirt right side out, and voila! There your side seam pockets are, perfectly placed! If you want them to look a little crisper, you can press along the pocket opening.
Now you can continue folding and pressing the top and bottom edges for casing for the elastic and the hem.
![]()


Hi thank you so much for your amazing tutorial! I am making a skirt for my 6 year old.. Any tips as for pocket placement? I wasnt sure if I should still do 6inches down.
Hi Cheri! I’m not exactly sure for a child, but does she have any other skirts you might compare it to? I’d say to probably go a little higher just since their arms are shorter.
Very helpful. I made my first side seam pocket as a beginner and it was perfect. Big tanx
Very interesting & helpful, wish I would’ve had this when I made pockets for a pair of capris I have,it didn’t turn out that well, but still wear them around the house. Thanks for the tutorial.
I’m so glad this helped, Mary! And I’m so impressed – pants/capris seem so complicated!!
Very interesting tutorial dis is. Am glad I came across dis. Thumbs up sis. U’ve bin of great help to me.
You are awesome!! I am just about to bind my first wrap skirt and was dying for pockets. The patch pockets are PERFECT!! Thank you so much. Fantastic tutorial. Easy to follow and to the point. You’re GREAT!
I’m so glad you found this in time for your skirt, Amy! If you post any pictures on Instagram, be sure to add #ShrimpSaladCircus so I can check them out! <3
TYSM for showing me this now I feel confident enough to try this. The picture that really helped me was where you sewed the pockets popping out of the skirt and lined it up that really made me get this tutorial!!
So glad this resonated with you, Angelika! Valerie’s a real whiz with these sewing tutorials! <3
This is a fab tutorial! Thank you so much for posting.
I’m so glad you love it, Jen! <3
I have now made two skirts following these tutorials, one with patch pockets for myself and one with side pockets for a friend. Thanks so much for a great, easy to follow tutorial.
That’s so great to hear, Benita! I’d love to see pictures if you’re on Instagram! Just add the hashtag #myshrimpsaladcircus so that I can find them (if your account is public)! <3
I love this blog , just google on tutorial on Sewing and i saw this . Keep it up . The photo also hlp alot. Thanks
So helpful! thank you so much! I added pockets side seem pockets to my very first attempt at sewing a dress, and you took me through it with this tutorial.
I am adding pockets to a wedding dress – this is SO helpful! I have made pockets from a pattern before, but never just “added”.
Thank you so much for this lovely tutorial. I’m guessing you can also do the side pockets on a dress or skirt that has been completed already as well but simply opening the side seam and doing the placement as you have shown.
Been wanting to do this for a while… now I know how.
Thank you so much!
TEMA
Hi Tema – Yes, if you want to add pockets once a skirt is already finished, you can open up the side seam where you would like the pockets to be, and follow the steps above just the same. Same for adding the patch pockets as well!
Thank you for your reply, Valerie… much appreciated.
TEMA
Thanks for the tutorial! Valerie is so great at teaching!
good tutorial now i can sew sew pocket in my kids dress she love pocket
Beautiful and simple! Thank you very much for the tutorial 🙂 By the way, I love the print of the yellow skirt!
Wow that’s interesting! I mean though I don’t have to really stitch pockets to my trouser but after reading this I can say “Yes I can sew some pockets” LoLz.. It was fun reading.