

I’m not going to lie — I’m just a tad jealous of my southern California friends. Because ALL their pictures ALL the time have so. many. flowers. Plus palms and succulents and an abundance of colorful selfie walls.
Thankfully, here in New England spring has finally made an appearance, and I’m celebrating with this simple, modern spring wreath DIY. Don’t be fooled if you think it looks complicated, it’s just a matter of layering flowers!
Read on for the tutorial, and learn how to make this look your own with your favorite flowers!
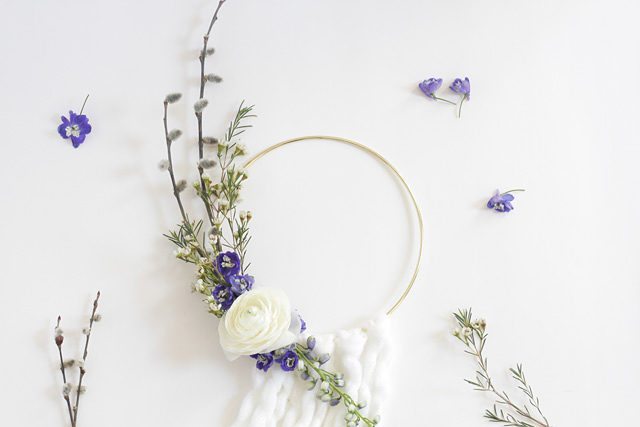
DIY Modern Spring Floral Wreath
You can make this baby your own by choosing different flowers and yarn, but if you want my “recipe”, keep reading!
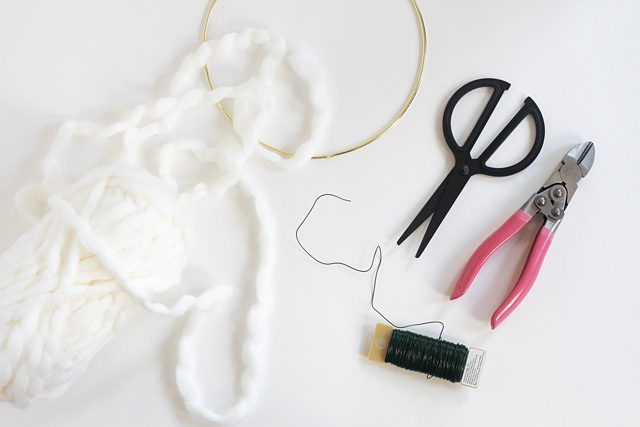
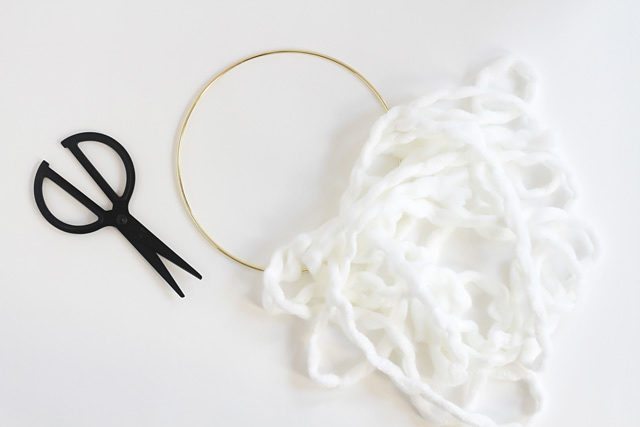
Supplies:

- Floral wire
- Wire cutters (a larger pair like this can cut through your flower stems too!)
- Chunky yarn
- Scissors
- Brass ring
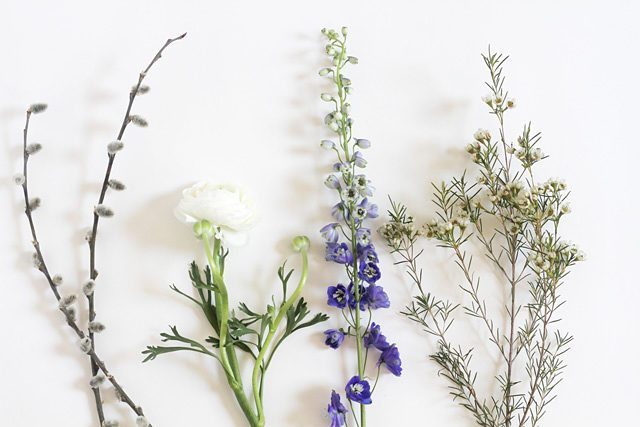
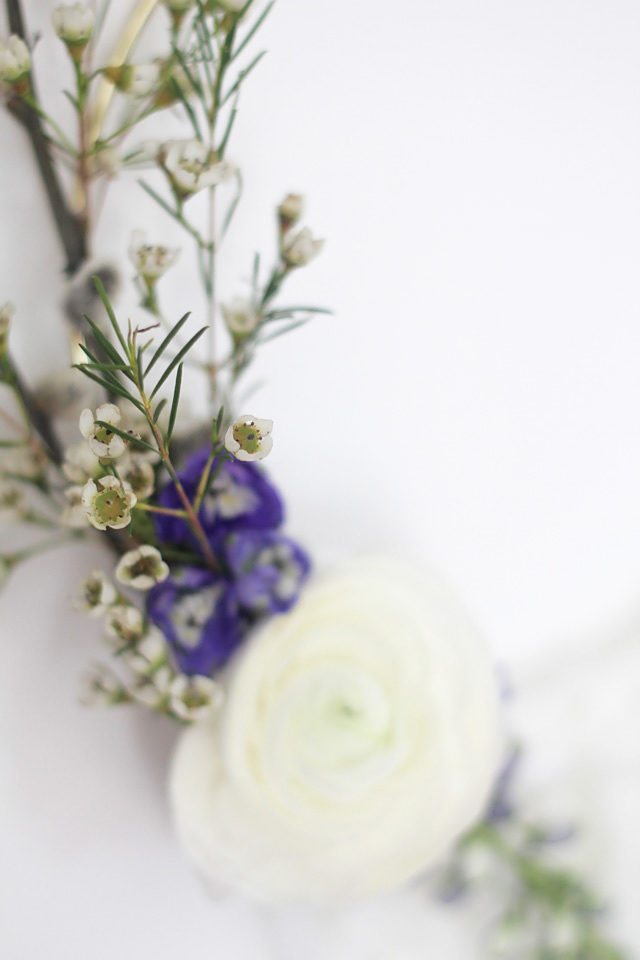
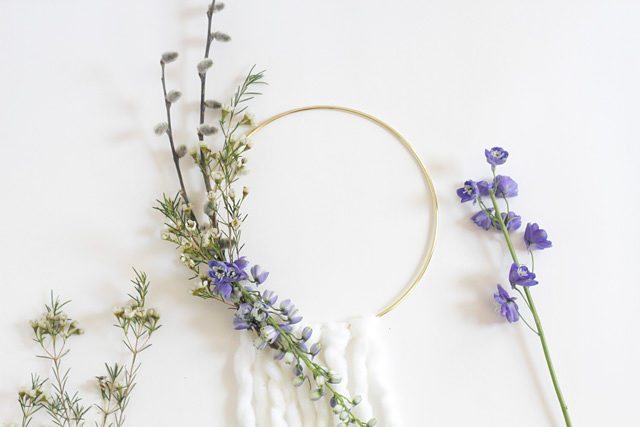
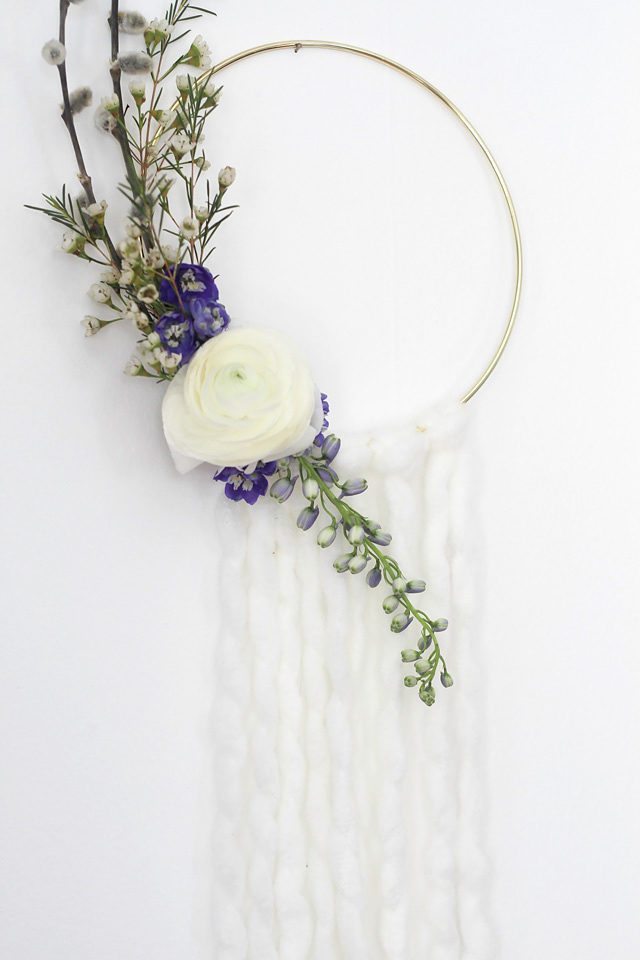
Flowers, from left to right: pussy willow, ranunculus, delpinium, wax flowers
** A note on choosing flowers: if you find a florist who will sell flowers by the stem, choose “branchy” stems so you get more for your money. The pussy willow branches shown here were both part of one large stem. And if you don’t have any good florists nearby, grab a cheap bouquet at the grocery store to deconstruct!
A good rule of thumb is to look for a thriller, filler, and spiller. The pussy willow and wax flowers are acting as my base “fillers,” the delphinium provides a “spiller,” and the ranunculus is an eye-catching “thriller” focal point. Easy, right?
1. Cut five lengths of yarn that are twice as long as your arm. This is a totally arbitrary measurement, you can make them longer or shorter; using my arm was just an easy way to get them all the same.
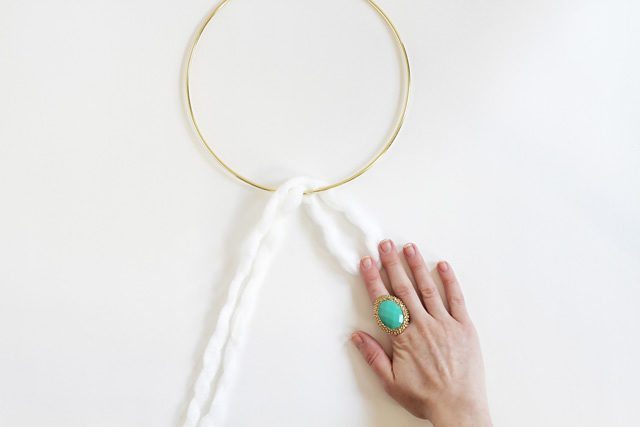
2. Fold one length of yarn in half, then hang it over the hoop so the folded end is in the back, and the two ends hang down in front.
3. Pull the ends through the loop…
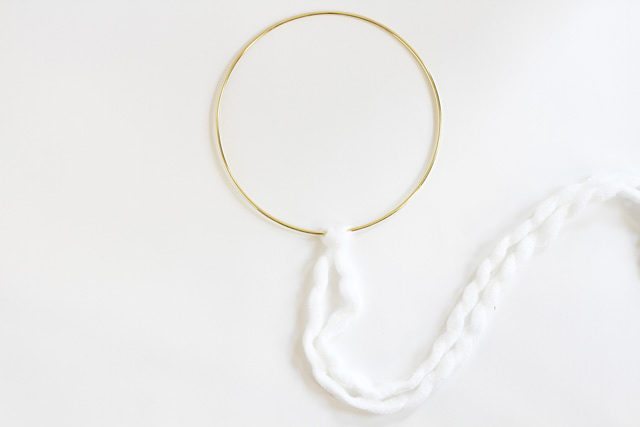
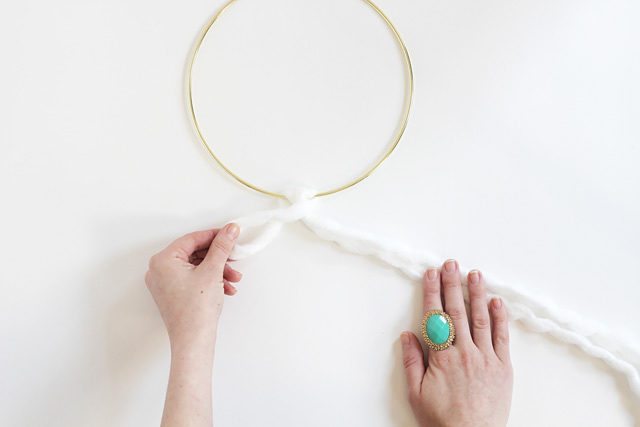
4. …and pull them tight to attach the yarn to the ring. There’s probably a fancy name for this knot but I have no idea what it is and this isn’t the Boy Scouts so we’ll worry about that another time.
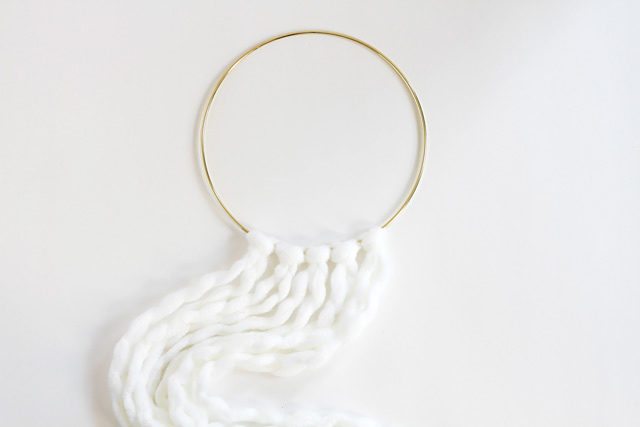
5. Repeat with the other lengths of yarn until they’re all attached to the brass ring.
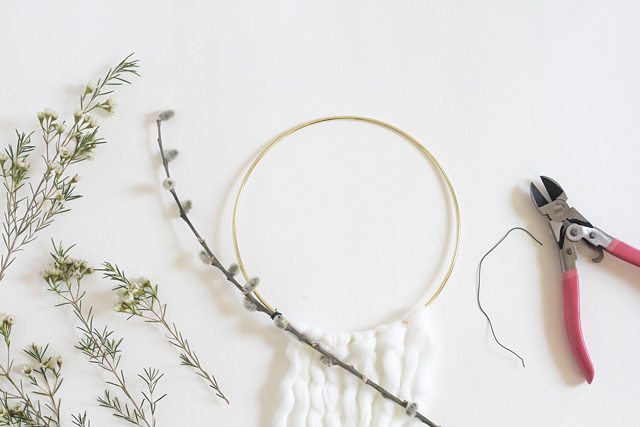
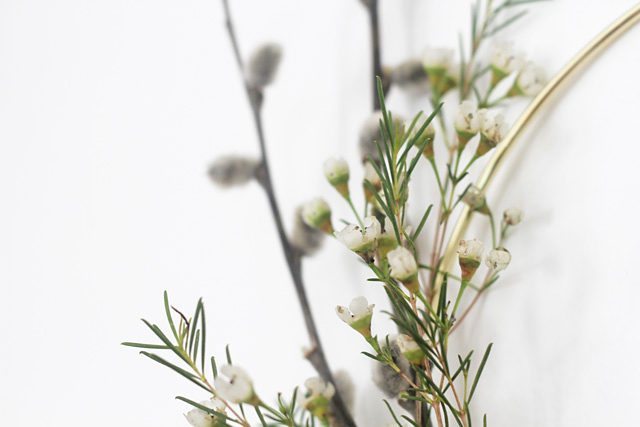
6. Now the fun part! Trim off pieces of your stems to use for the wreath and begin attaching them to the brass ring by tightly wrapping with floral wire, starting with your base “fillers.” Don’t go too crazy cutting the flowers down just yet, you can always trim them later but obviously can’t put them back together if you cut too much too soon.
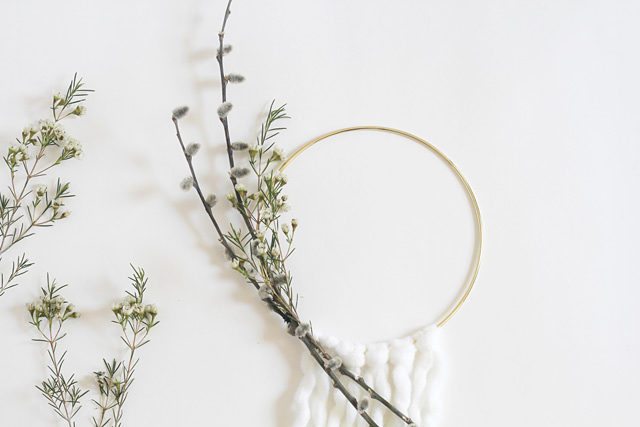
7. Layer on stems and continue to attach them with floral wire. Try to have each flower cover the stems and wires of the ones below.
*Tip: Every once in a while, stop to hold the wreath up so you can see how it will look when it’s hanging.
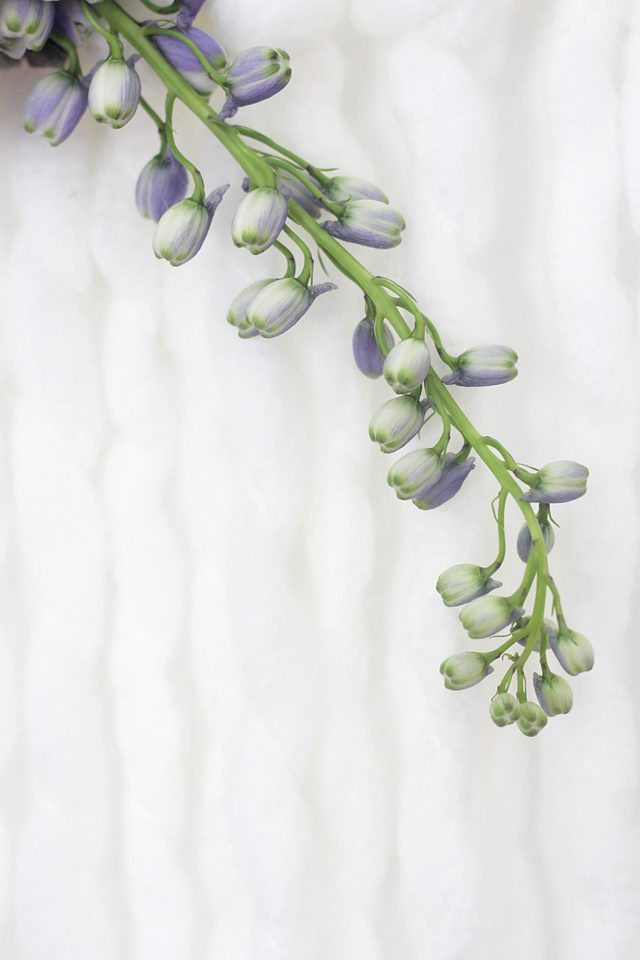
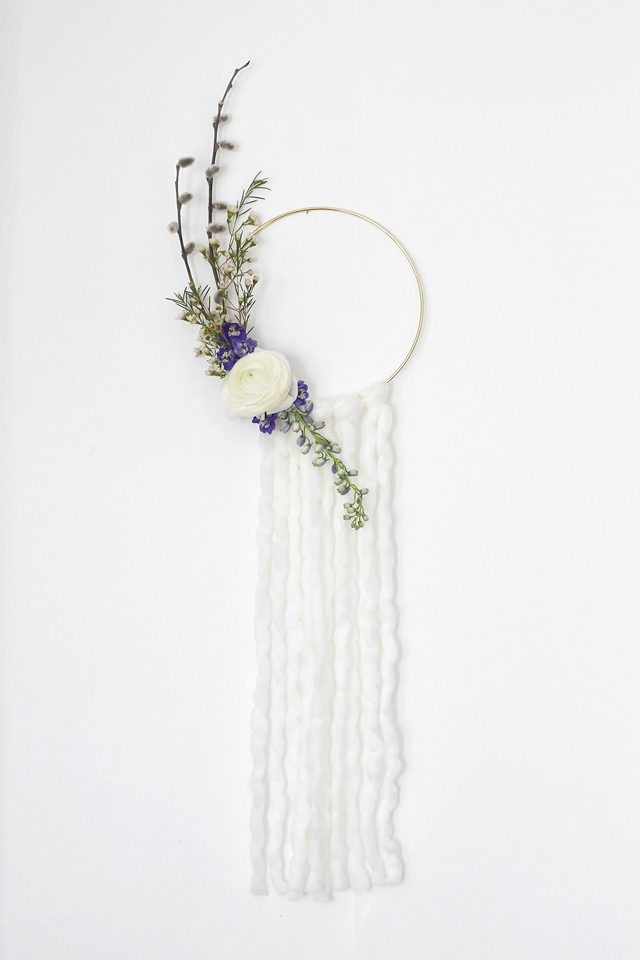
8. For interest and movement, look for stems that can stretch up and down (spillers). I initially was going to place the blue delphinium so that it reached up with the pussy willow, but it looked too busy to have all of the flowers going in the same direction. By flipping the delphinium the other way, it creates a pleasing shape, and I love the look of the flowers right on top of the chunky yarn.
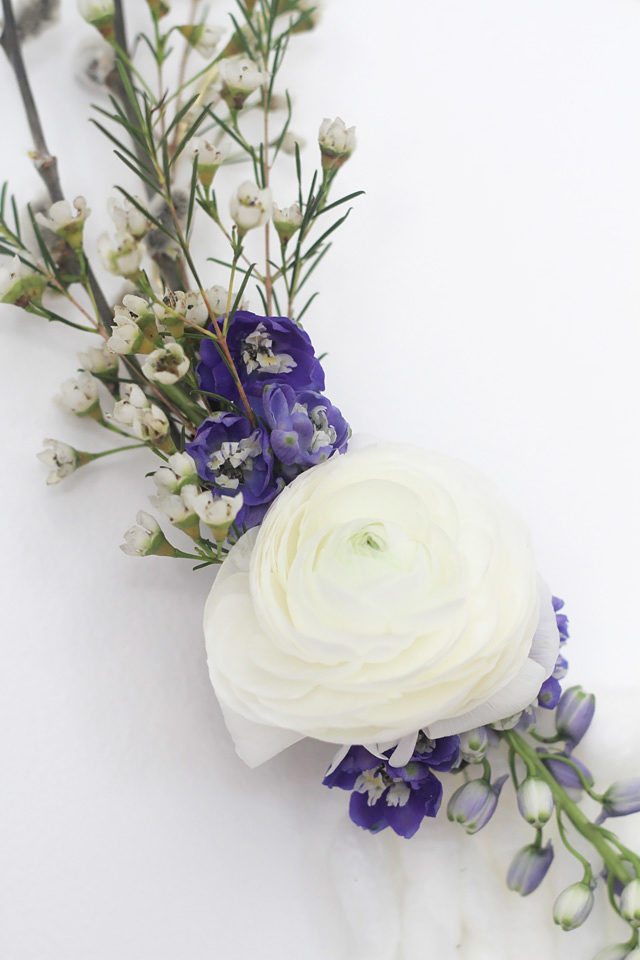
9. Finish off the wreath by adding in your “thriller” flower, then trimming all the stems and wire bits so they don’t show. I also cut individual stems from the remaining delphinium stalk and poked them in here and there to use as much of that pretty blue as possible.
Finally, trim the yarn ends to the desired length, hang and enjoy!
I couldn’t resist using real flowers because they are just so gorgeous, but you could of course create the same look with faux or dried flowers.
Now it’s your turn. How are you celebrating spring?!


Marlene Sauer – Idle Hands Awake
Blog . Instagram . Facebook . Pinterest . Twitter
Paper-pusher by day and paper-and-everything-else-crafter by night, Marlene believes creativity is what life was made for. Her blog is a DIY blog for creatives in the making—because creativity is a skill that you can practice like any other. When not harassing the poor folks at her local craft store, you can find Marlene curled up with her three cats, a chai tea, and a library book. She also sometimes still has time for her husband, if he’s holding up props during photoshoots.


nice one
It’s really really really beautiful! Thank you for sharing!
Lindsay! This is so awesome. High fives, girl!
This is so pretty and unique 😀
This is such an awesome project!
Love this! Not only is it gorgeous your photos and instruction are very helpful.