
via Yellow Sky Actions, edited
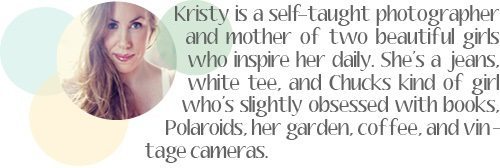
Have you heard of Photoshop actions and wondered what they were? Do you know what they are but just don’t really understand how they work? Kristy of Kristy Bee Photography is here to explain everything.
Sometimes it is fun to spend hours playing around with your photos. However, the more you use Photoshop, the more you realize that you probably repeat a lot of the same steps to edit your work.
This is how Photoshop actions come in handy. An action is just another name for a macro for Photoshop that performs tasks that would be time consuming under ordinary circumstances. They basically automate the function of editing an image to achieve a desired effect. I like to use actions not only to enhance my photos, but also because it’s a time-saver.
How to Use Photoshop Actions
I usually begin with the lighting of the photo, using the curves tool and/or adjusting levels until I am happy with the overall look. Sometimes these adjustments are all that is needed, but most of the time I will play around with color and tone. It all depends on what my desired result for that particular image is; what works for one photo may not work for another.
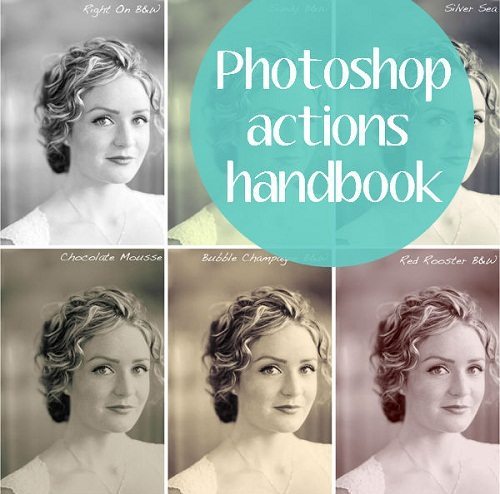
Playing with actions is also a great way to experiment with different styles. Maybe you want a vintage look, maybe just a slight brightening or color boost. An action in its basic form is all your work saved into one button. In this way, the next time you open Photoshop, you do not have to remember all of the steps you used in order; you can simply click to edit. Another benefit of this is that if you do not like how the image looks, you can easily remove all the edits applied and return the photo to its original state.
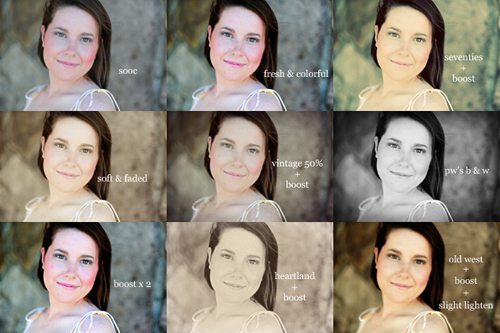
Actions can also be mixed and matched; one can be placed on top of another, which can produce amazing results. You can turn down the opacity (make it more transparent) to give a more subtle look, or you can click individual steps within the action and turn some off completely. Playing around like this is quite often the best way to stumble upon the tone and feel that you really like in your own photographs. It’s all about having fun!
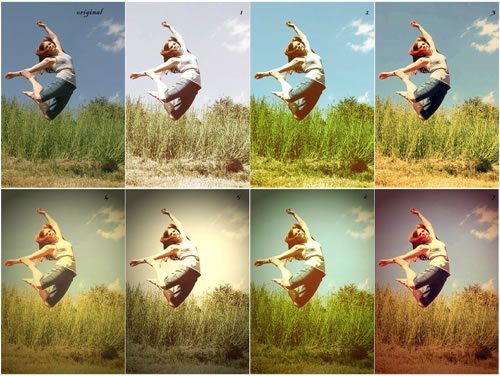
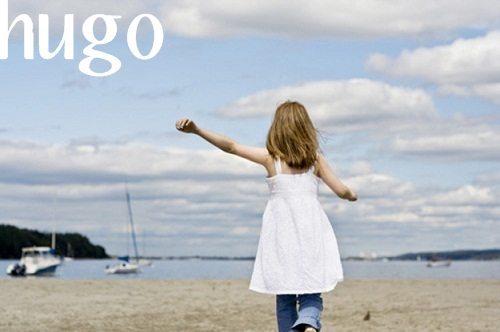
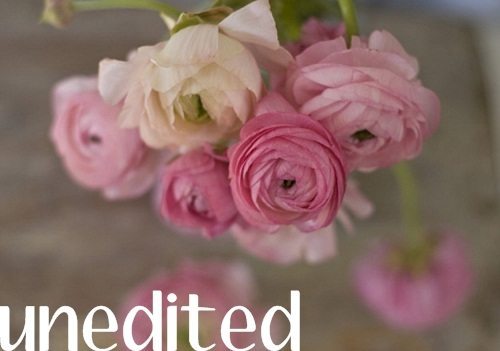
I’ve shown a couple of examples below of before (an unedited photo) and afters (after adding only my action).
This is the original unedited photo, followed by the same photo after I applied my Hugo action.
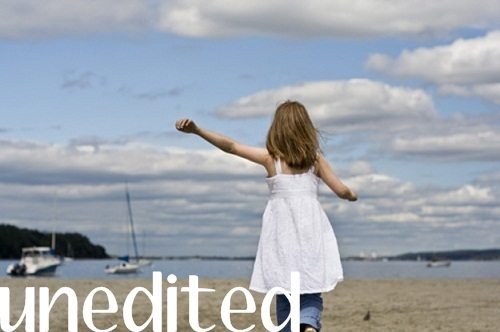
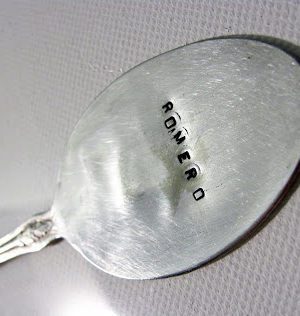
Here is another original, unedited photo, then the same photo with my Ginny action applied.

Don’t forget to check out the other Photography Month topics for more help and advice! Self Portrait Photography Guide, Guide to Toy Cameras, Free Photoshop Actions


Vielen Dank!
This comment has been removed by the author.
this photoshop tutorial helped me a lot! thanks for share!
Wow thats cool because I have been really expirementing with photoshop, this helped alit thanks so much :).
Thank you so much for this post. I want to let you know that I posted a link to your blog in CBH Digital Scrapbooking Freebies, under the Page 2 post on Jan. 10, 2012. Thanks again.
Love them! Thanks!
Thanks! Learning more about photoshop and practicing it is on my new years to do list! X