
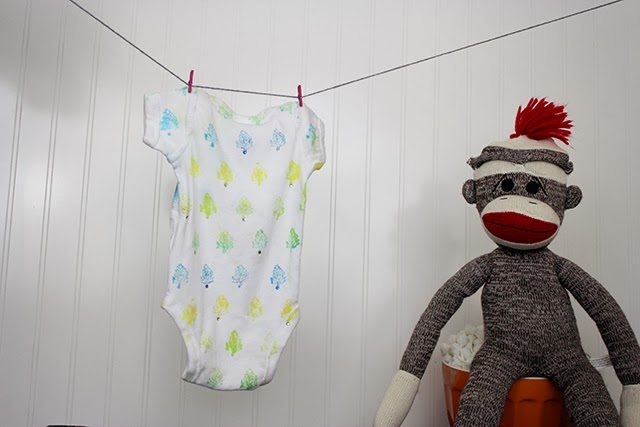
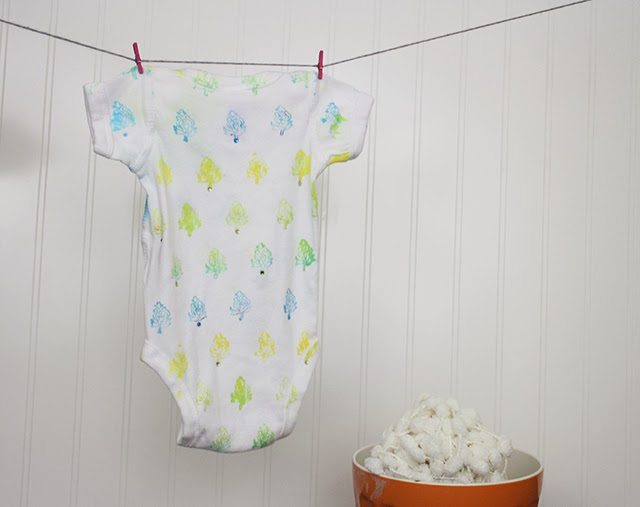
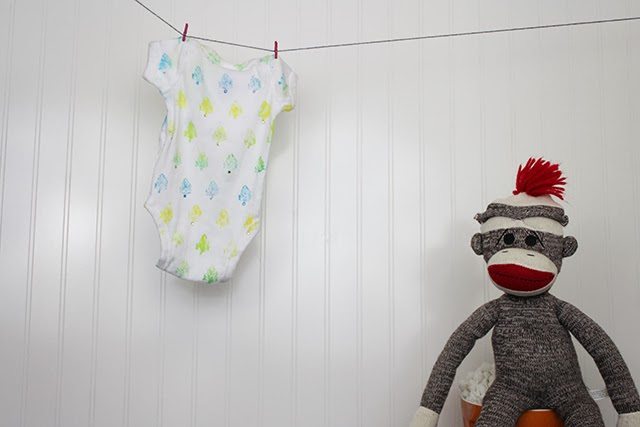
I’m sure I’m not alone in saying I’m getting sooo tired of the cold and dreary that seems determined to continue (I’m lookin’ at you, Atlanta). I figure that if it can’t actually be spring, at least we can all start pretending, right? I worked with i Love to Create to add bright, happy pops of bold spring color to a plain white tee onesie using a hand-carved Indian wood block stamp!
Disclosure: This post is part of a campaign for Blueprint Social and iLovetoCreate.com. I was provided with free materials and financial compensation for my participation, but all project ideas, inspiration, and product opinions are entirely my own.
Lemme know if you have any questions, and read on for the full tutorial. 😀
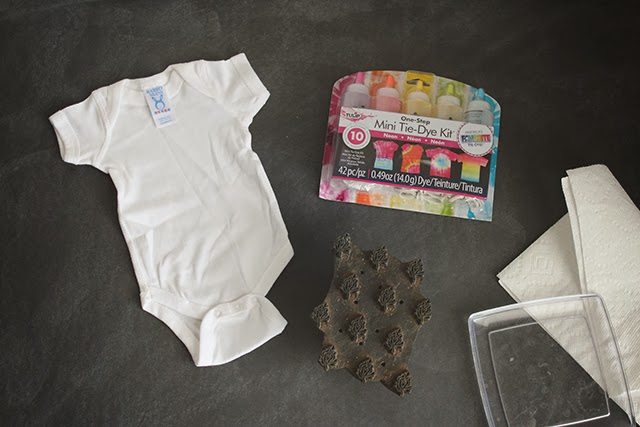
Materials:
- Plain white onesie
- Tulip One-Step Mini Tie Dye Kit*
- Paper towels
- Shallow dish
- Wood block or stamp – You can search for “Indian wood block stamp” on Etsy for ideas.
*Pick up this and other exclusive products (Tulip Dimensional Mini 3 Packs & Tulip Fabric Markers) at your local Michaels Arts & Crafts store. If you don’t have a Michaels store in your area, you can order the products at iLoveToCreate.com. iLoveToCreate.com is currently offering free shipping on any neon Tulip product for the month of February when you use coupon code NeonFEB (ends February 28th).
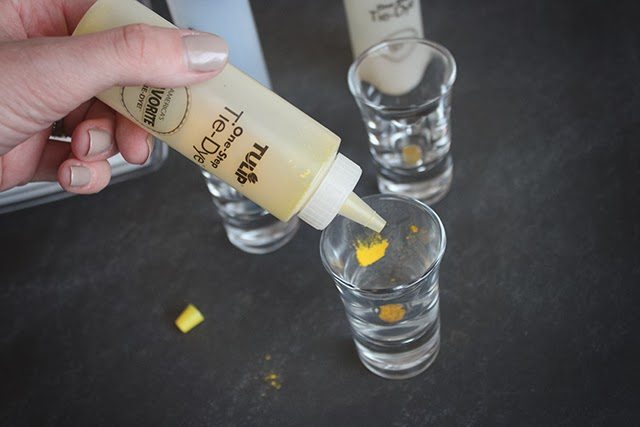
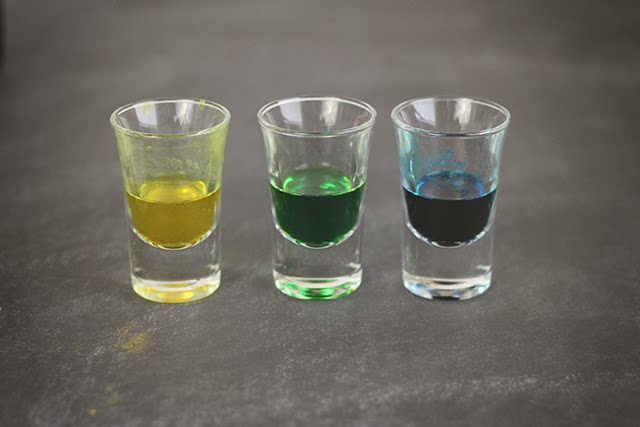
1. Mix up the dye according to the instructions included with the kit. I chose to use three colors that I knew would blend together nicely where they ended up touching, but you can try one or two colors if you want.
Note: You actually mix it in the bottles, so it’s pretty much foolproof. I just mixed it in the shot glasses to show you guys the vibrancy of the colors.
2. Make sure all your colors that you’ll be using are thoroughly mixed. Do them all at once because the next step happens in quick succession.
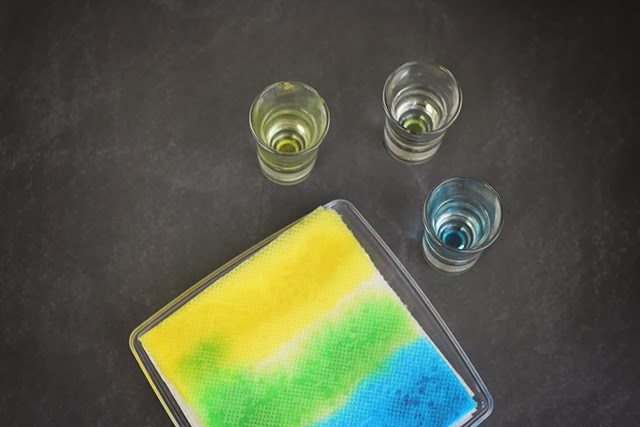
3. Cut up paper towels to fit into your shallow dish. The dish needs to be large enough to accommodate your stamp or wood block. You’ll need about 10 layers of paper towel.
4. Once you’ve stacked the paper towel pieces in the dish, use the squeeze bottles of dye to squirt on stripes. Leave a narrow gap between stripes because the colors will soon bleed into each other anyway. You need to squeeze on way more dye than you think in order to create a stamp pad effect. Let it sit for a few minutes to bleed together and blend.
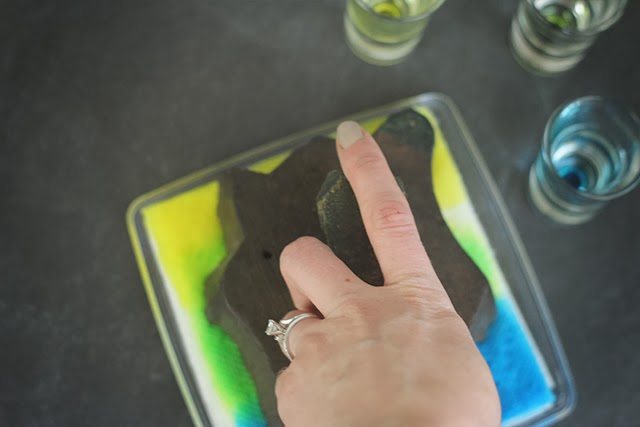
5. From this point, you’ll be using it just like a regular inkpad (except be careful – it’s way messier than regular stamping!). You’ll want to press lightly if you have a regular stamp so that you don’t get a bunch of dye in the stamp recesses. You have more leeway with the wood block stamps because they’re carved much deeper, so I recommend using those.

6. Tuck wax paper inside the onesie to prevent the dye bleeding through to the other side.
Check it to make sure you don’t have any big blobs of dye that’ll ruin your project, and then firmly press it onto the onesie (or shirt or pillowcase or whatevs). I recommend starting on the back while you get the hang of it in case you get a little blob anywhere. Re-ink for each new spot, and continue by stamping the entire garment.
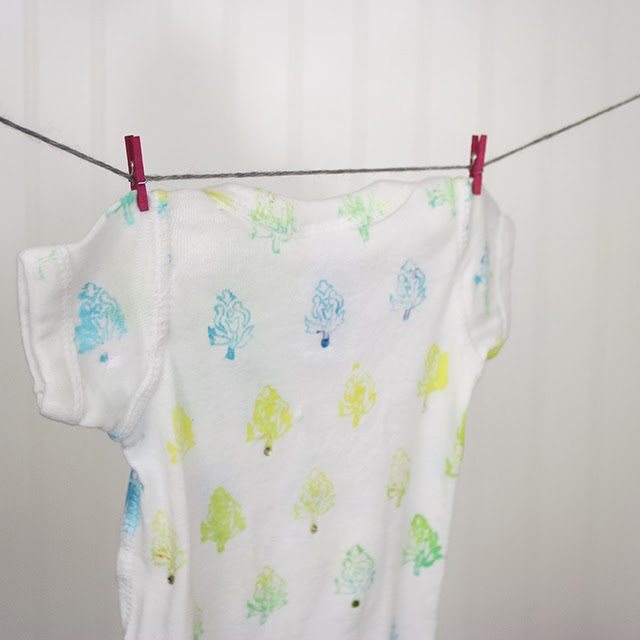
7. Tuck the finished piece into a freezer bag, and seal it up for about a day. Wash it just like you normally would using the hottest water possible for the fabric. Voila – you’re done!
Except I got carried away and added a few color-coordinated rhinestones. But then you’re done. 😀
i Love to Create
View more tutorials


That is SO cute! What a great way to use tie-dye, very clever!
WOW, this is great how you turned dye into stamp ink! This is so clever!
Wow, I love this! I also never would have thought to use tie dye! I would have gone straight to fabric paint (speedball). This keeps it nice and soft, yet brings a lot of life to the print! I’ll have to keep this in mind (pinning it now!). Thanks for post!!
Amazing. I would never have thought to do block stamping with tie dye.