

A quick note: I wouldn’t make this project for anywhere that’s going to get exposed to a ton of crazy weather. Our front porch is completely covered, but a lot of rain or snow would probably tear up the pom poms pretty quickly.
Supplies:
- White spray paint
- Colored spray paint (any color you want)
- Acrylic paint in a complementary color
- Yard to match the colored spray paint
- Pom pom maker (I used a 45mm maker)
- Crochet hook
- Scissors
- Tape
- Paper to protect your work surface from spray paint
- Drill
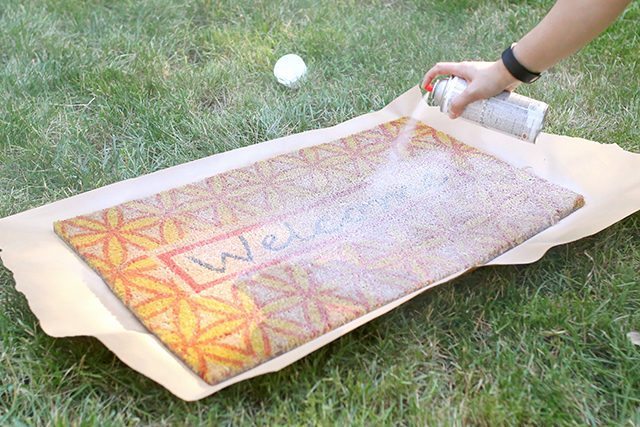
1. Start by painting your doormat white. You’re going to paint the edges a different color, so you don’t need to go all the way to the edges if you want to conserve paint.
Paint a few heavy coats until the white is opaque.
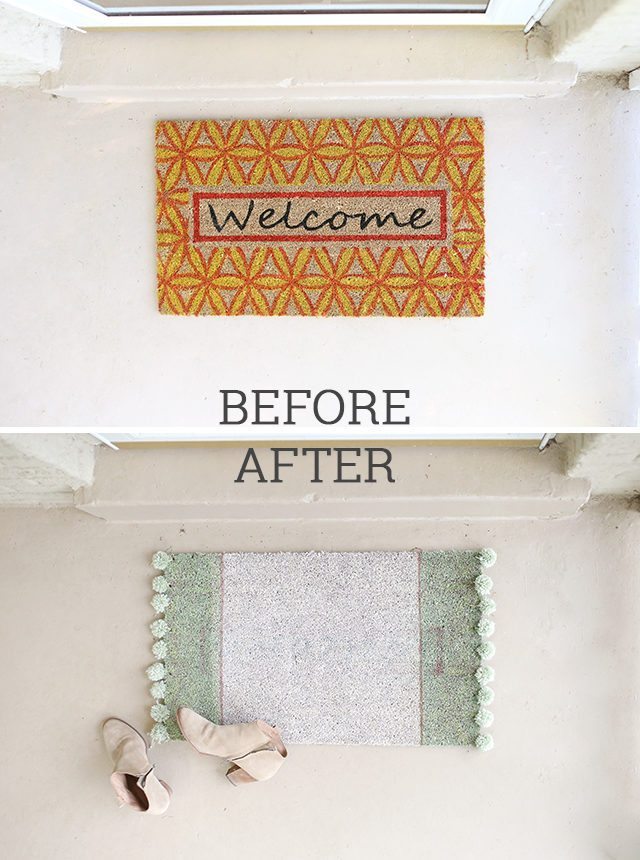
Note: I actually never got the red box or the “welcome” on this mat to cover up 100%, so if you have a choice, get a plain or light-colored doormat to start with. I just picked this one because it’s what they had available at Michaels the day I went!
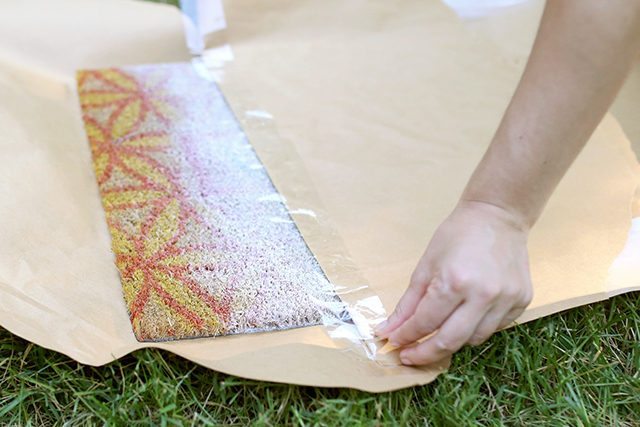
2. Tape some butcher paper or newspaper over the white middle once it’s dry to the touch. Everything outside the edge of the tape will be the colored stripe, so place your tape where you want your stripe to start.
Tip: I used clear packing tape instead of painter’s tape because it’s a little stickier and more flexible, which is just what I needed to cover this bumpy, uneven surface.
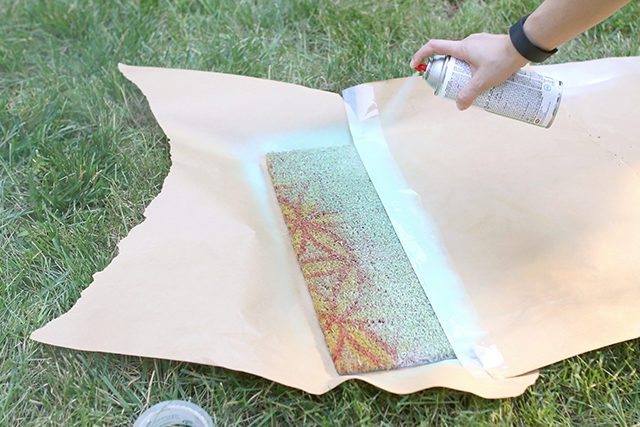
3. Paint the end stripe on both sides, spraying layers of color until it’s opaque.
Peel off the tape and paper as soon as you’re done, and set the mat aside to dry.

4. Use a foam brush (or even the edge of a sponge) to dab on a stripe of accent color between the sections on the rug.
You’ll need to really squish a couple heavy layers of paint into the rug for the color to “pop.”
I used a metallic copper, but honestly the metallic aspect kind of disappears into the texture of the rug. The color is still perfect, though!
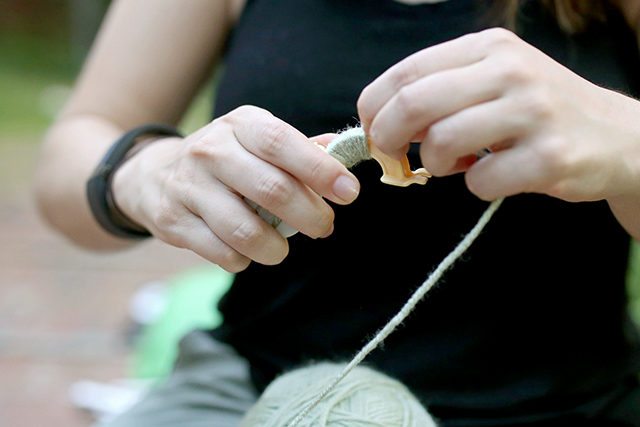
5. Make 1,452,731 pom poms using a pom pom maker.* As I mentioned in the supplies section, I used a 45mm (1 5/8 inch) pom pom maker, but you can really do whatever size you want. The bigger they are, the fewer you’ll need to make, but I wouldn’t go larger than 65mm (2 1/2 inch).
*You only actually need 20-30, depending on the size of your pom poms and how you space them out, but be prepared for it to take awhile…
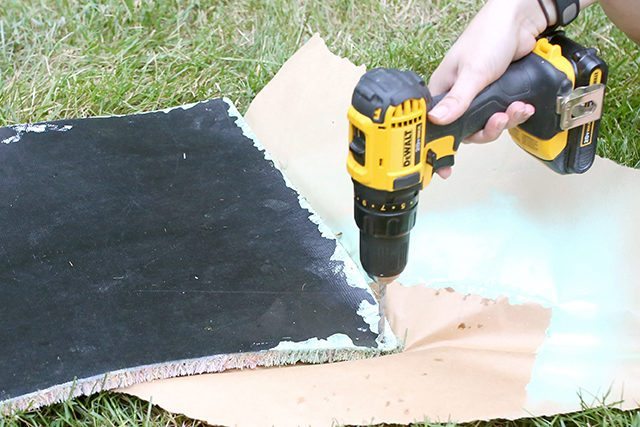
6. Drill evenly-spaced holes through the back of your mat wherever you want to add a pom pom. Make sure you’re adding the holes along the colored stripe edges (the short edges).
I made my holes about two inches apart, which made my pom poms close together but not quite touching.
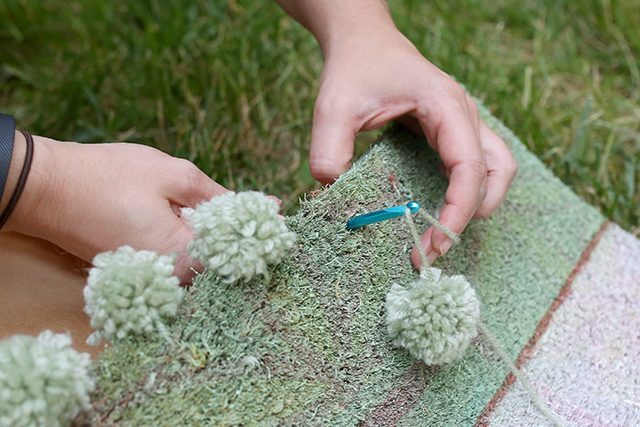
7. Use a crochet hook (or even a bent wire hanger!) to pull one long tail of a pom pom through the top of a hole in the doormat.
Pull the tail all the way through, but don’t pull it super tight.

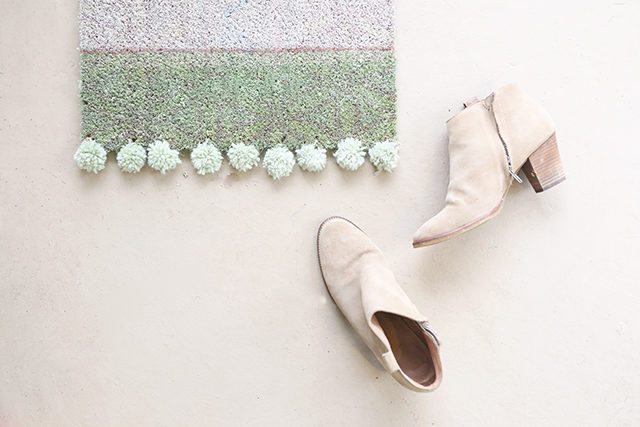
8. Slide the pom pom over so it’s right up against the edge of the mat, and then tie the second tail to the tail you pulled through the hole.
Be sure to tie a double-knot to keep it from coming loose later.
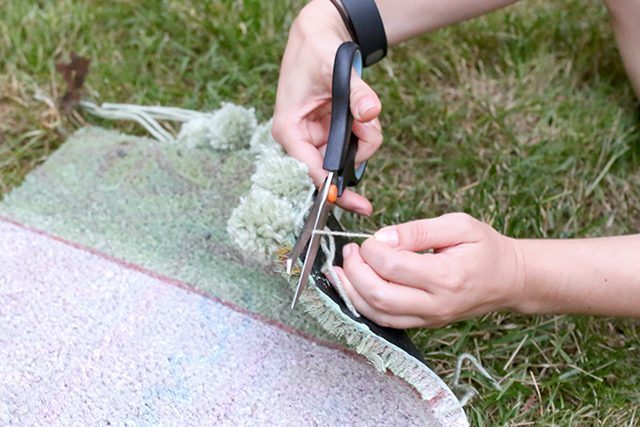
9. Snip off the extra tails a little bit above the knots.
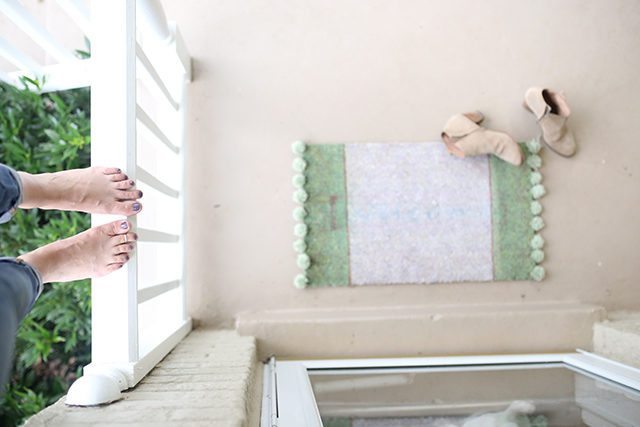
This picture is just to show you the death-defying lengths I go to to bring you these beautiful blog pictures. 😉
I kid, I kid. The railing is only like four feet off the ground. And yes, I have super long toes.
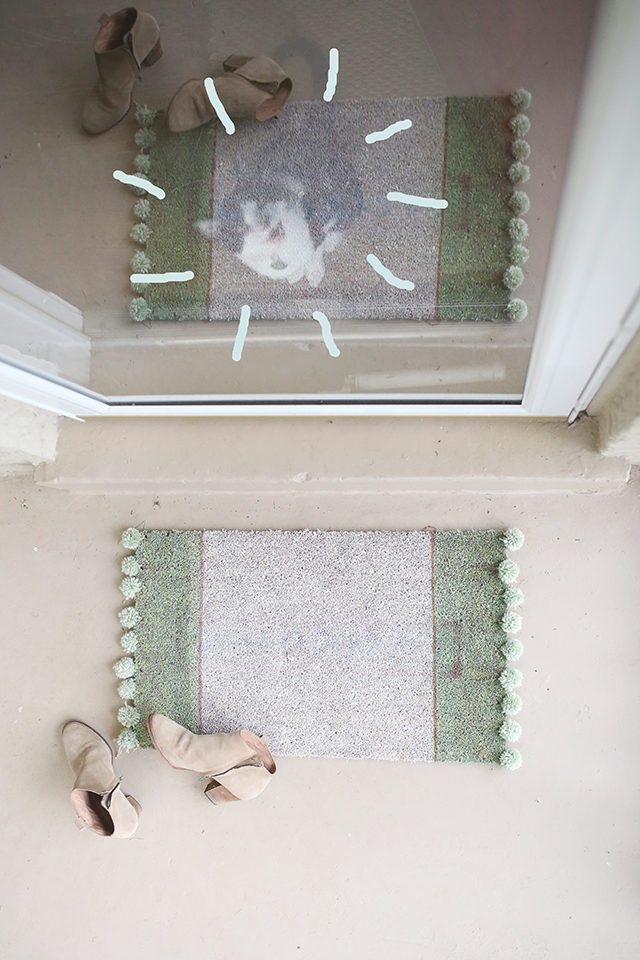
And this one is clearly my favorite photo of the entire project, courtesy of angry-Rosco-who-wants-to-be-outside.


This Pom Pom Rug Doormat looks adorable and creative! I can’t wait to try making one myself. If you’re into DIY projects, you might also find this eLearning translation and localization guide helpful this site. It’s a valuable resource for businesses and educators looking to reach a global audience with their online courses. Happy crafting!
Hi there! Uka is a great brand for taking care of your nails. Their nail oil products are made with natural ingredients and provide long-lasting hydration and nourishment for your nails. I have been using them for several years now and I’m always happy with the results. Highly recommend uka!
Hi there! uka nail oil products are an amazing way to give your nails the nourishment they need. Not only do they make nails look beautiful but they also help to protect and strengthen them. The oils have a pleasant scent and are very easy to apply. I have been using them for a long time and I’m always impressed with the results. Highly recommend!
cleaning service images
Plus, they use the latest technology to ensure that your site looks great and functions flawlessly.
Sometimes it’s difficult to create something really interesting from scratch, so it’s easier for me to use existing stock images. The resource has a large selection of images, logo images, easy navigation allows you to find the content you need in a library of 263 million files. This makes it possible to focus on the main idea of the project and spend more time on refinement. As a result, I always perfectly execute and develop new projects.
Pom Pom floor mat! What a fun idea. I am totally addicted to Pom poms at the moment. Only problem is I don’t have much patience in making them
This is so stinkin’ cute! I just made a doormat but now I want to make another!
Thanks, Tan! These projects get addictive, don’t they?!
This turned out so well! Much more inviting and unique than the original 😉
-Clarissa @ The View From Here
Thank you so much, Clarissa!!
So cute! I love this doormat! I also love how your cat posed so perfectly on it!
I think he dreams of being a model in another life… 😉
Aahh, this is the cutest! I would never have thought to add pom-poms to a doormat. Love it!
I didn’t realize you painted the mat, too! So clever! Love the addition of the pom poms, too.
Thanks, Amy! Now I’m already wanting to make several more…