

- Copper wire (got mine at Home Depot)
- Wire cutter pliers
- Heavy Hammer
- Bench block (or very dense, hard surface)
- Drill or center punch (or hammer and sturdy nail)
- Bracelet mandrel (here’s mine – 20% for Christmas in July)
- Gemstone or bead
- Headpin
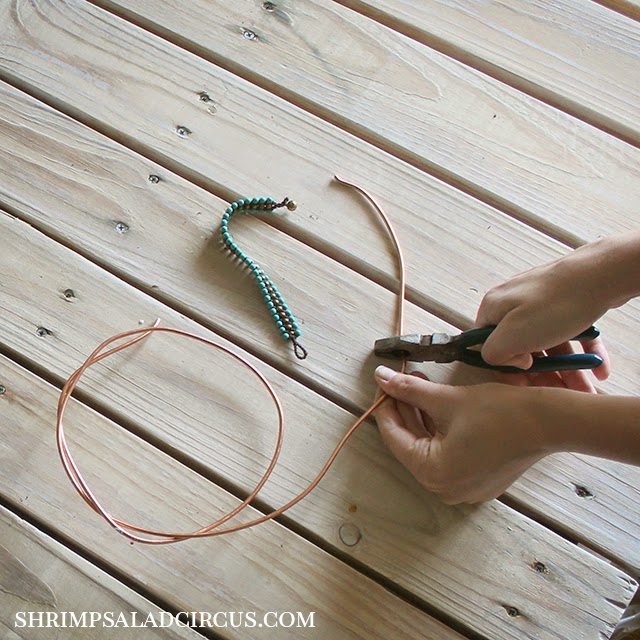
1. Cut a piece of copper wire to the right length for your bracelet-wearer. Here’s a handy guide to help you decide how long to make it.
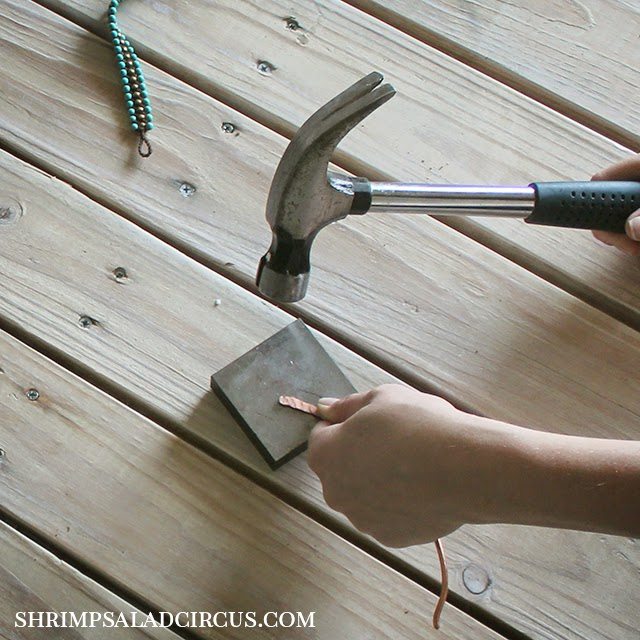
2. Place an end onto your bench block, and hammer the heck out of it, flipping sides every so often, until it’s pretty much flat. You want to hammer the very ends more and then less as you move in. Stop hammering about 1/2″ from the end. Repeat with the other end.
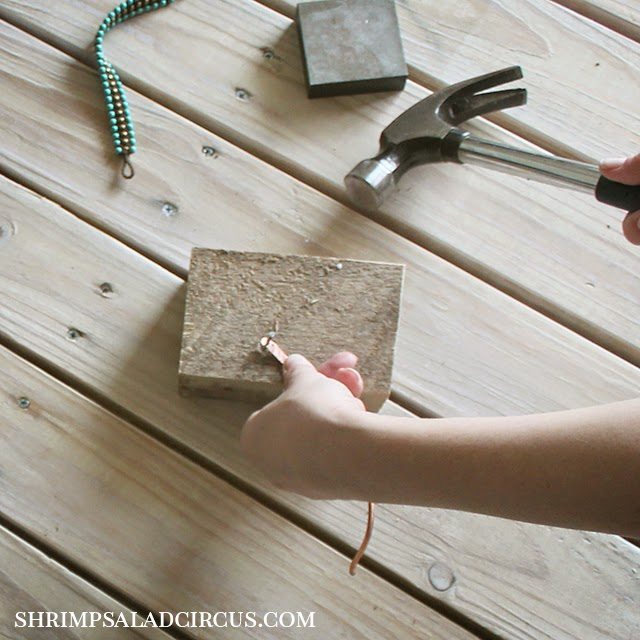
3. You need to make a hole in one end, which you can do a few ways. I used my smallest drill bit with the copper positioned over a piece of wood. You can also use an automatic center punch if you have one or want to get one. If you’re keeping it low-tech, you should be able to place the copper over a piece of wood and then hammer a nail through it to make a hole. Just be really careful with this one because the nail can slip really easily. You’ll need to use a relatively thin nail of a strong metal, like steel.
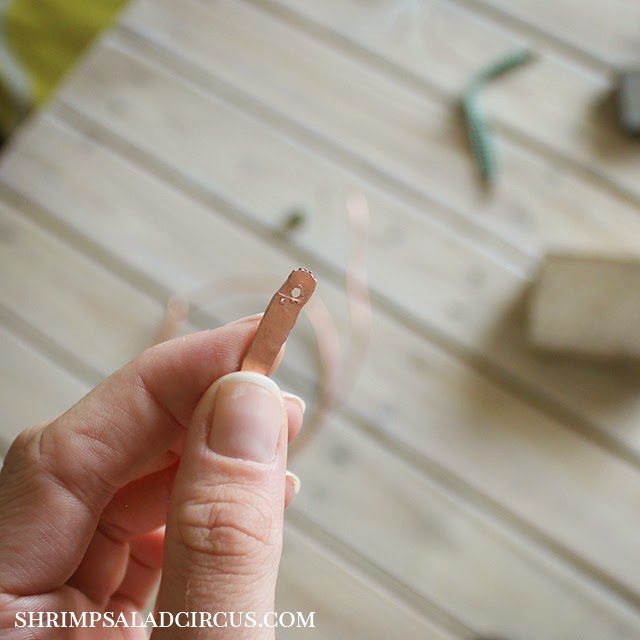
After you make the hole, give it another quick whack with the hammer on both sides to tamp down any rough edges.
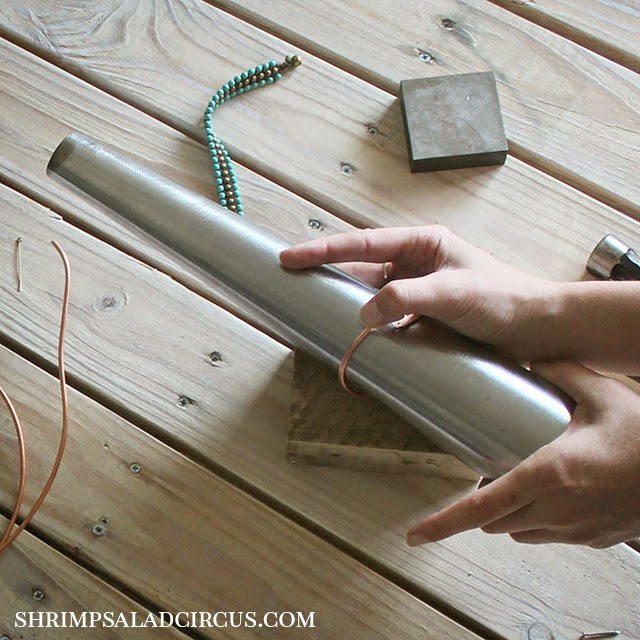
4. Now we’re going to form the bracelet shape. I used an oval-shaped bracelet mandrel because it’s a more natural fit to the shape of your wrist. Just find a spot on the shaping mandrel that seems a little smaller than the size you want your bracelet to be. You can slide a bangle you already own over the mandrel to see where it fits if you need an idea. This is definitely not an exact science. 🙂
Keeping the end with the hole near the center of your bracelet mandrel, slowly start wrapper the wire around the entire thing. You should have a bracelet shape at this point!
You could technically leave the bracelet the way it is after shaping it, but this next step will work harden the metal to keep its shape. Plus, that’s how you get the pretty, rustic look!
5. Gently, starting at one side, begin tapping the wire onto the mandrel with the hammer. Do not re-hammer the two ends. If you over-work them, they could become brittle and snap. Work your way around the entire wire, tightening it to the mandrel as you go. After you’ve hammered the entire wire, you can slide it off the mandrel.

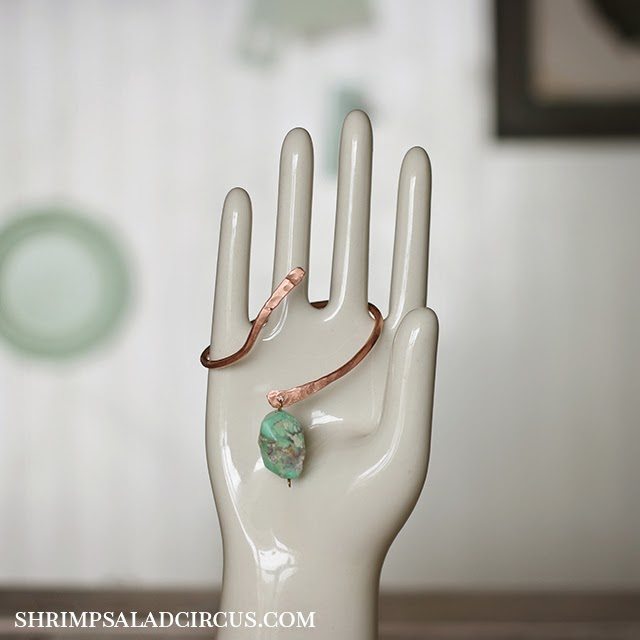
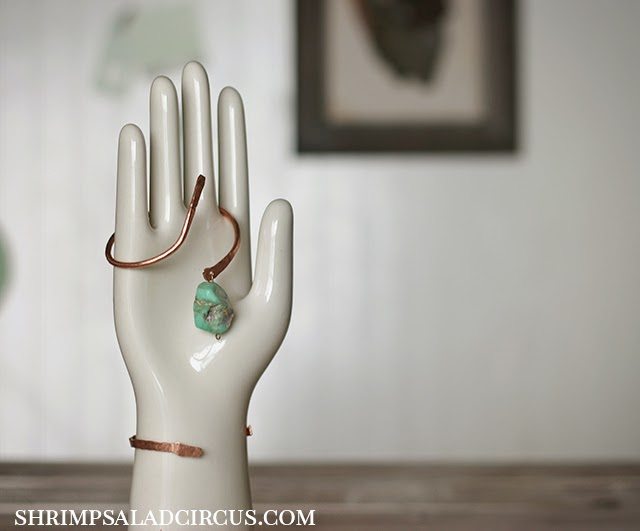
6. Use a headpin to attach a bead, gemstone, or charm through the hole in one end. Voila!


Wow this is really pretty and it appears incredibly simple to make. I’ll have to give this a go sometime!
Thanks so much, Pam! Once you have the other supplies on hand, it’s really affordable to make them, too. I think I paid 69 cents per foot for the wire!