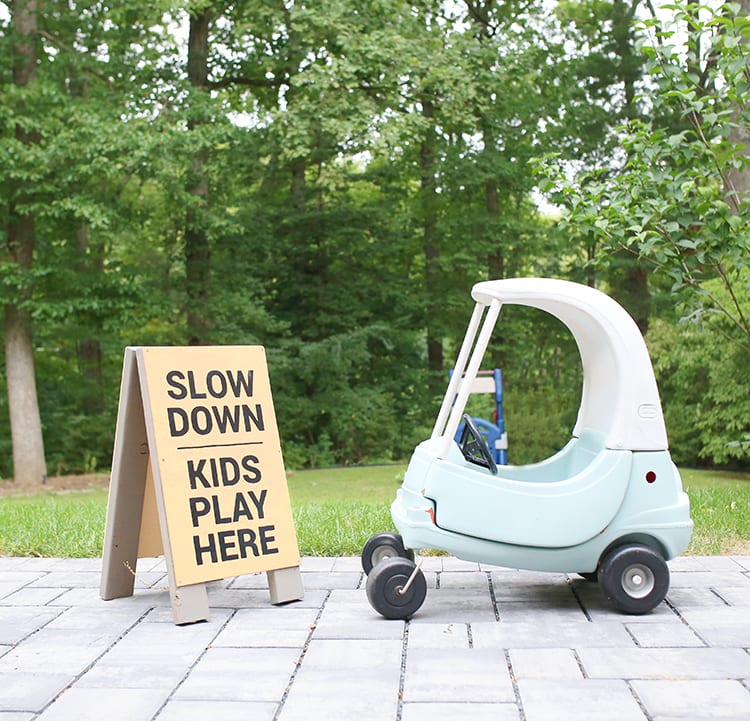
This month’s At Home DIY Challenge had us get creative with a 2×4.
My original idea was to build a learning tower for Cricket, but everything I found didn’t use such a thick piece of wood.
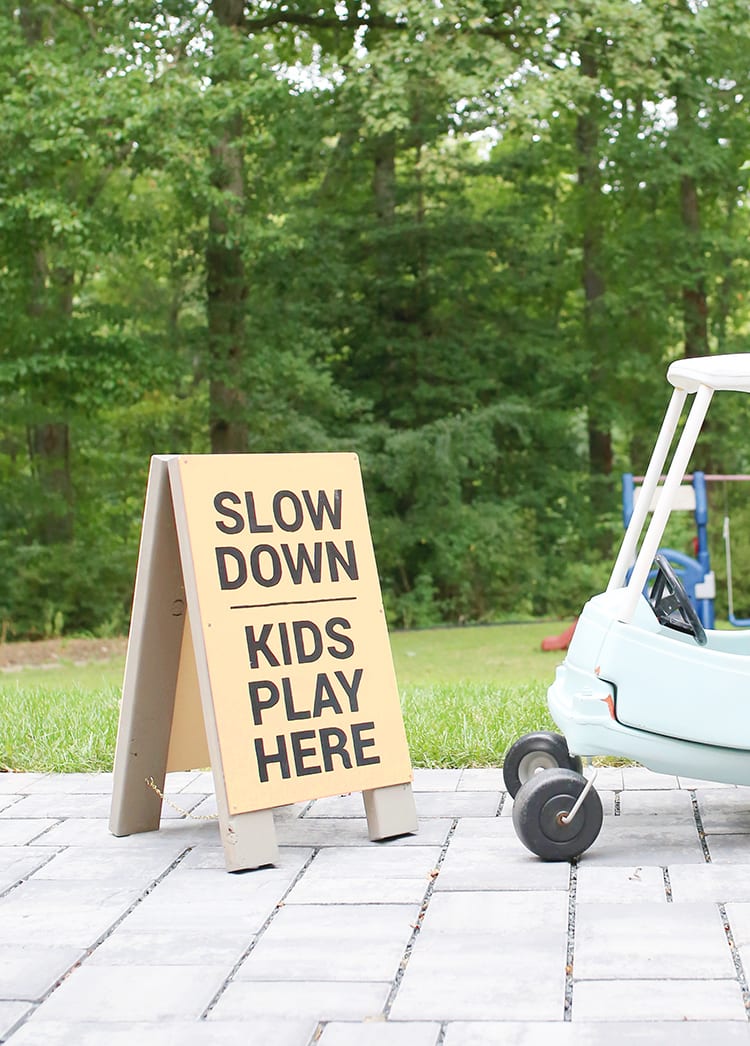
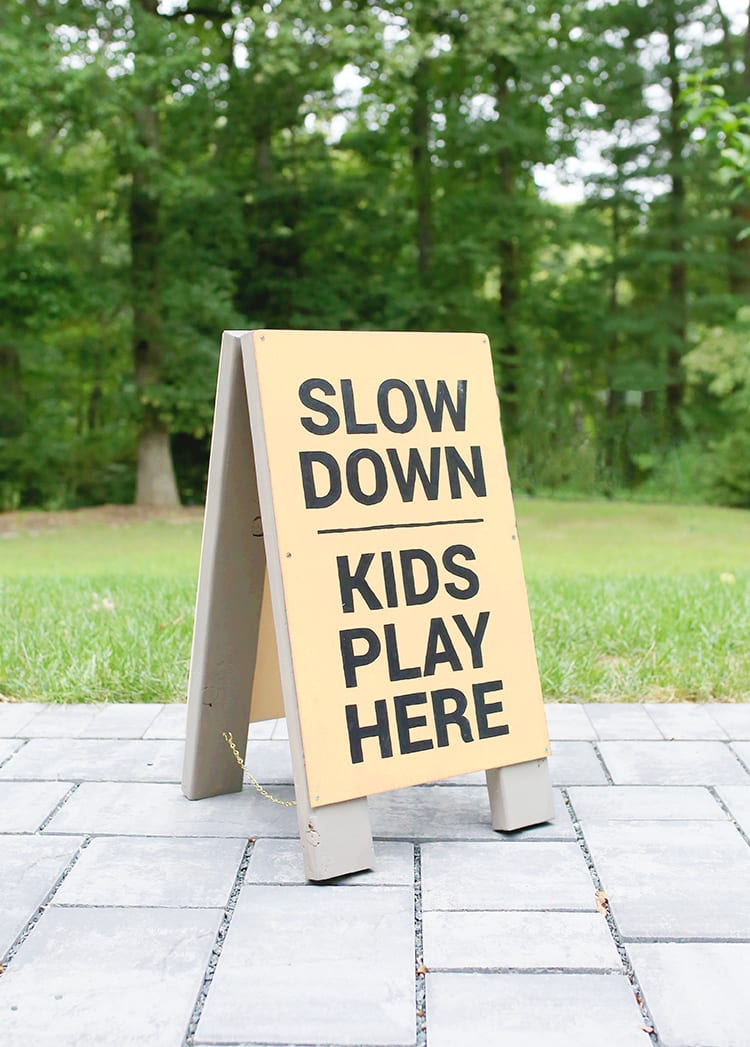
And then it hit me — I’ve been meaning to make one of these “slow down for kids” yard signs for ages!
People drive way too fast through our neighborhood, and they blow through stop signs shockingly often. Now that lady baby is running at full, full speed, it honestly terrifies me to let her play in the front yard more than three feet away from me…
This is a super easy build, so if you’re a woodworking beginner, it’s a great project to practice your skills on!
Supplies
- Lumber
- 2×4 (10 feet long)
- Plywood
- Two hinges and included screws
- 12 screws
- 4 small cup hooks
- 22 inches of lightweight chain
- Outdoor paint or stain
- Paintbrush
- Saw
- Sander
- Screwdriver
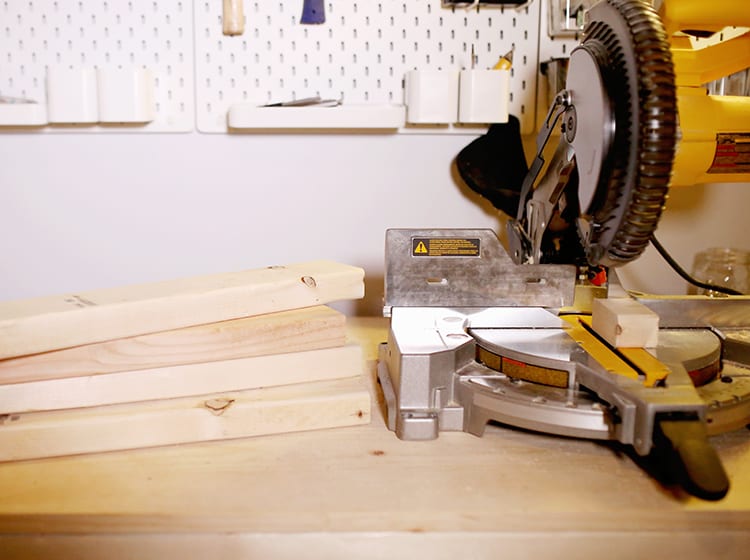
1. Cut the 2×4 down to four 28″ pieces.
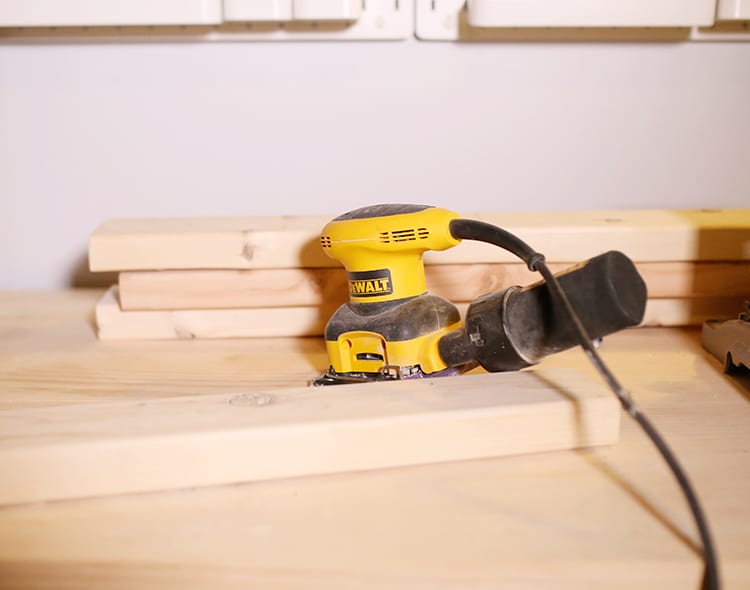
2. Sand the wood thoroughly.
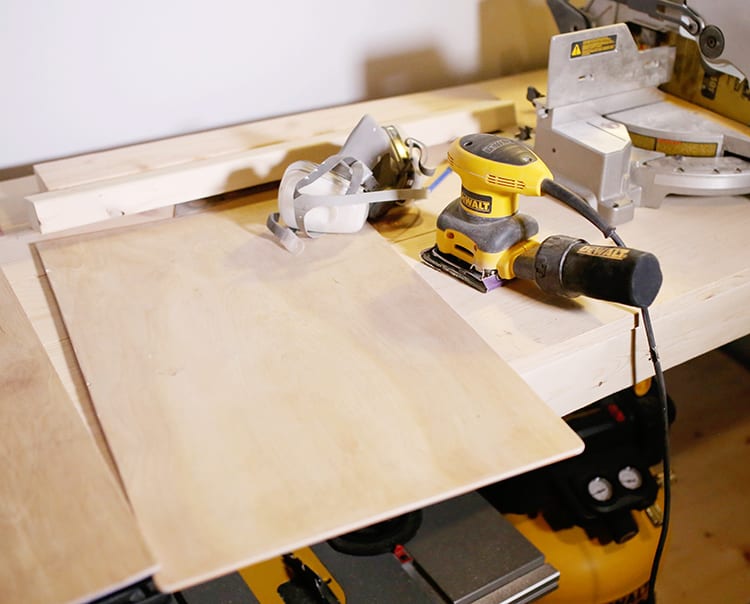
3. Cut the plywood down into two pieces that are 24″ x 15″.
Sand them thoroughly, using the sander to slightly round the corners.
4. Paint or stain the 2x4s and the plywood on all sides and edges.
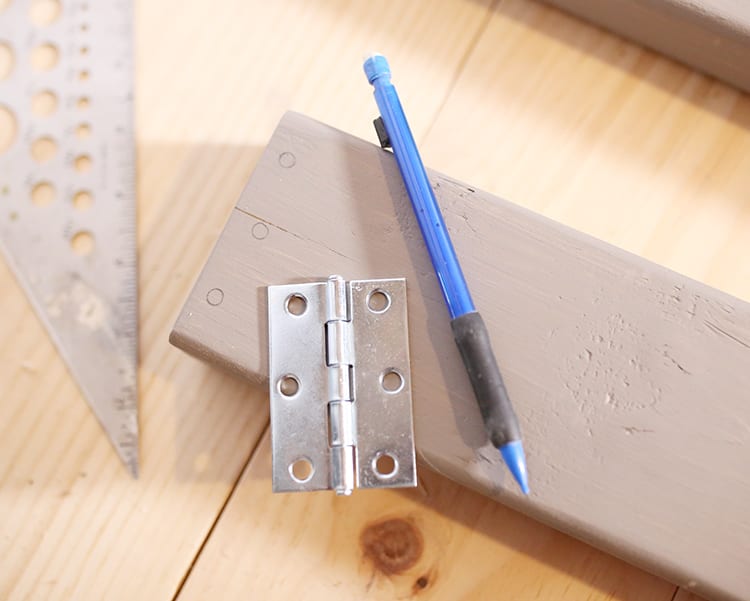
5. Trace the holes in a hinge onto the inside top edge of one of the 2x4s. Drill pilot holes in the centers of the circles.
Use the included screws to attach the first side of the hinge.
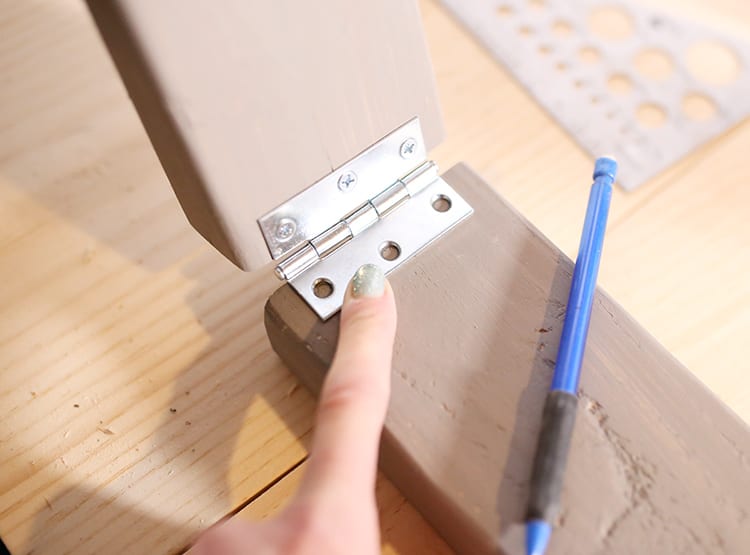
6. Prop the hinged 2×4 onto the top inside edge of another 2×4. Trace the holes, and repeat the process to attach the hinge.
Repeat for the other set of 2x4s.
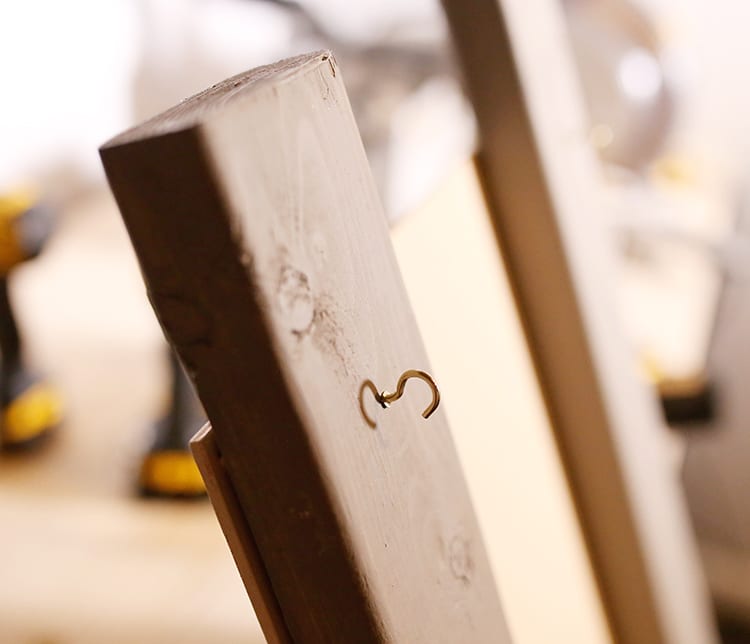
7. Screw a small cup hook four inches from the bottom inside of each leg.
You can see from the photo that I did it at the end, but I realized it would have been much easier to do it before the front and back are attached.
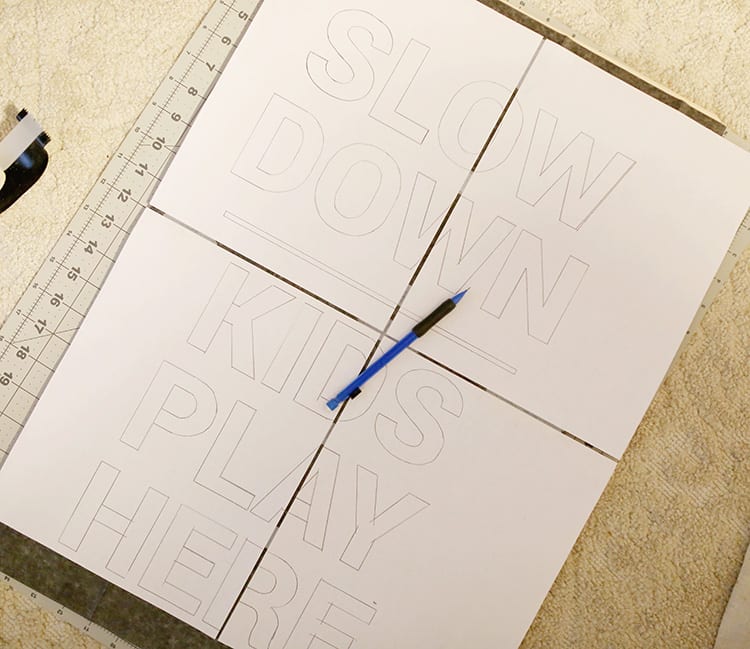
8. Print out your desired text, and tape the pages together.
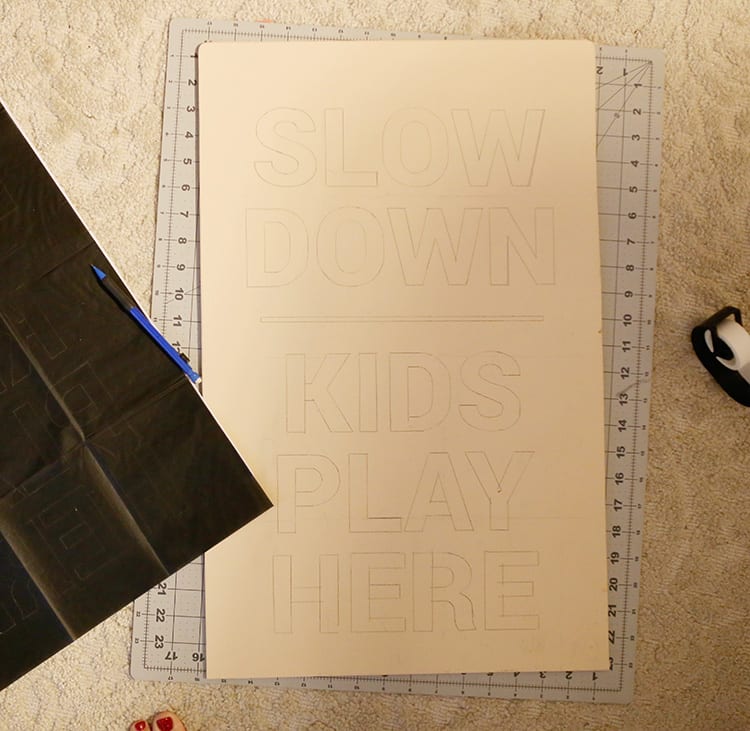
9. Use a piece of graphite transfer paper under the printout. Trace the outlines of the letters with a pencil. Lift off the papers, and you should have outlines of all the letters on your board.
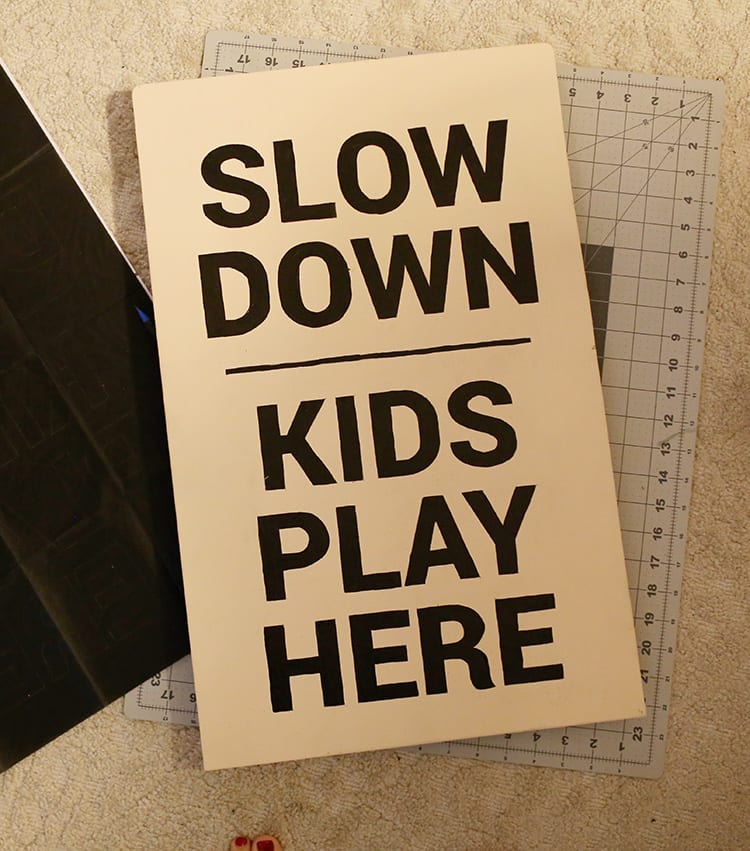
10. Fill in the letters with an outdoor paint.
11. Spray or brush on a clear, matte sealant.
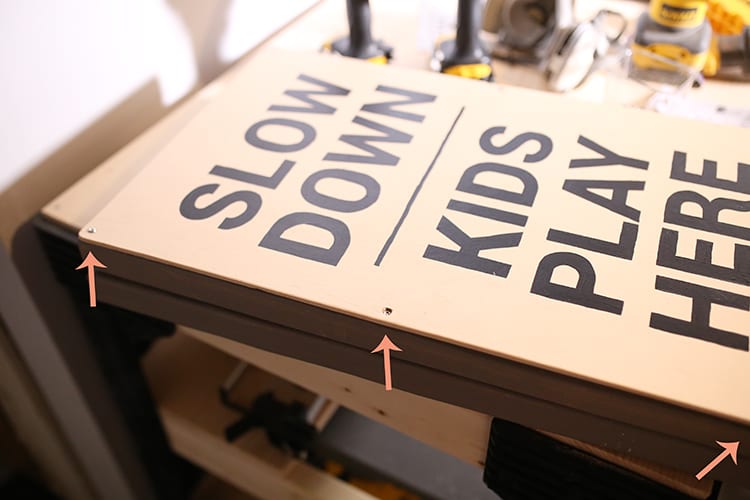
12. Screw the plywood to the legs using a screw at the top and bottom corners and the middle sides.
Repeat with the back.
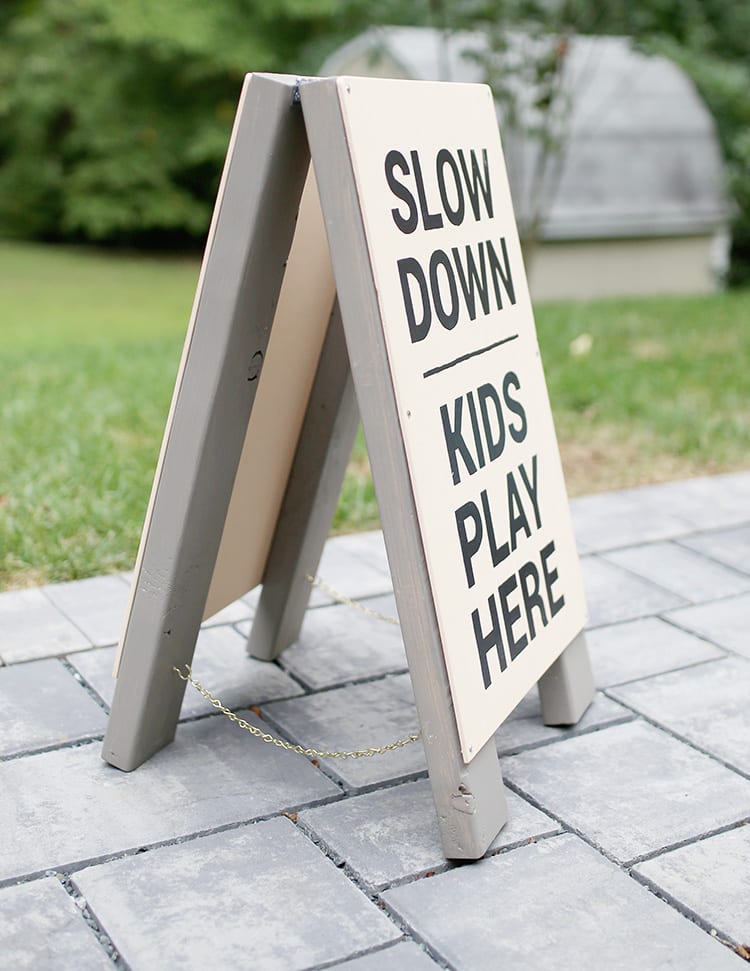
13. Hook an 11″ chain between each set of cup hooks to keep the sign from falling flat.




I appreciate your efforts in sharing this valuable content.
jumping shell
I love this!
jumping shell
뱃할맛이 나는곳 먹튀검증 안전한메이져
What a great idea, Lindsay! It turned out so pretty too!
Such a smart idea for the front yard… looks super easy to make too! PLUS I really love that little car in the updated paint scheme! Winner!
Thanks, Betsy! I had *so* much fun painting that cute little thing!
What a great idea to make your own. It looks so cute with that cute little kid car next to it.
Thank you so much, Toni! I had to find an excuse to get that little car in the frame! 🙂
I love this, I so need one of these for our front yard.
Such a beautiful slow down sign! Love it!!
This is so great! We totally need to make one for in front of our house!
Paige
http://thehappyflammily.com
Thanks, Paige! I love that you can make it in any color!