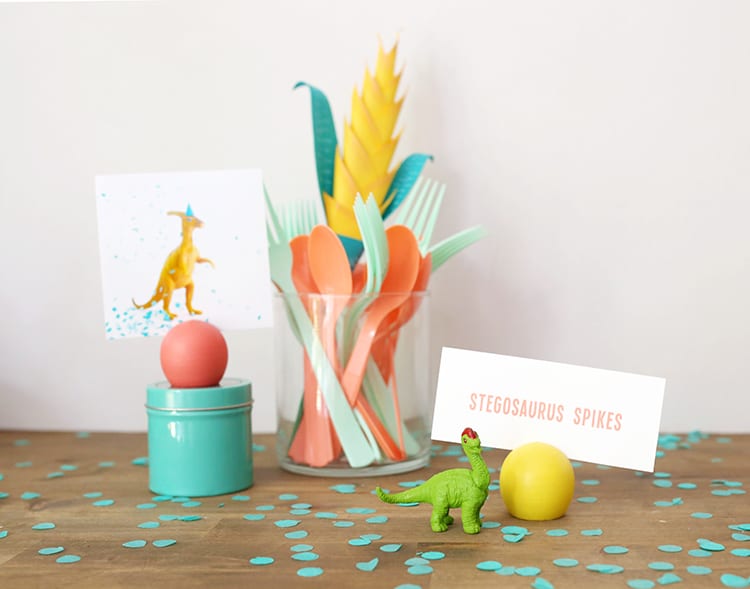
Make these DIY place card holders in any colors for your next party.
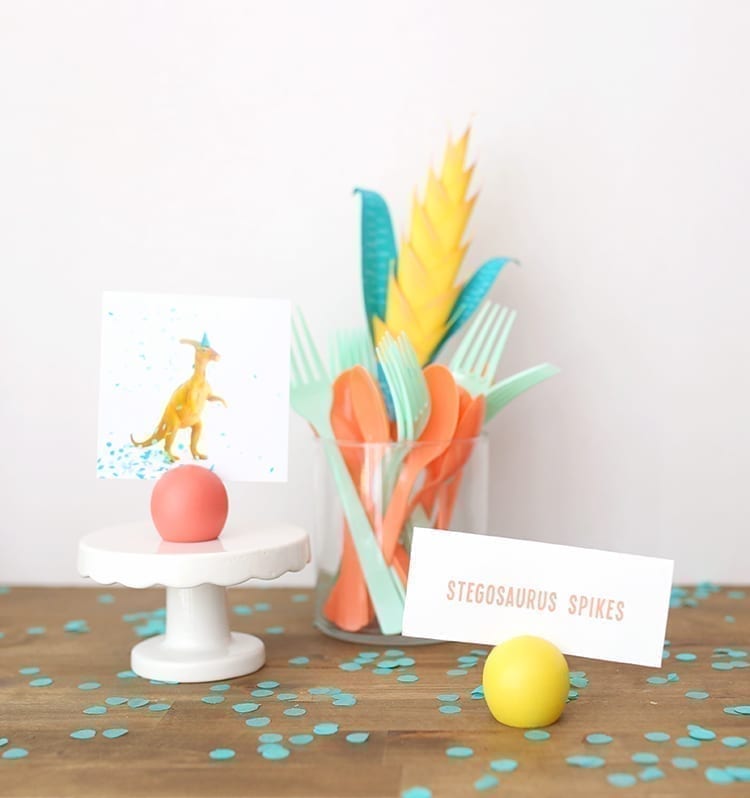
I love projects that do double-duty.
These easy DIY place card holders have a second life after your party as wooden photo holders!
The best part? You can make them in under 20 minutes! I created this tutorial as part of this month’s At Home DIY challenge: home decor under $20.
P.S. You can get this dinosaur art for free. That plus the wooden photo holders is perfect for a kids’ room or birthday party!
Oh, and here’s another super cute tutorial for botanical DIY photo holder clips. Or this DIY branch calendar holder.
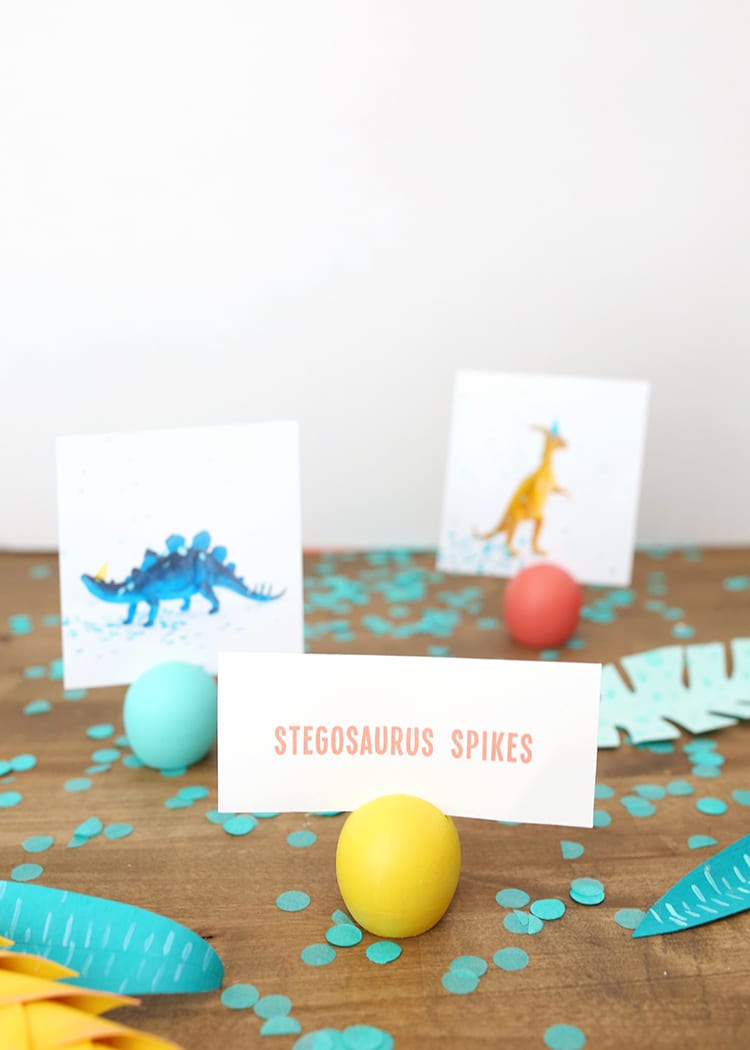
Oh, and one of the things that makes this project so easy and approachable is that you don’t need any intense power tools.
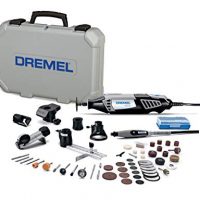
You can certainly use a saw if you have one. But if you don’t own a saw and don’t want to invest, you can do this entire DIY place holder project with a Dremel rotary tool and a cutting blade for it.
Save This for Later – Pin It!
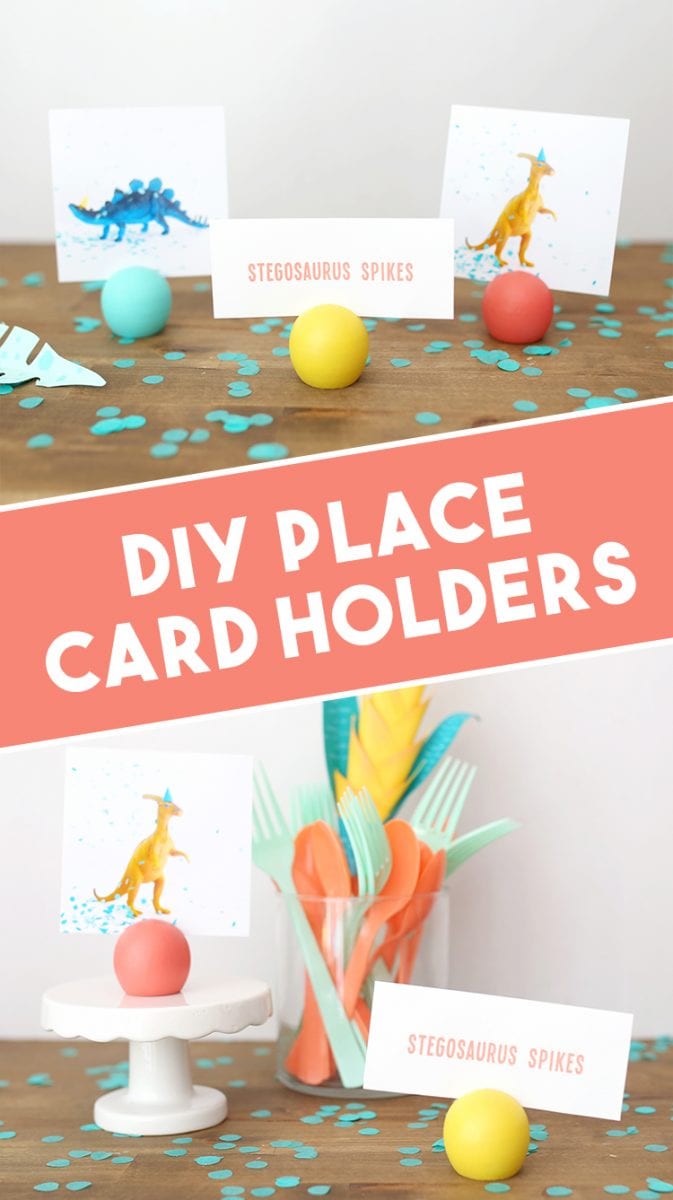
How to Make DIY Place Card Holders
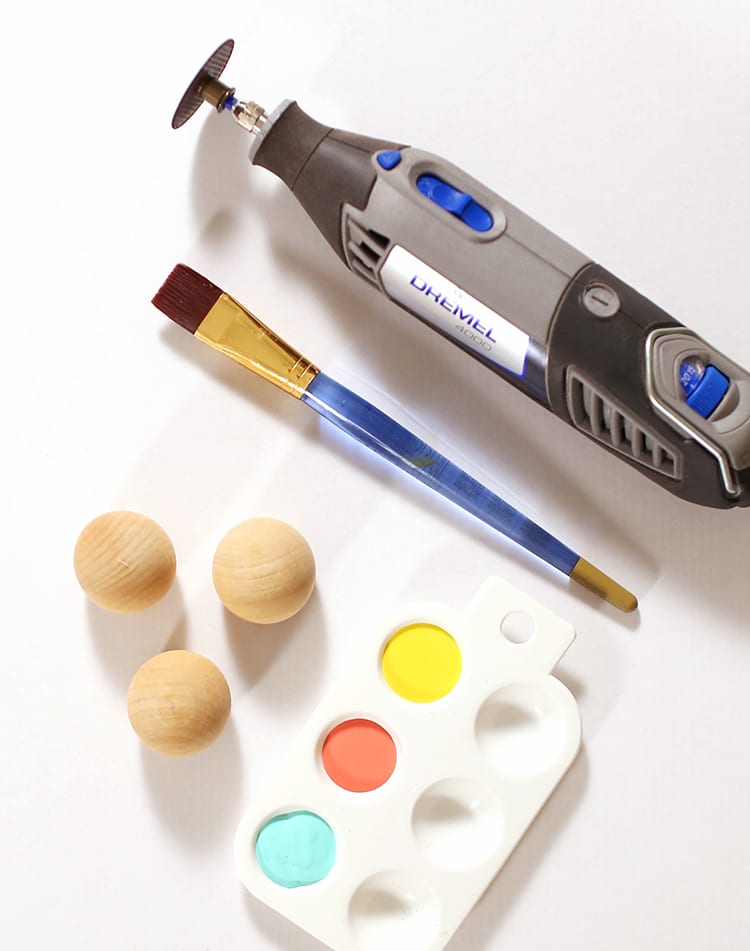
Supplies
These are the actual supplies I used, but feel free to use different brands and colors. This list contains affiliate links, so I may make a small commission from purchases.
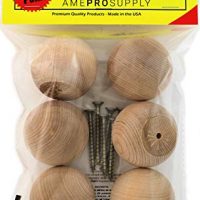
- Wooden ball knobs (flat-bottom wooden balls)
- Dremel rotary tool
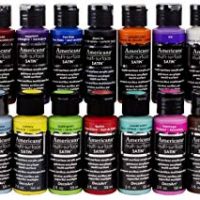
- Acrylic paint
- Paint brush
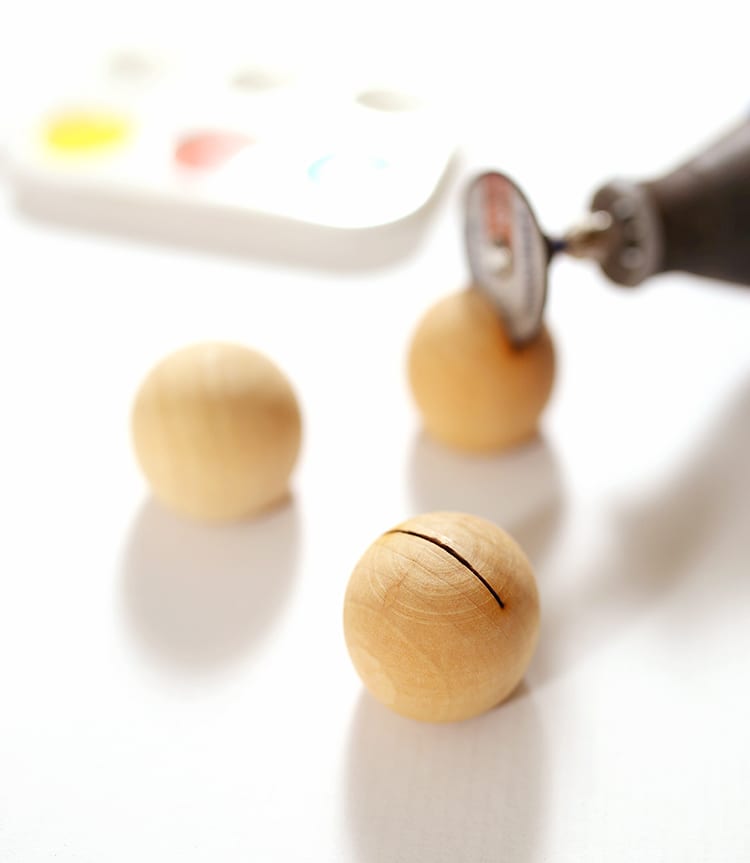
1. Use a Dremel rotary tool to cut across the top of each wooden ball knob. Try to cut as straight as possible.
Be sure to wear safety glasses and gloves to protect yourself from any flying bits of wood.
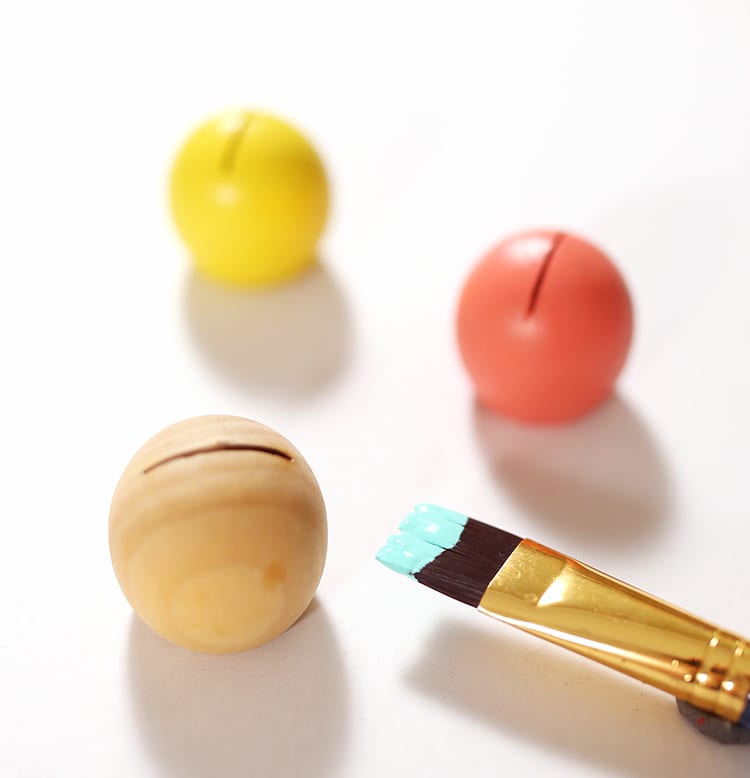
2. Paint each wooden ball with acrylic paint. Let it dry, and then add a second coat.
For lighter colors, you may even need a third coat.
I recommend using a nice acrylic paint to get better coverage in fewer coats. It’s worth the money versus the cheapest one at the craft store, since you won’t have to use as much anyway.
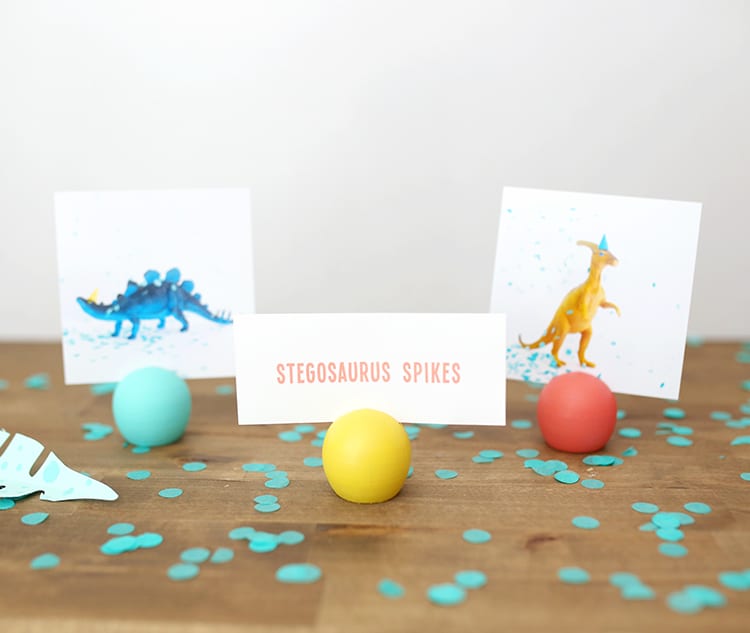
Easy Wooden DIY Place Card Holders for a Party
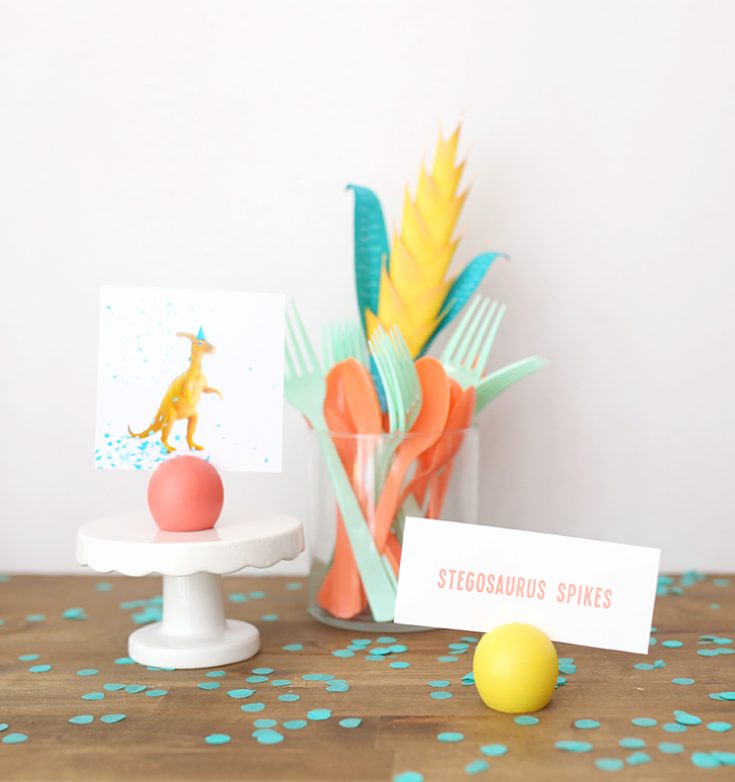
These simple DIY place card holders only take two easy steps! They're perfect for a kids party or even a display for unique wedding table numbers!
Materials
Tools
- Dremel rotary tool
- Paintbrush
Instructions
- Use a Dremel rotary tool to cut a slit in the top of each wooden ball.
- Paint the balls with acrylic paint.
Recommended Products
As an Amazon Associate and member of other affiliate programs, I earn from qualifying purchases.









I tried the same game online that was available at Puzzle Gems
The information you have posted is very useful. cladder
안전보장+다양한플레이 먹튀검증 안전노리터 go
Absolutely adorable!!! Very cute!!
These are adorable, Lindsay! Such a good idea 🙂 I love the dino printables too!