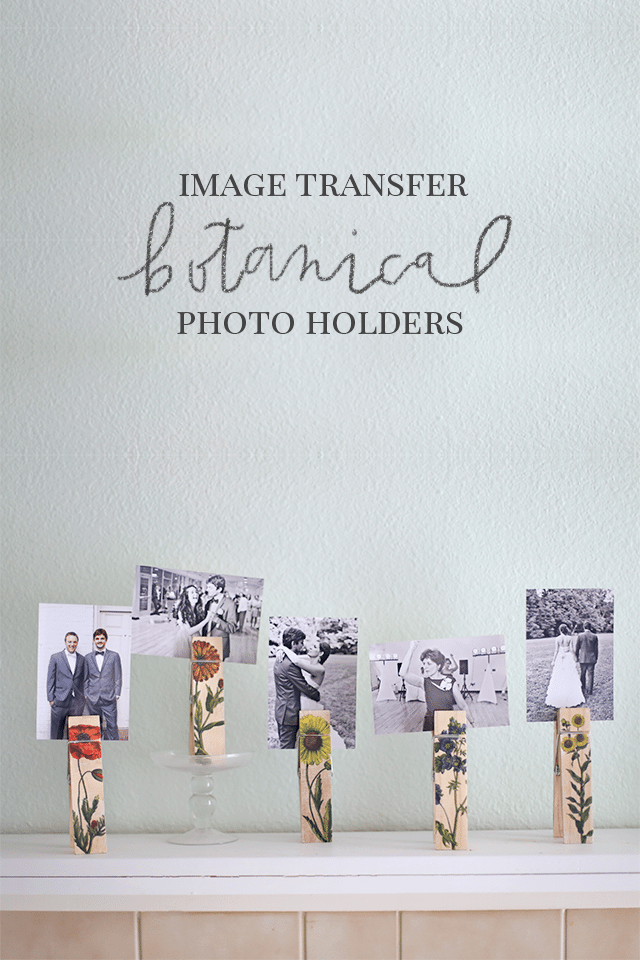
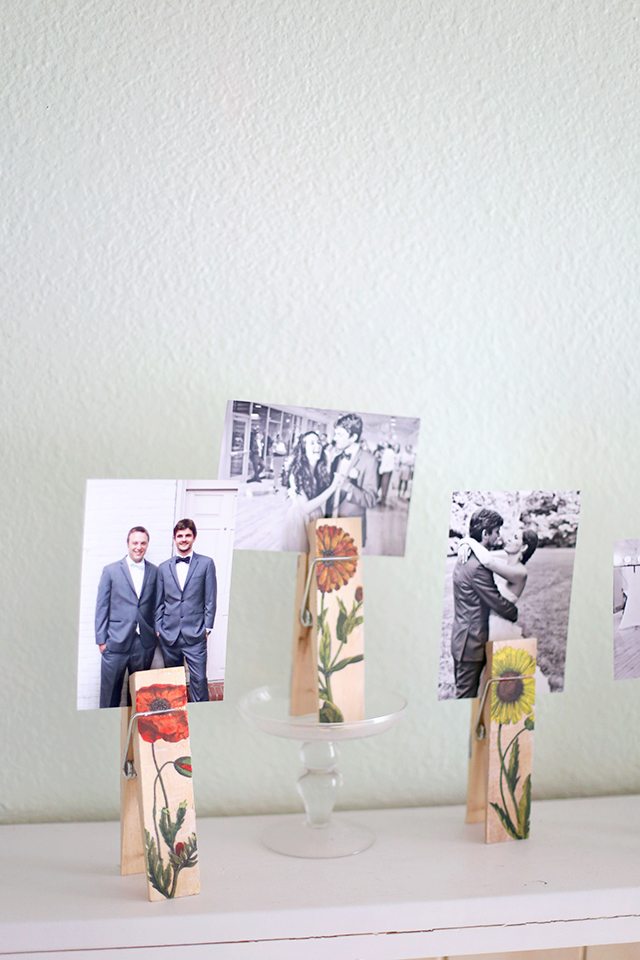
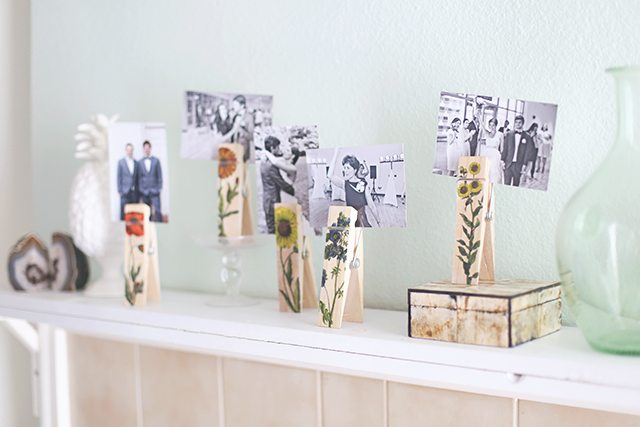
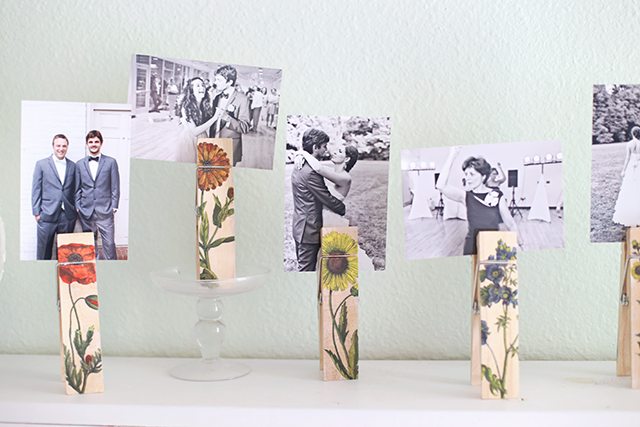
I’m really excited to share today’s tutorial because it’s really fun and shockingly easy. I’ll teach you how to add ANY image onto plain old wooden clips to create beautiful DIY photo holders.
We learned some really neat image transfer techniques from the very sweet Courtney Cerruti at the Michaels Makers Summit, and I’ve finally put ’em to good use!
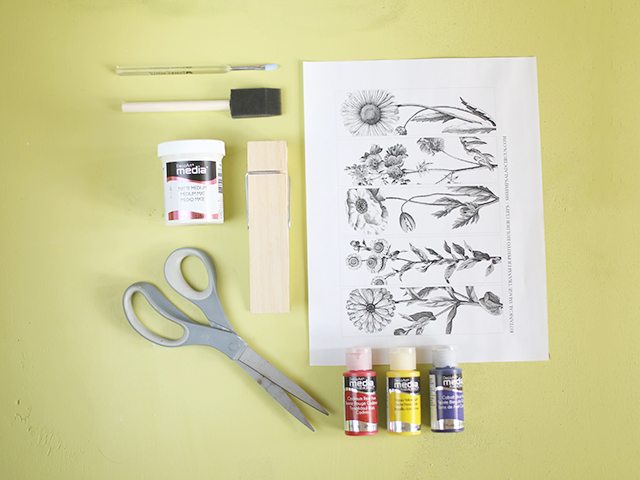
Supplies
- Giant wooden clothespins – 6 for $12.95
- Vintage botanical prints – images from The Graphics Fairy
- Matte medium
- Fluid acrylics
- Foam brush or large paintbrush
- Small paintbrush
- Credit card
1. Download and print the free transfer graphic I’ve created. It MUST be a laser or copy machine print for the transfer to work. An inkjet printer won’t work, so if you’re unsure of what you have, you can take the file to a copy shop and have them print it for you. Print it on regular ‘ole computer paper. You want the paper to be thing and lightweight for later.
Here’s a great explanation if you want more information about why you need to print with a toner-based printer.
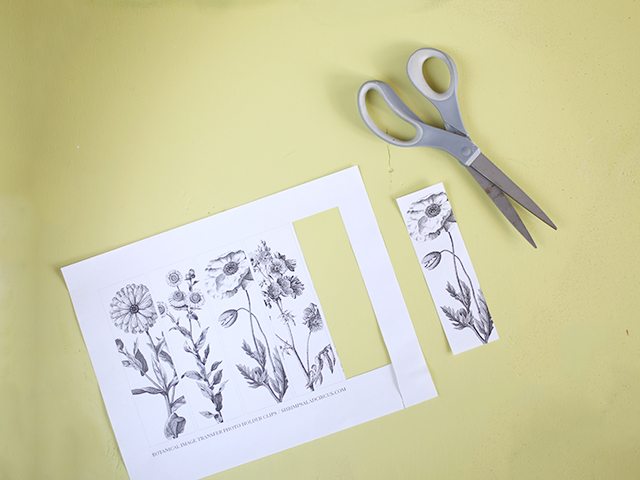
2. Cut the individual designs out using the outline for each as a guide.
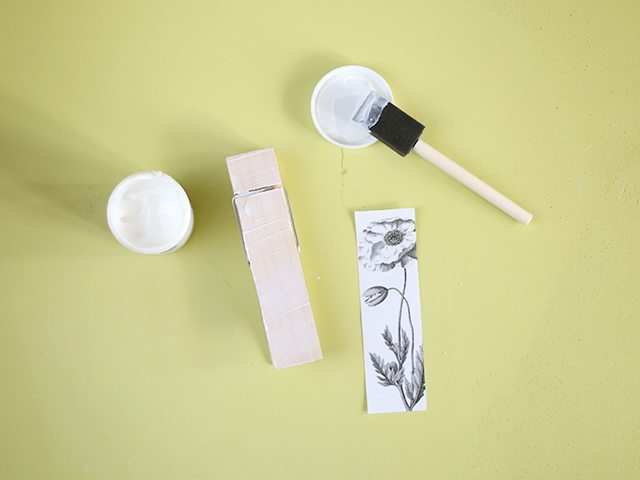
3. Brush a generous, even coat of matte medium all over the front of a clothespin. Right away, lay a cut printout face-down onto the wet surface.
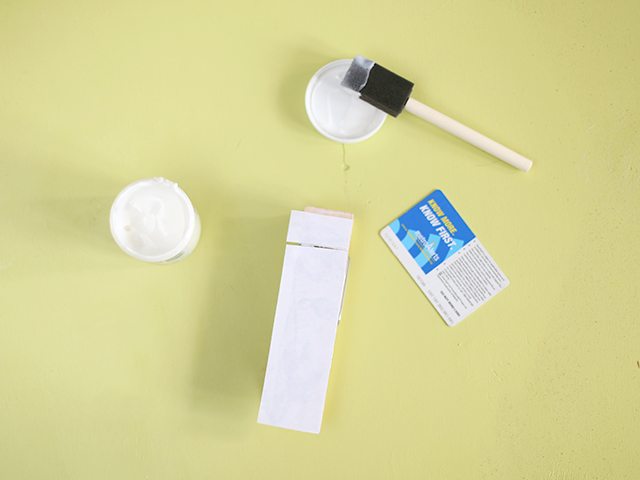
Use the side of a credit card to gently smooth out any bubbles and make sure the paper is fully in contact with the surface of the clothespin. Don’t press down too hard; you don’t want all the medium squeezing out the sides.
Set it aside to dry overnight. This is the hardest part. Must. Exercise. Patience!
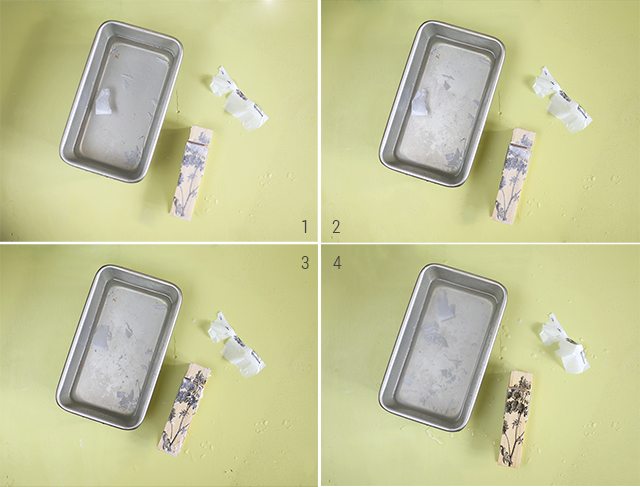
4. Saturate the paper with water, and start rubbing away the wet paper. This will feel like you’re “messing it up,” but keep going! You can use a sponge to gently buff away any paper fuzz if it helps.
Let it dry for a little while or blast it with a hair dryer to see where you still have paper bits. Repeat until all the opaque paper fuzz is gone.
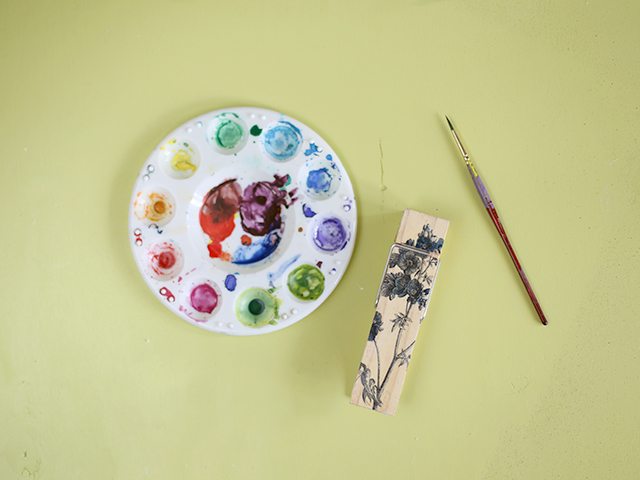
5. Use a small paintbrush dipped in fluid acrylic paint to add pops of color. It’s translucent, so the botanical design will still show through.
6. Seal the whole thing with another coat of matte medium or a glossy sealant spray if you prefer a shiny finish.










very intresting
에볼루션접속 먹튀검증 안전노리터 go
Love this idea! I need to find some giant wooden pegs!
Thanks so much, Lisa! I found these on Amazon (link under supplies), but I think they have them at the big craft stores, too!
These are so pretty!!! And I can’t believe how easy!
Thanks, Bre! I love projects like this that are SO much simpler than you’d ever guess.
I am LOVING this technique! I want to make some cute Baby’s First Christmas ornaments and I’ve been hemming and hawing on how to do them…this might be the ticket! Love the botanicals, too!
That would be adorable, Cyd! I actually just test-drived (test-drove? whatever…) some image transfer ornaments with a different technique, and I think there are SO many cute variations with this technique!
What a fun idea! Those giant clothespins are even awesome on their own!
Thanks, PJ! I’ve had them for ages and finally had the perfect inspiration for them. Love it when that happens!
so so cool! love these!
Thanks, Sara! I need a bigger mantel for all my crafts! lol
Yessss, these are so so good!
Thanks, gurl!! ;D