
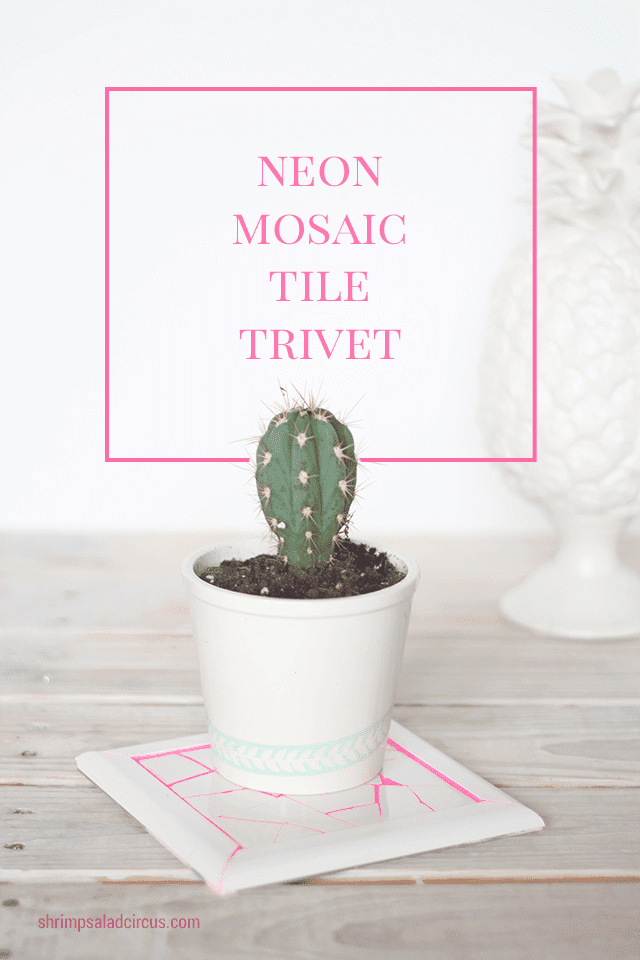
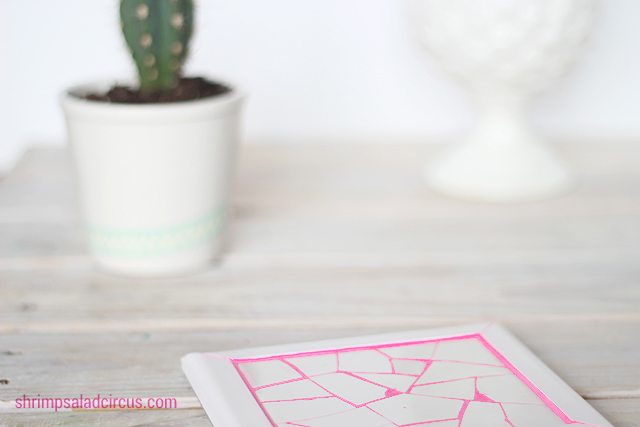
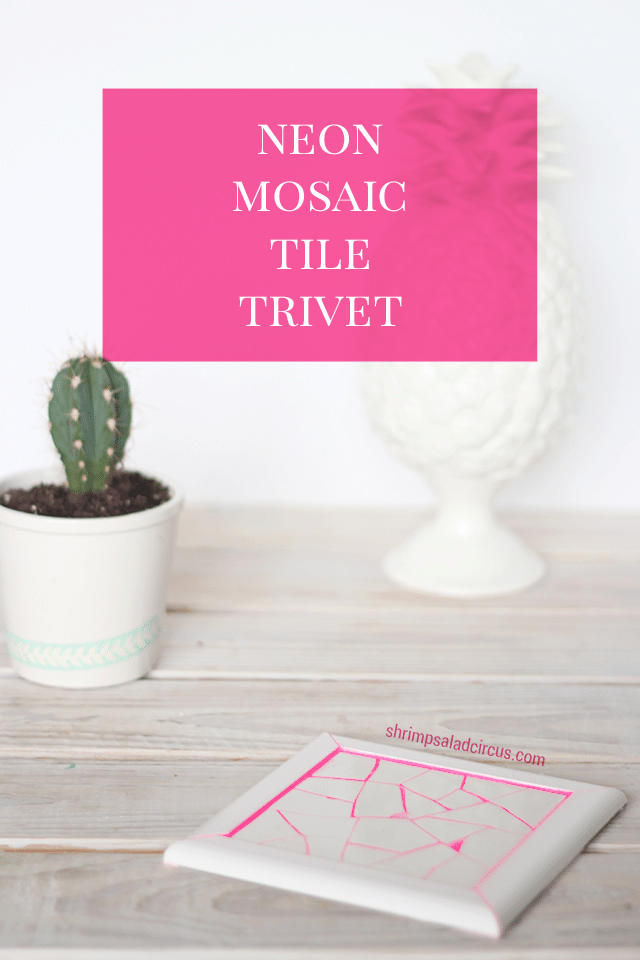
I went a little color crazy with this one because a little pop of neon against stark white ceramic tile is a very good thing!
I’m especially excited about today’s project because tile and grout supplies and techniques intimidate a lot of people, but they’re actually not that complicated. This tutorial is a great way to try your hand at it on a real small, un-scary level.
Read on for the full instructions, because you CAN tile and grout — even if it’s just a tiny little bit for starters!
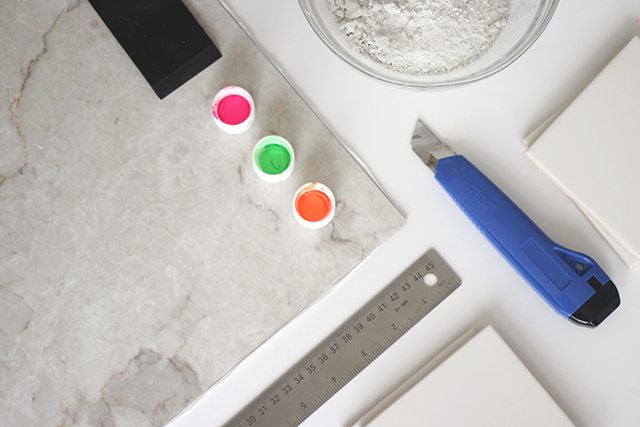
Supplies
- Neon acrylic paint
- Unsanded grout
- Exacto knife
- Square white tile
- Peel-and-stick floor tile
- Squeegee (or plastic gift card)
- Plastic molding
1. Bear with me here, guys. We’re about to math — but just a little bit! And then we’ll get back to the regular ‘ole tutorial instructions.
You need to figure out what size to cut your peel-and-stick tile. Since it’s going to serve as the base for the whole project, we have to make sure there’s room for the white tile, the grout space, and the molding border. Don’t worry though, I made you a little equation (cue flashbacks to eighth grade algebra, #amiright?!):
White Tile Width + (Molding Width x 2) + .25 Inch for Grout Space
Okay, so let’s break that down. Measure your white ceramic tile. Mine was 4.25 inches square. Now measure the width of the molding. Mine was .5 inch wide. Since I want to have enough extra space for the grout to really show, I added .25 inch to the measurement. Here’s what it looks like with my numbers plugged into the equation:
4.25″ + (.5″ x 2) + .25″ which breaks down to 4.25″ + 1″ + .25″ = 5.5″
So, all of that to say: I needed a peel-and-stick tile that was 5.5 inches square.
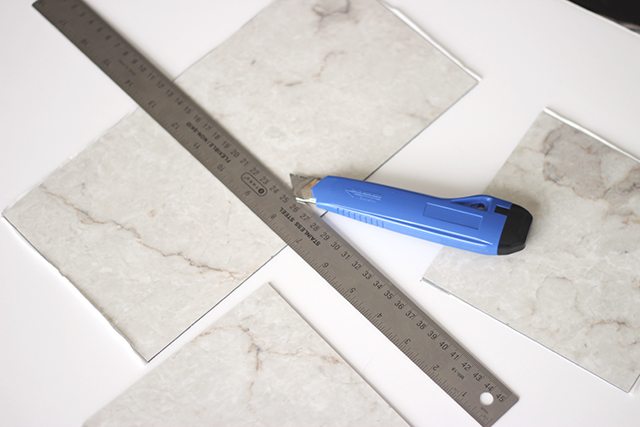
Now, mark lines on the back of the tile to indicate the measurement you need. Use a ruler or some other rigid straight edge held against that line to give you a cutting guide. Run your Exacto knife against the line.
Don’t worry about making a really deep cut. Just be careful not to cut yourself!
Once you’ve scored the tile with the knife, bend it along the cut, and it will snap right in half!
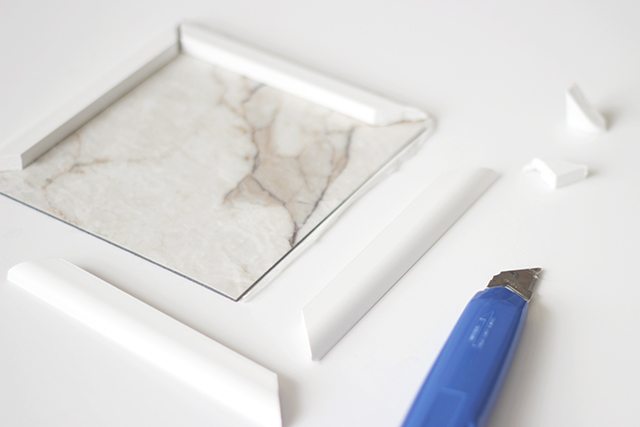
2. Cut the molding to the length you calculated in Step 1. I use a really lightweight synthetic molding, so I was able to just cut through it with a sharp knife.
Now you need to miter the corners. You want each corner cut to a 45 degree angle so that they fit together perfectly.
*Hint: You can use a picture frame to guide your cuts!
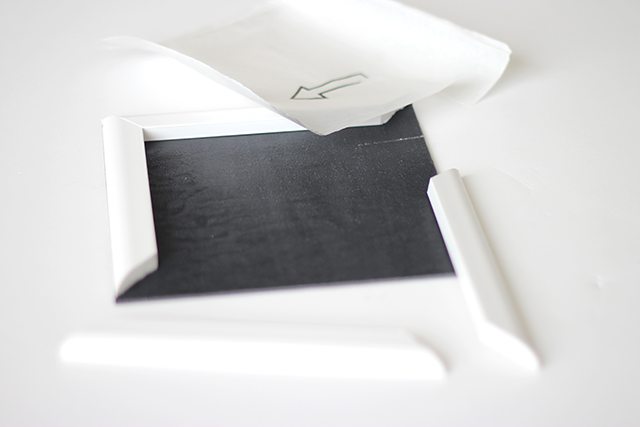
3. Peel the backing from the piece of sticky tile. Carefully line up and place the pieces of molding to form a frame around the edges.
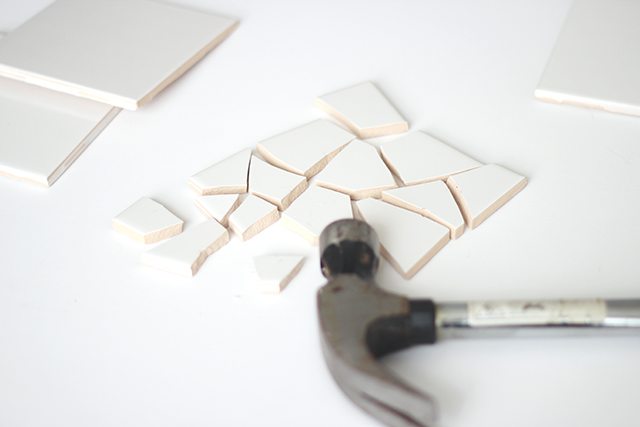
4. FUN PART!!! Smash the heck out of a white ceramic tile with a hammer. Go cray.
Oh, and wear protective eyewear, because flying shards…
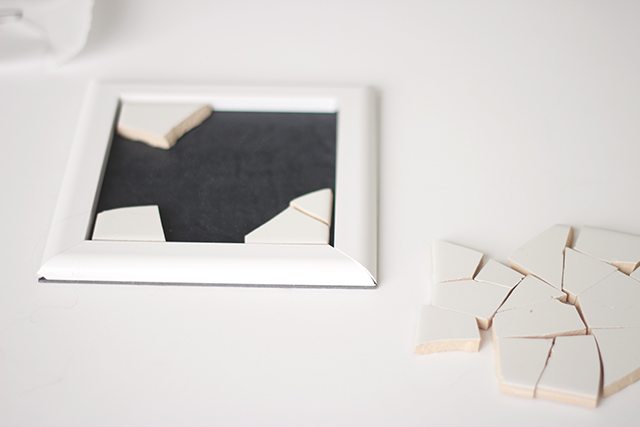
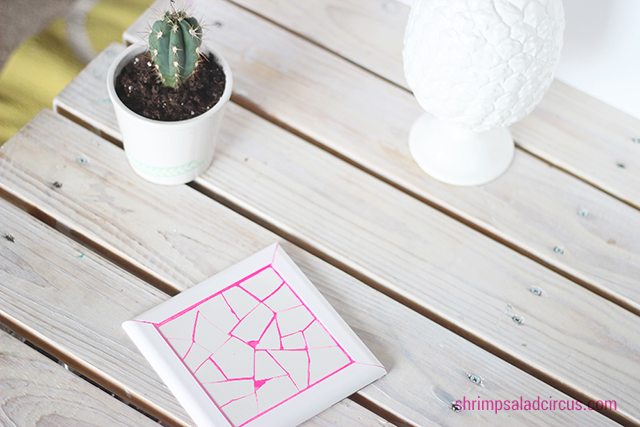
5. Reassemble the smashed tile like a puzzle within the frame. The pieces will hold right onto the sticky backing, so you don’t need any glue.
Leave a little bit of space between the tile pieces and the frame AND between individual tile pieces.
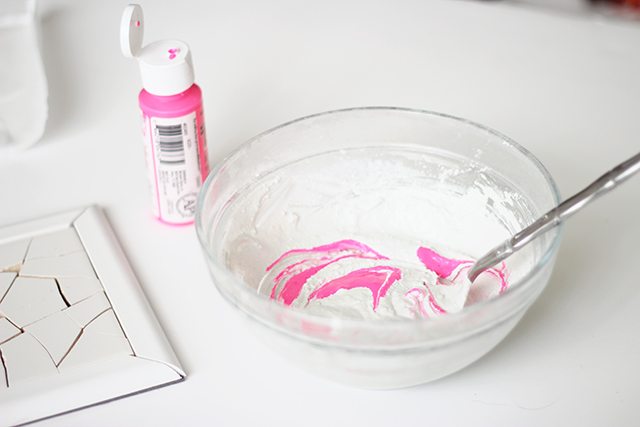
6. Mix up a little scoop of grout according to the directions on the package.
Add a truckload of acrylic paint in your color of choice. I was going to tell you to start by squeezing in a little bit, stirring, and then adding bit by bit, but I ended up using half a bottle for this tiny little bowl.
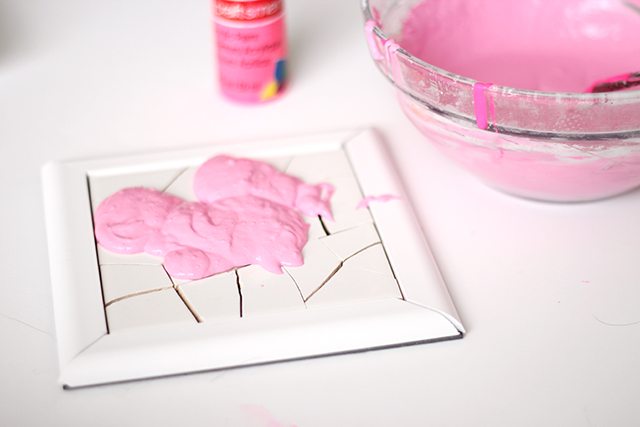
7. Pepto Bismol, anyone?
But anyway… Spoon a generous blob of grout onto the mosaic you’ve created.

8. Use a little squeegee (or the edge of a plastic gift card or store loyalty card) to spread the grout around. Force it into all the crevices between the tiles pieces and the frame pieces.
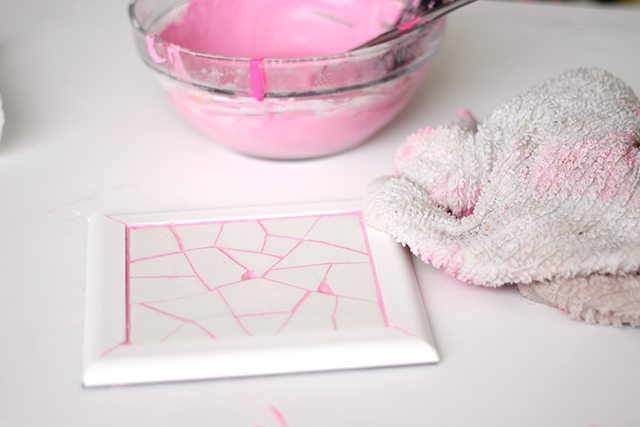
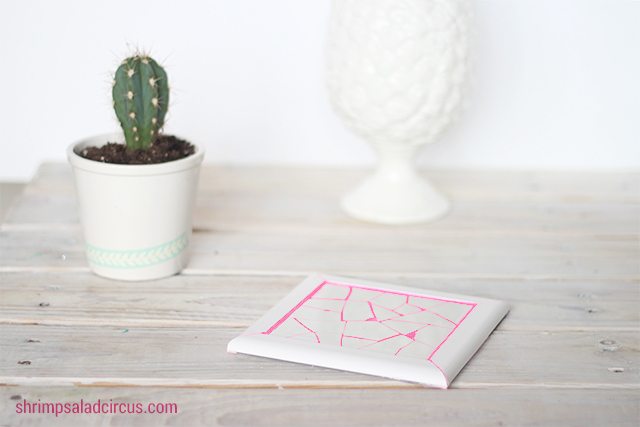
9. Let the grout sit for 10 minutes or so, and then use a barely damp dish towel to gently wipe away all that excess grout.
This is the time to spot-apply grout into areas where you see gaps. Just repeat Steps 9 and 10.
Optional: Spray it with a clear coat of spray paint or sealant if you want to protect the grout from staining and moisture.
![]()


에볼루션접속 먹튀검증 안전노리터 go
Hi there
I wanted to ask your advice with regard to mixing metallic gold acrylic paint with grout. I am about to tile my fireplace and wondered whether this method would work? I don’t want a glitter effect a more solid gold effect as in this image of the Anahi Restaurant in Paris, http://www.sarahakwisombe.com/blog/2015/6/1/coloured-or-metallic-tile-grout
I hope to hear from you and thanks for the ideas.
Best
Jim
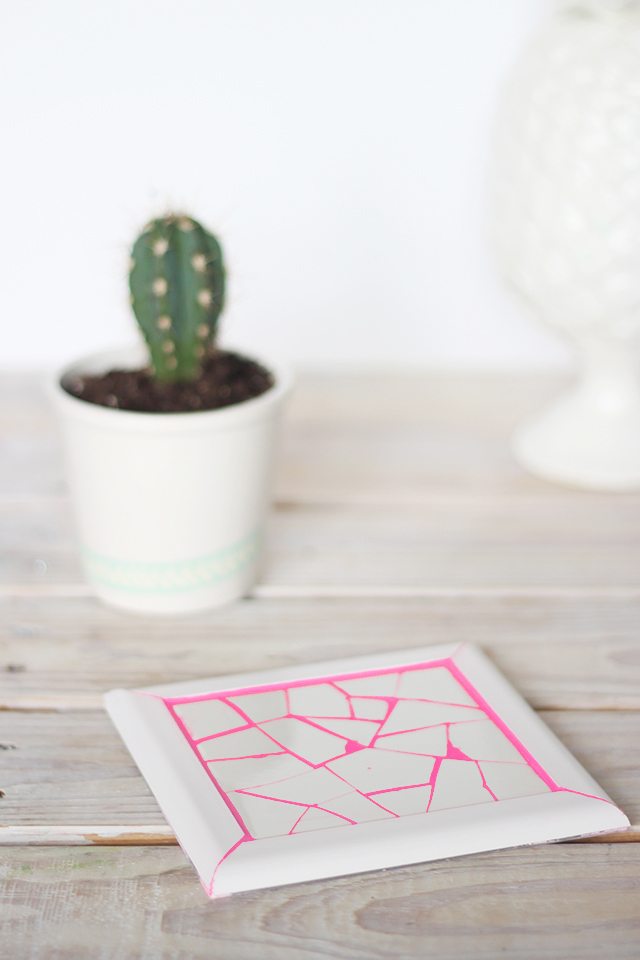
I love these!
Oh this is such a great idea, and it looks fantastic. Love the noen pop!