
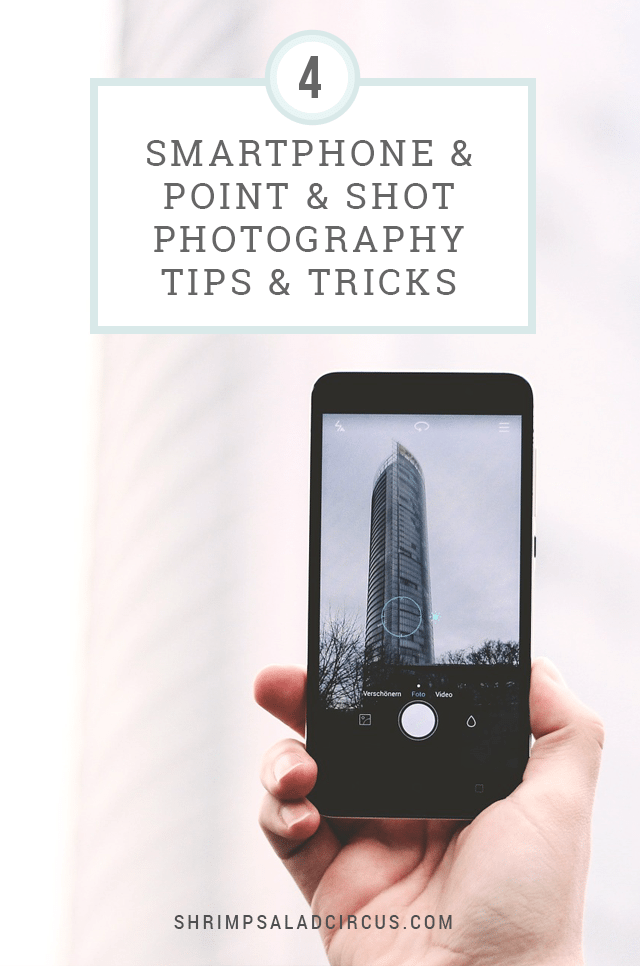
(Updated March 2015) Patty, the sweetheart behind The Plaid Cupcake, is here to soothe everyone’s cries of, “But I can’t afford a DSLR – I’m stuck with a 12 year old point-and-shoot!!!” Read on for tips on setting the scene, setting the settings, and shooting in style with any camera at all – no fancy-shmance necessary!
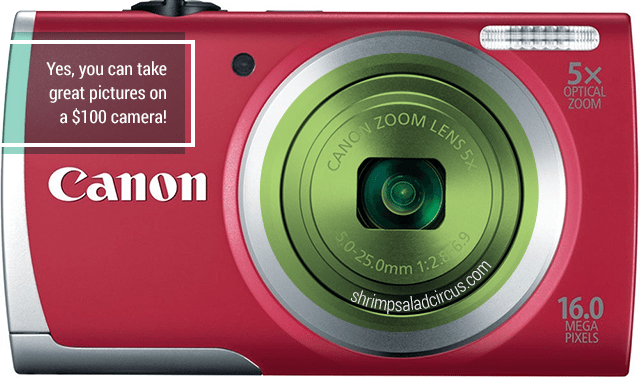
I’ve long had this fantasy of buying a DSLR camera and taking a course in how to master the sucker. You know, become one of those pro-bloggers a la Pioneer Woman who takes pictures all day that people drool over. Alas, my reality is more like this: I’ve owned the same Canon point-and-shoot camera for the past five years, and it was already considered an older “hand-me-down” when I got it. Here’s the thing though – you don’t have to have the fanciest camera or the latest editing software to take amazing pictures. You can take great pictures on a $100 camera!
Disclosure: This post contains a few affiliate links for products I recommend. It won’t cost you any more to buy through them, but I could earn a small commission, so thanks!
Knowing how to get the best photos out of my ‘lil guy didn’t happen overnight. It was a lot of trial and error, and yes, I had to even *gasp* read the manual. Here’s a run-down of the best “tips and tricks” I’ve learned. I would say I’ve come pretty far.
Here are some tips and tricks I’ve learned with my good ‘ole point-and-shoot that I hope you can take away.
1. Basic Supplies:
- White foam board – Grab a few big sheets of the cheapy stuff from your local craft store. It’s great as a background and to bounce light on your subject.
- Bonus project: $10 Fold-Flat Photo Studio
- Sunlight – “What if it’s dark outside?” you ask? We could write a whole series of posts on different lights to use when daylight isn’t abundant. This time of year is especially difficult, but unfortunately I hate to break it to you – nothing works as well as good old fashioned daylight. I’ve tried so many different set-ups and tools, but in the end I’ve just had to rearrange my schedule in order to get daylight. What can I say? It’s the price we creatives pay. ;D
- Flexible Tripod – I kept telling myself that I didn’t need one of these, but I was living in denial. Get one of these now. It makes such a difference – especially in low-light settings.
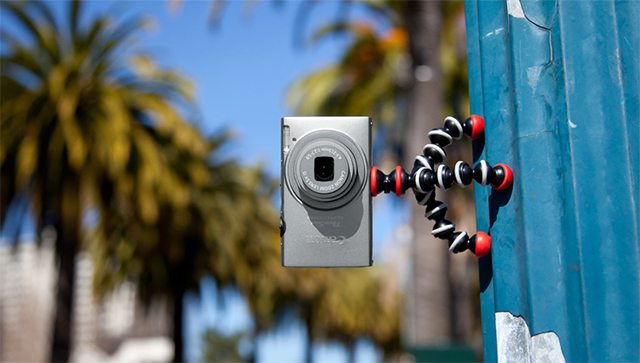
Gpod Mini Magnetic Flexible Tripod
- Free editing software – There’s just no excuse to not use of these programs, as they’re my favorite price: FREE! My advice is to wait until you master one of these before diving into anything “Adobe.” Picasa, Picnik, Gimp, Photoscape, and Pixlr are all great.
- Eye-Fi Memory Chip – This isn’t a necessity, but it’s really, really cool. I refer to this as my “secret weapon.” As soon as you snap a picture, this little baby downloads your pics wirelessly to your computer and puts them into a folder for easy access later on. Gone are the days are taking out the card, putting it into your reader, and getting a cup of tea while your pictures import.
2. Get ready! Camera Setting Suggestions:
- Turn off the flash. The flash is usually too harsh and washed out the subject – natural lighting is always your best bet.
- Switch to macro mode for small, close subjects. This setting probably looks like a tulip on your dial.
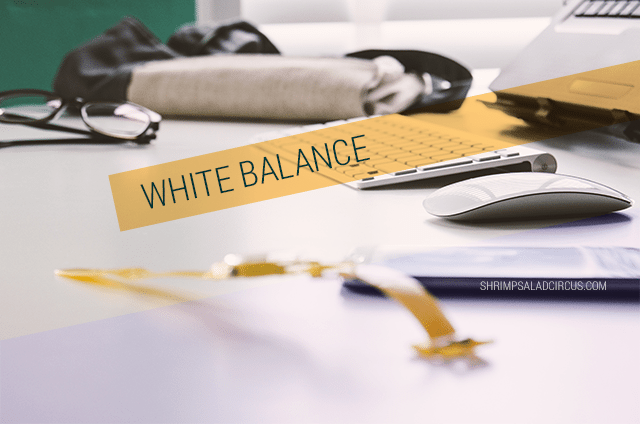
- Find your camera’s “custom white balance” setting, and measure it against your poster board background. Do this every time you start shooting, as the sunlight and shade of white will vary depending on the time of day. If you can’t find this on your camera, it’s worth taking the time and searching for it in your manual. Once I started using this setting, it made a HUGE difference in my photos.
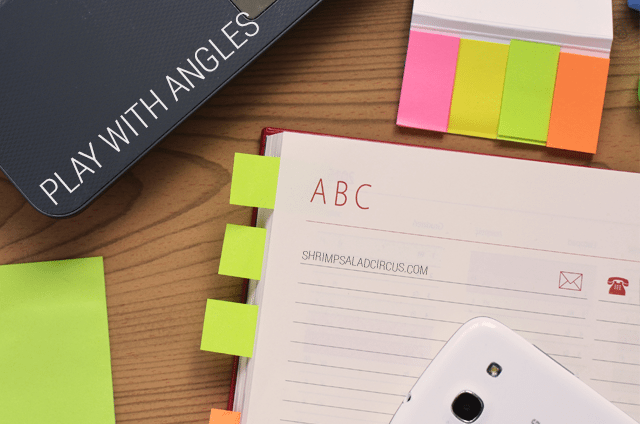
3. Start shooting! We all know how to take a picture, so I won’t bore you with those details, but here are a few little tricks you can use to get some really interesting shots (and enough “angles” to fill up those five Etsy photo slots if you’re a shop-owner like me!).
- When you think you’re in close enough, get closer. I learned this tip from my dad. Think of how many times you’ve gotten group photos and thought “they should have gotten closer” versus “It’s too close!”. Don’t be afraid to get up close and personal with your objects.
- Press your shutter button halfway down to lock in the exposure and focus. To help keep the photo still, take a deep breath before hitting the shutter button, and hold it while you snap the picture. Exhale afterward. (Betcha didn’t know there would be breathing exercises!)
- Take a few straight-on photos but also play around with different angles. Place your object slightly askew and take the photo straight on. I bet it will be more interesting to look at
- Pretend your subject is the middle of a clock. Now turn your camera clockwise and snap a picture about every “10 minutes.” Some will be at odd angles, but I promise at least one will be really eye-catching.
- Take at least five pictures that you think won’t turn out well – remember, you’re not paying for film!
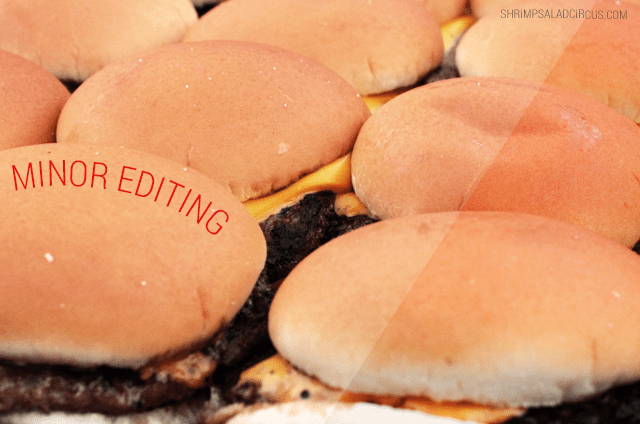
4. Edit! (But don’t over edit. Remember to keep it natural!) Just like the most recent cover of Glamour, most photos you see out there have been retouched. Here’s what a bit of post-processing (editing) can do for an image. Think of the ‘before’ as the photo going ‘sans makeup’ and the ‘after’ as it getting all dolled up and putting its best foot forward. Try playing around with different editing features, such as those below, all of which can be found in your free, basic photo editing software.
- Fill light
- Auto contrast
- Straighten
- Crop
- Color temperature
- Exposure
I am by no means a photo expert, so please, share with us your best “point-and-shoot” tips so that we can all release our inner “photo pro!” Feel free to look me up and read more of my ramblings over on my blog, or come on over and visit my Etsy shop.
Credit: White balance edited from Damian Zaleski‘s photo, Angles edited from BreakingPic, burgers edited from Bara


The creation of unique products requires a constant expansion of one’s horizons and the acquisition of fresh ideas, motivation and inspiration.
I agree with your point that you don’t have to have the fanciest camera or the latest editing software to take great pictures. For most projects, it is enough for me to use ready-made stock photos, resistance bands images of the highest quality from the Depositphotos platform.
Many pride runeword ind 2r games are designed for the participation of several players. Therefore, the overall result of the whole team depends on the successes and failures of one person. And that is why players should learn to be part of the whole, and not just play for themselves. The interests of the team in this case should be above their own.
에볼플레이 먹튀검증 안전노리터
Good information, thanks for this best idea
This was actually helpful!!! (Unlike the other tips I’ve found through Pinterest… they were all like 1. Buy a top of the line point and shoot to equal a DSLR. 2. Buy $400 in editing programs immediately.)
One trick I found: to get a blurry background, get really far away from your subject and zoom in.
http://www.projectsgirl.blogspot.com
http://www.projectsgirl1.etsy.com
Very interesting. I will be delving deeper into some of these suggestions thank you
Looks like 3 years later I found this post, and thank you for such great tips! Great to know that we don’t need a super expensive camera to get great pictures. going to use these tips to make sure I start posting good pictures even with my p&s camera, instead of whatever I have there now.
1. Thanks so much! This info is priceless! I was just telling my boyfriend last week that I absolutely need a DSLR, looks like I can hold out a while as he suggested.
2. I was just reading a post about how Pinterest can make older blog posts popular and drive traffic to them. Here it is over 2 years after this post was written and I just came across it on Pinterest.
Thanks again!!
That edit job on those photos at the end of the article is phenomenal, could you create a tutorial on it?
Hi Heather – aren’t those images great?! They’re actually from a blog called Vegan Yum Yum. She shot the pictures in RAW and then did post-processing in Adobe Lightroom. You can read her full post here: http://veganyumyum.com/category/photography/
This comment has been removed by the author.
Very nice,Thanks.
glad to find this! THanks
Thank you for the tips I have arthritis and had to give up shooting a dslr and have gone to the p & s camera. Every tip helps and I am finding out sometimes less really is more.
I was just asking for something like this out in blogland and lo and behold, I found it! thank you so much for taking the time to address the P & S picture issues! Awesome post!
These are great tips! Thanks so much for sharing. Off to figure out the white balance on my camera.
These are great tips! Thanks so much for sharing. Off to figure out the white balance on my camera.
Thank you! I am always trying to improve my photography with my good ol point-and-shoot camera.
That was fantastic – thank you! Sooo refreshing to find some good tips for those of us who don’t have the fancy, expensive cameras. I’ve been looking to improve my photography skills, so this was very helpful!
Thank you for this. Glad to know there is hope for my point and shoot.
thank you very much for the article. It’s very helpful for a beginner in photo shooting like me. Never known what the white balance setting is for. A very neat and precise article indeed =)
These are some amazing tips! *off to find the white balance setting on my camera!*
Excellent tips! 🙂
thanks for the tips! i wanted to ask if there was one free photo-editing software you preferred over the others? I haven’t tried any of them yet but want to!
Thank you! I *know* I can to better with my P&S (just got a new one in fact) … and now I have some tips. I’m still in denial about daylight … guess it’s time to bid farewell to denial. 🙂
Thanks so much for the tips! I just got a DSLR as a gift, but I could barely use my little point and shoot I had previously. Now i feel like I have a good jumping-off point for learning to take decent pictures, since reading my manual is just giving me anxiety! great post!!
you actually have a “pin it” button. how to get it? please do a post on this too. btw, great tips on point & shoot 🙂
great article! I love that you use a point and shoot and keep it simple… off to look at gorilla pods now!
Thank you, thank you, thank you. I have a point & shoot that is new, and pretty nice. It is so frustrating to search for tips on better photos and never find any tips for “our kind” of cameras! I appreciate it so much.
Thank you 🙂 Very helpful indeed as I sell stuff on Ebay. My pictures will improve so much now 🙂 I found a link to this post on Craftgawker and will be coming back to read your blog 🙂
Yay! So glad this was helpful for you guys. Thanks to Lindsay for letting me share my tips with you all – here’s to taking great photos!
This was a wonderful read. There is the dream of a more pro-camera. But my point and shoot does fine for now. And will do better with these tips. Thanks a lot!
Rosanne
http://www.sharethebrightsideoflife.blogspot.com/
Oh this was such a great read! I’ve just learnt that sunlight and a white background is a photographer’s best friend 🙂