This is a sponsored post written by me on behalf of Santa Margherita USA for IZEA. All opinions are 100% mine.
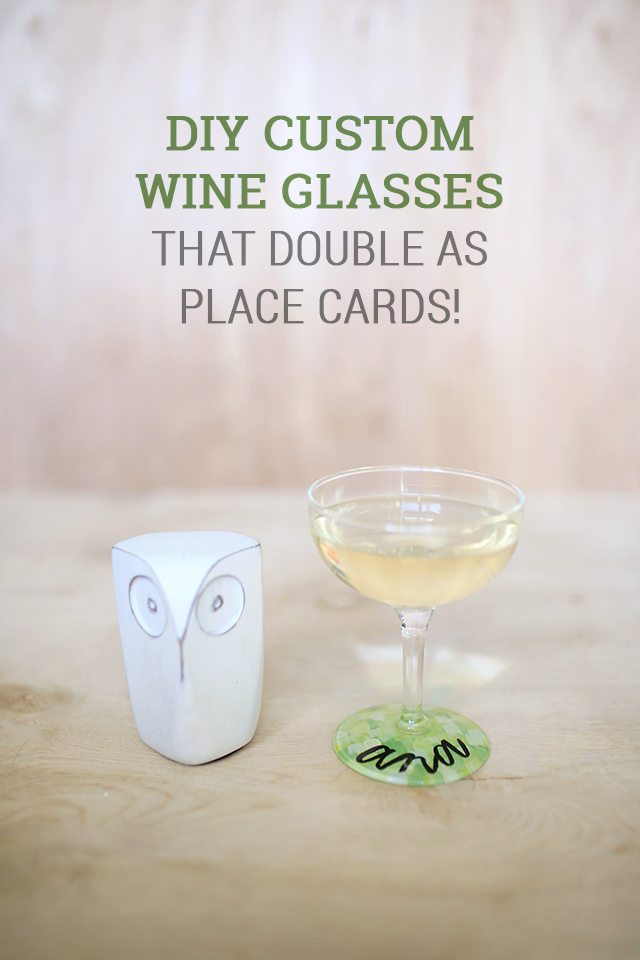
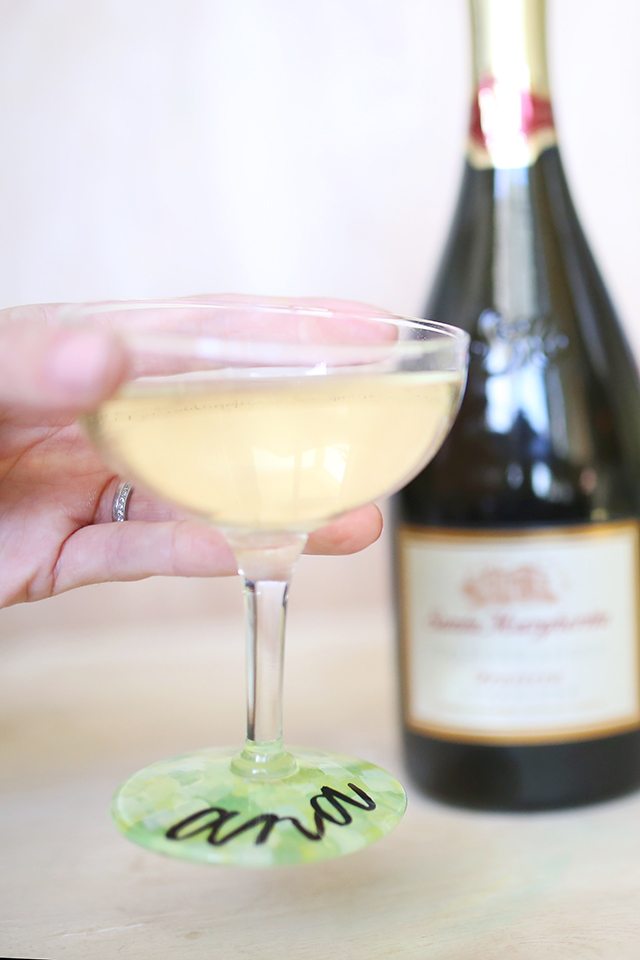
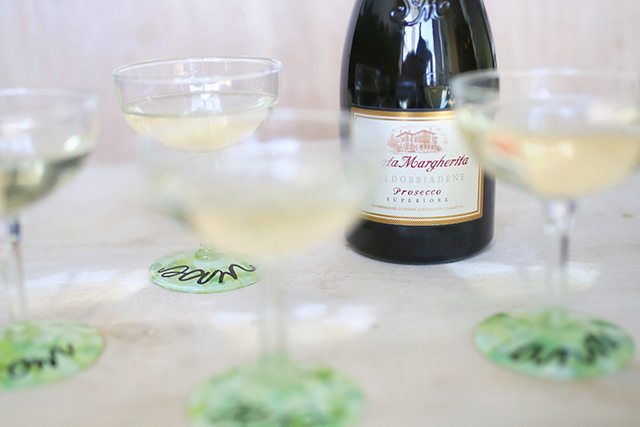
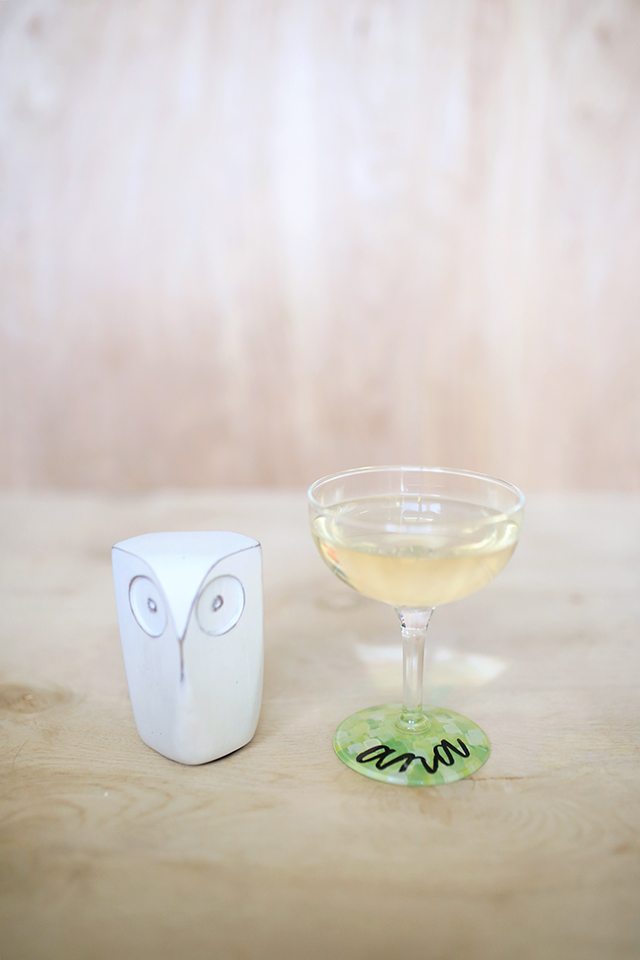
Remember the last time I played with bubbly? I’ve gotten together with Santa Margherita USA again to share yet another way to bring a little something extra to your brunch or get together. This time, I’m going to show you how to turn plain old champagne saucers into beautiful, festive DIY custom wine glasses that do double duty as place cards and party favors for your guests to take home! P.S. While you’re feeling wine-y ;), why not try some of these other wine-related projects: here, here, and here!
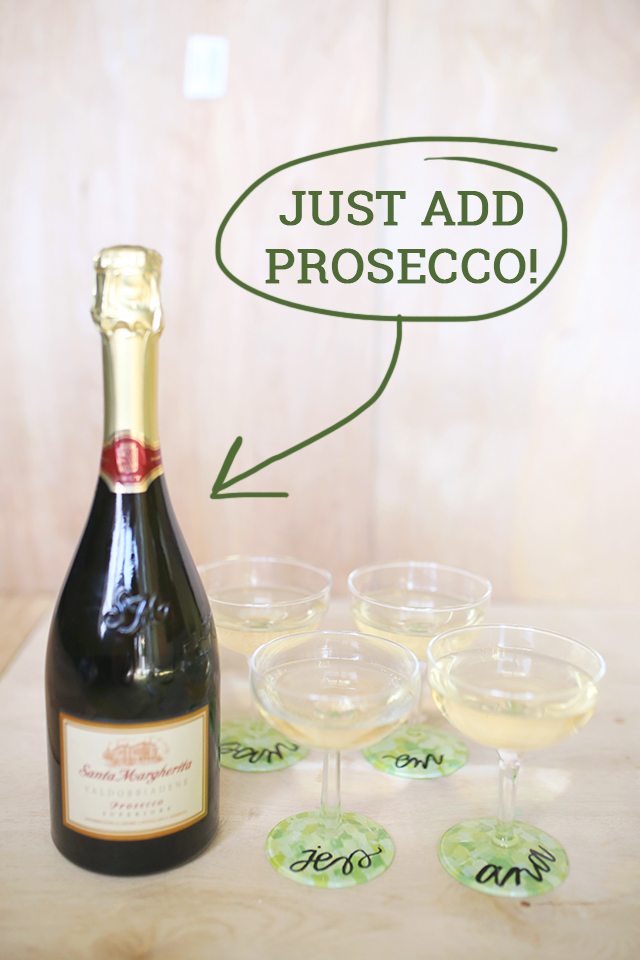
You can do this project with any sort of wine glass, so if you’re looking for something else delicious to serve up at your next shindig, try Santa Margherita’s other signature wines: Pinot Grigio and Chianti Classico Riserva.
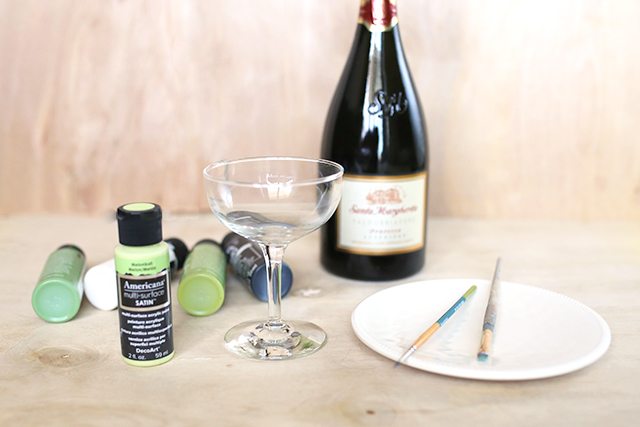
Supplies
- Champagne flutes or wine glasses – Try the thrift store for fun, mismatched ones!
- Rubbing alcohol
- Multi-surface acrylic paint – black plus whatever colors you want to feature
- Fine paint brush
- Broad paint brush
- Permanent marker
- Bubbly – I recommend Santa Margherita Prosecco, of course!
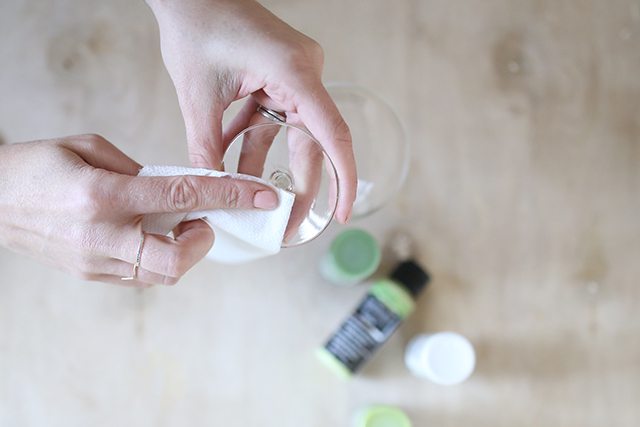
1. Clean the bottom and top of the base of your wine glass thoroughly with rubbing alcohol to remove and residue or oils.
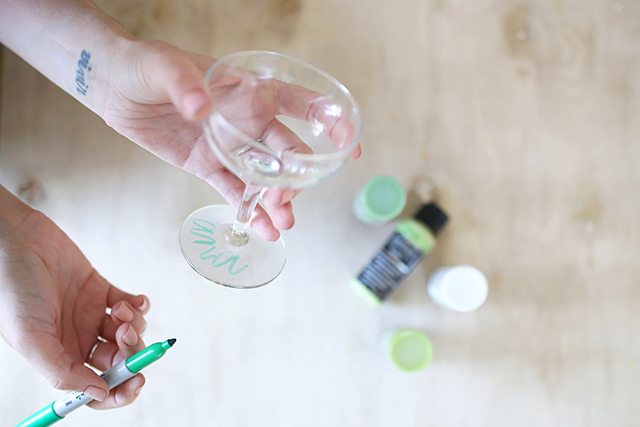
2. Use a permanent marker to write one of your party guests’ names on top of the base of the wine glass. If you mess up, just wipe it off with rubbing alcohol and start over, easy-peasy!
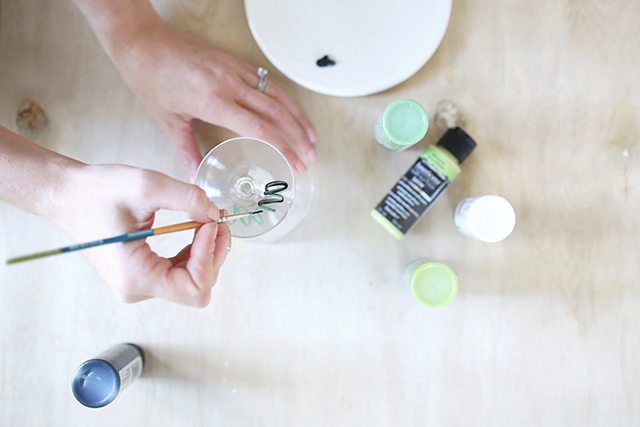
3. Using a fine paintbrush dipped in black multi surface acrylic paint, trace the name on the underside of the wine glass base. Use the permanent marker from the top as a guide.
You’ll probably need a couple coats to get a clear, thick line. Set it aside to dry while you write the rest of the names on your other glasses.
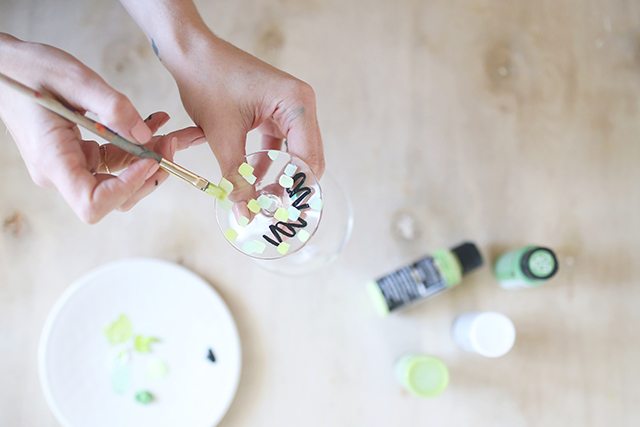
4. Once the name has dried, use a broader paint brush to dot colored dashes all over the base. Paint right over the name!
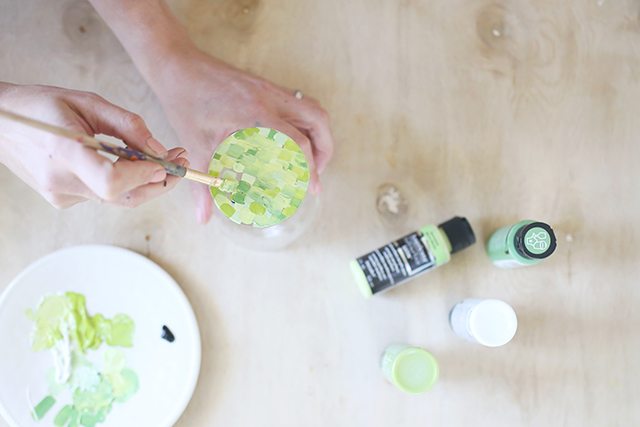
Dip your brush into various shades of your color and layer the dashes on top of each other. You want it to look like abstract art by the time you’re done, and make sure you can’t see through the paint!
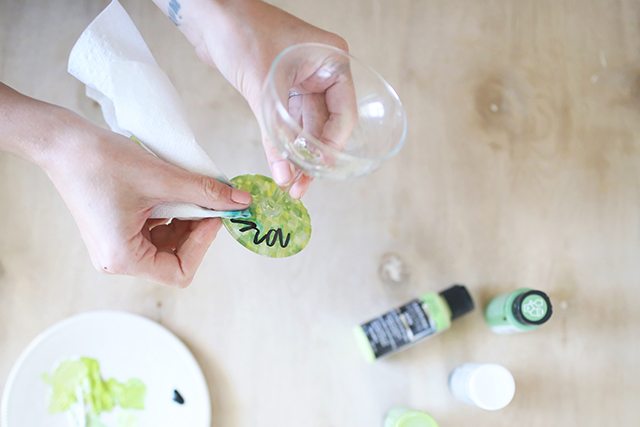
6. Once the base is dry, flip it over and use rubbing alcohol to wipe away the name from the top. Now you can see straight through to the name underneath, but the top is still smooth, shiny glass!
Bake the wine glass in the oven according to the paint instructions to cure it and make it washable.

Thanks for supporting partnerships that help me make Shrimp Salad Circus better for you!
Get social with Santa Margherita on @SantaMargheritaUSA and @SMWinesUSA.








Contrast Flutter Sleeve Zipper Cropped Puffer Jacket https://www.weleny.com/products/contrast-flutter-sleeve-zipper-cropped-puffer-jacket
I want to to thank you for this good read!! I definitely enjoyed every little bit of it. I’ve got you book-marked to look at new stuff you post… 메이저토토사이트
Can I just say what a relief to seek out someone who actually is aware of what theyre talking about on the internet. You undoubtedly know the way to bring an issue to light and make it important. More folks have to read this and understand this aspect of the story. I cant believe youre not more popular because you positively have the gift. 안전토토사이트
These are really awesome….Loved the way you presented here !
These are so cute and what a great idea! Plus I love the genius way you used the Sharpie as a guide for the letters!
Thanks, Rachel! I started off with something a lot more elaborate as a guide and then realized I was overcomplicating it!
I don’t know why I have never thought to do this! I love it.
So glad, Samantha, and thanks! It’s fun incorporating little personal elements into everything!
This is such a cute idea! <3
Thanks so much, Tashena!
This is SO perfect for table settings for the holidays. I will definitely have to save this in my bookmarks!
Definitely, Mary! A really memorable way to distinguish a place setting. And thanks for the sweet comment! 🙂
This is such a fun cute idea! Thanks for the great tutorial!
Thanks so much, Machelle! <3
ahh so smart! I wish I was this crafty!!!
Thank you, Anna!!
This is a cute idea. Great way to keep track of your glass when having a party. xx.
Thanks, Alana. And it definitely cuts down on having to try to remember how much you had left in your glass or which color lipstick print you’re looking for if the glasses get mixed up! 😉
So cute and clever! I could use some bubbly right now, can I come over? 😉
Um yes please! I’d love to drink prosecco and hang out IRL! 😉
I love the mosaic look on them!
Thanks, Laurel! It’s such an easy design/pattern to create!