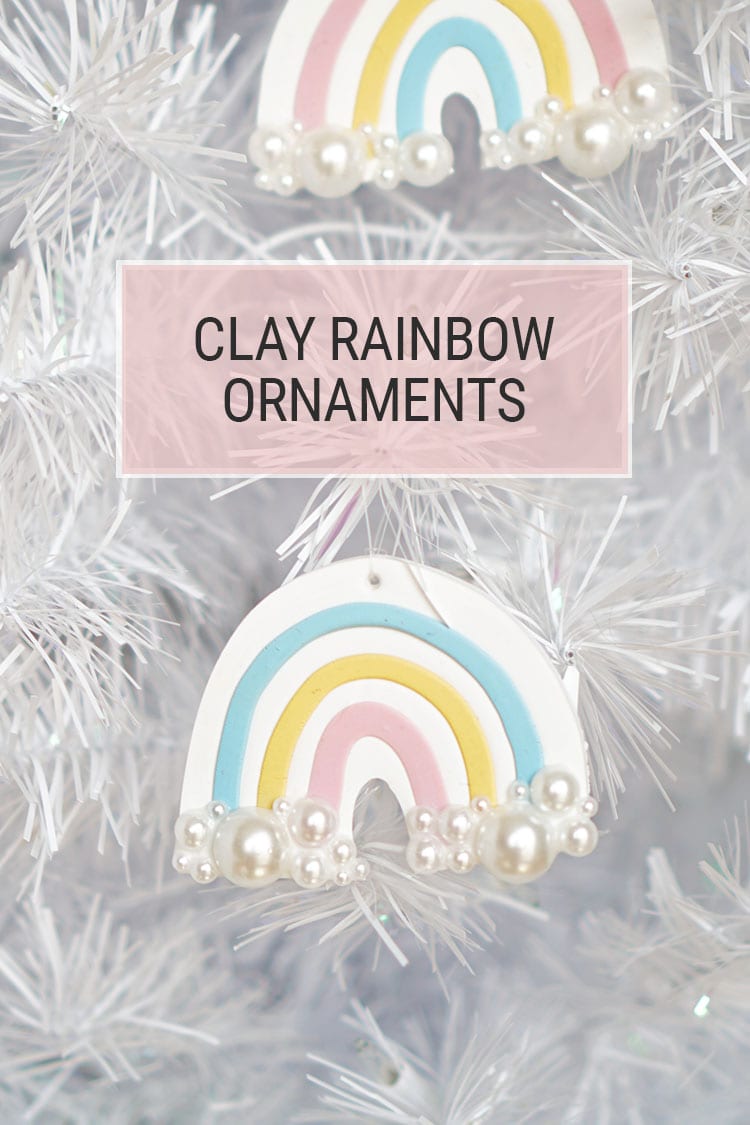
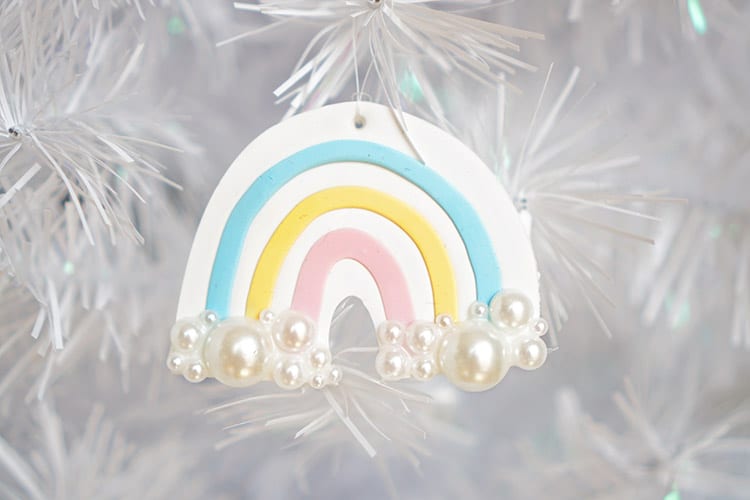
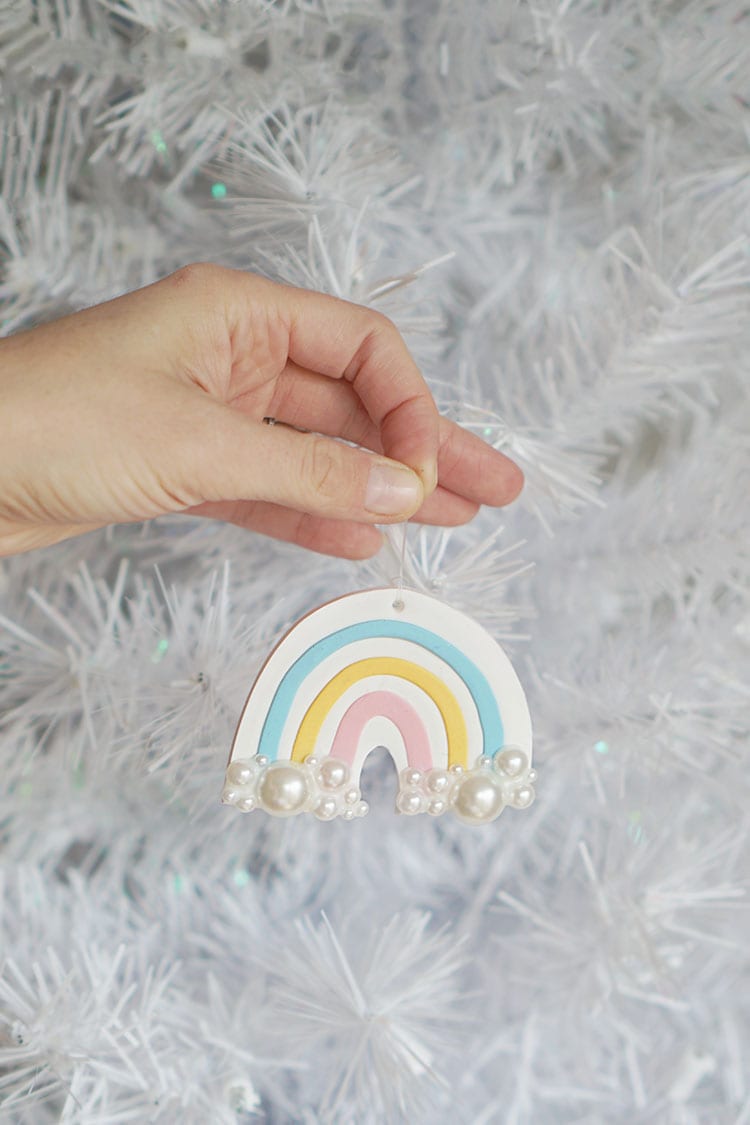
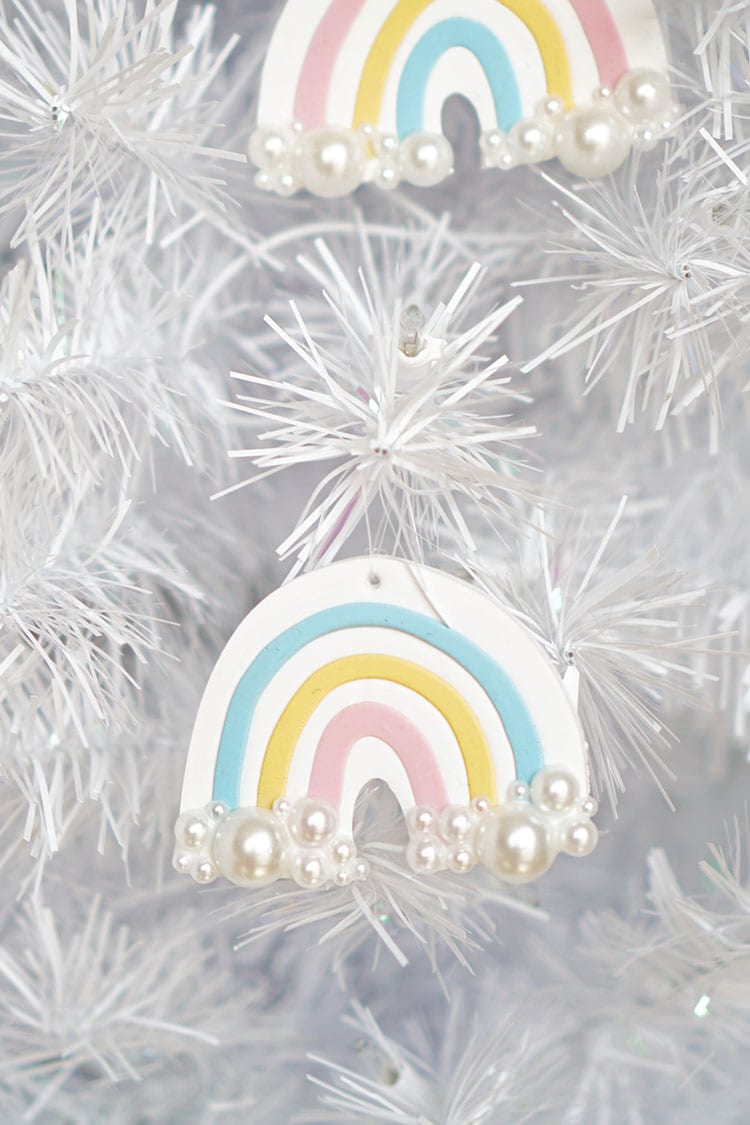
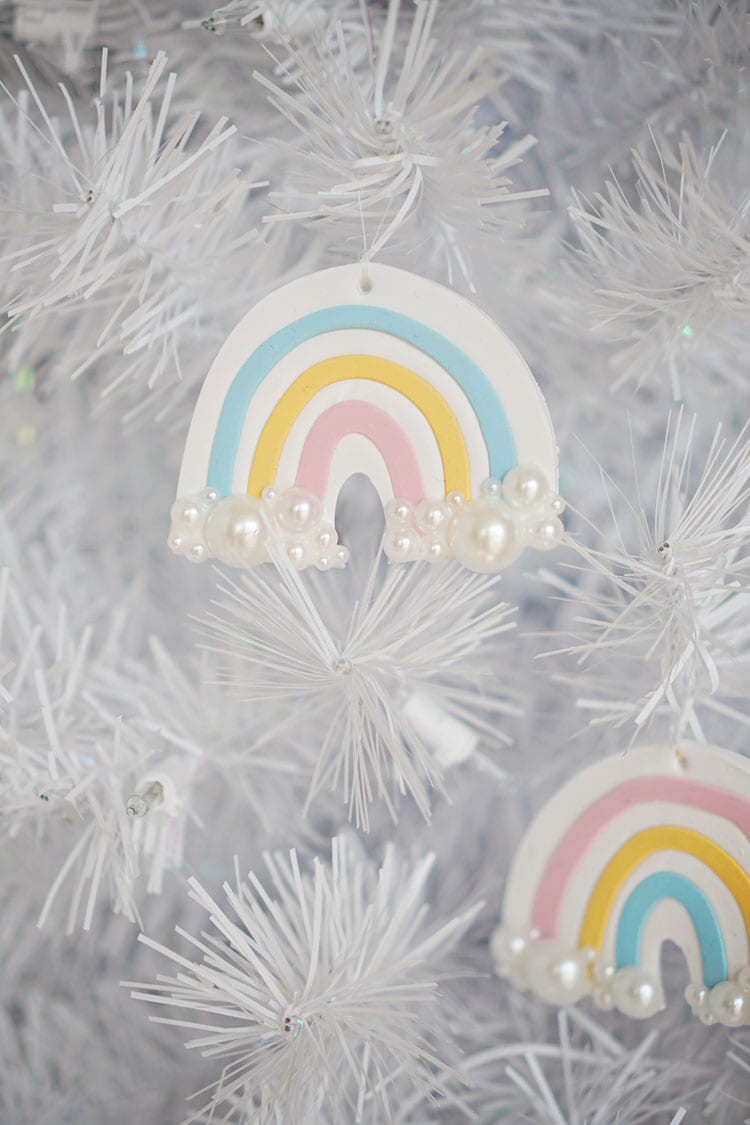
These clay DIY rainbow Christmas ornaments might be my favorite holiday project this year.
These would be such a adorable DIY Christmas party favors or stocking stuffers! In fact, I’m thinking of giving them out commemorative ornaments for our second annual Friendsmas party this year.
You could make these in any color combination. If pastel isn’t your thing, you could go bold.
Heck, you could even add glitter for a little somethin’ somethin’ extra!
P.S. If you make these, PLEASE tag me on Instagram with @shrimpsaladcircus and #shrimpsaladcircus so I can see and share them! 🙂
Supplies
These DIY Christmas ornaments are a great polymer clay beginner project. They’re super easy to make, and you don’t need a bunch of fancy supplies. You can seriously make these with just a rolling pin and a knife, plus the clay and beads, of course. I suggest a few optional tools that I highly recommend, but you can get by without them. If you love the project, you can just pick up the tools for next time! The supply list contains affiliate links, so I may make a commission at no additional cost to you.
- Polymer clay in white and three pastel colors
- Rolling pin
- Exacto knife
- Flat-back pearls in various sizes
- Glue
- String or ribbon
- Optional
How to Make Clay DIY Rainbow Christmas Ornaments
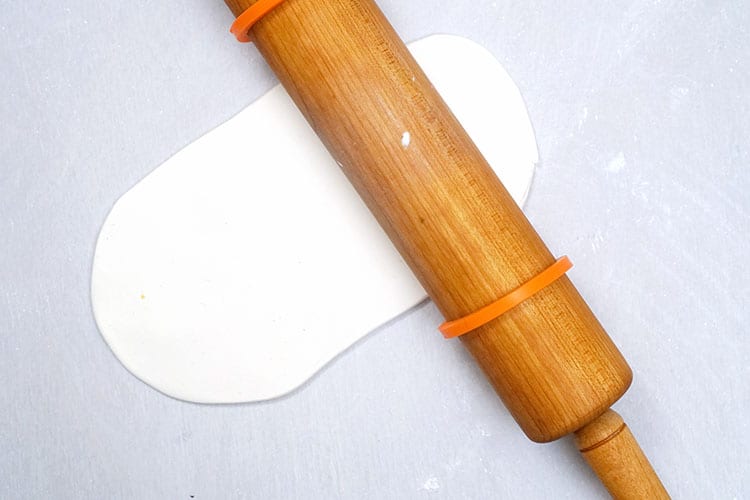
1. Roll a full brick of white clay out to approximately 1/4″ thickness.
Tip: Use 3/16″ rolling pin guide rings to roll out an even slab of clay.
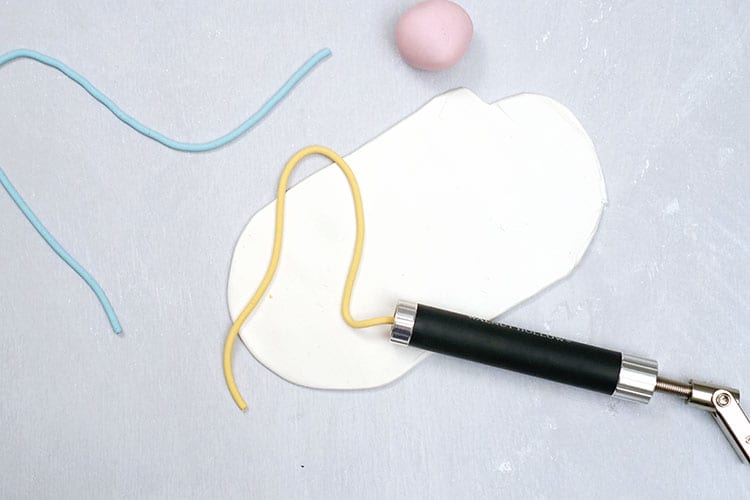
2. Roll out long, thin snakes of clay in three complementary colors.
Tip: To get a perfectly even roll of clay, use
this clay extruder. You can make “snakes” in various sizes and shapes.
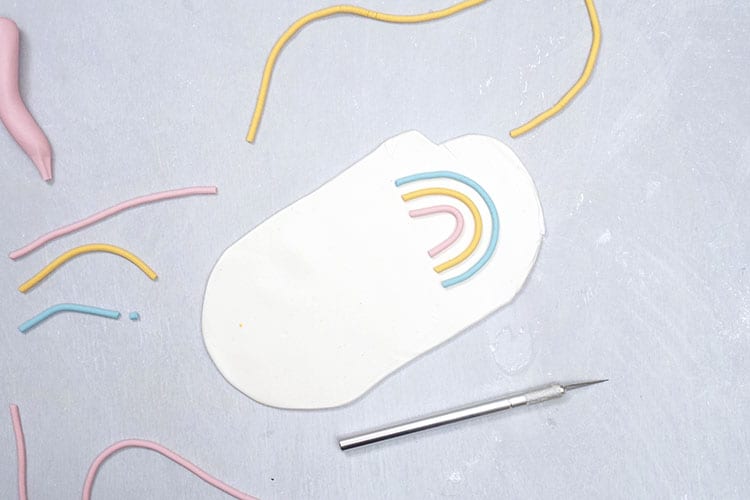
3. Starting with the inner stripe of the rainbow, cut a piece off one snake, and bend it into an arch.
Shape the next color around the first, lea
ving a space, and then cut it to fit. Repeat with the third color.
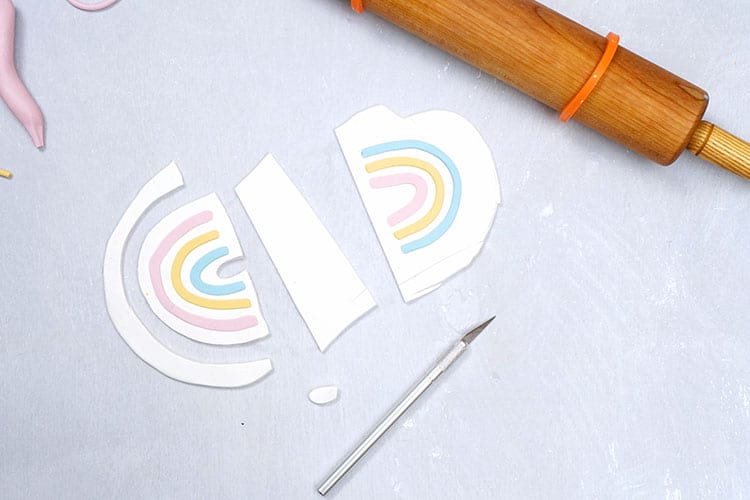
4. Use the rolling pin to gently press the stripes into the clay. They don’t need to be completely flat against the surface of the white clay, but they should be pressed most of the way down.
5. Use an exacto knife to cut around the stripes, leaving a white border. Poke a hole in the white border near the top of the rainbow, but not too close to the edge.
6. Bake the ornaments on a glass or aluminum foil surface in an oven preheated to 230 degrees Fahrenheit (110 Celsius) for 30 minutes. Let them cool completely before removing them from the surface.
Tip: Use an oven thermometer to make sure your oven is the right temperature. My first batch of polymer clay was an epic fail, and it turns out my oven runs 40 degrees lower than the temperature it’s set to!
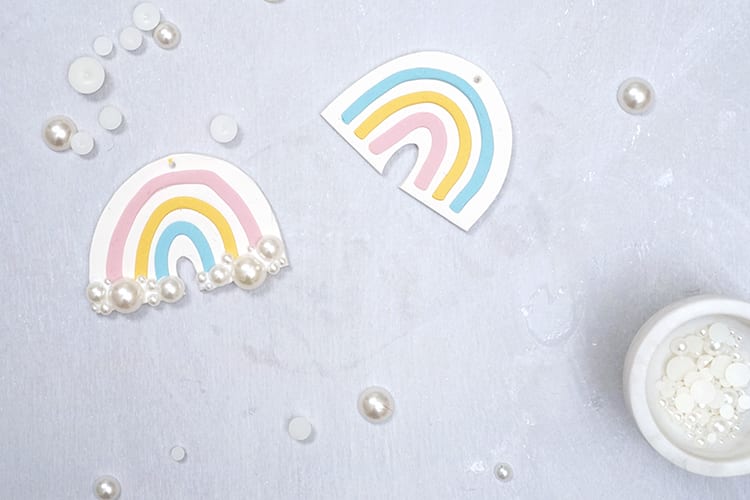
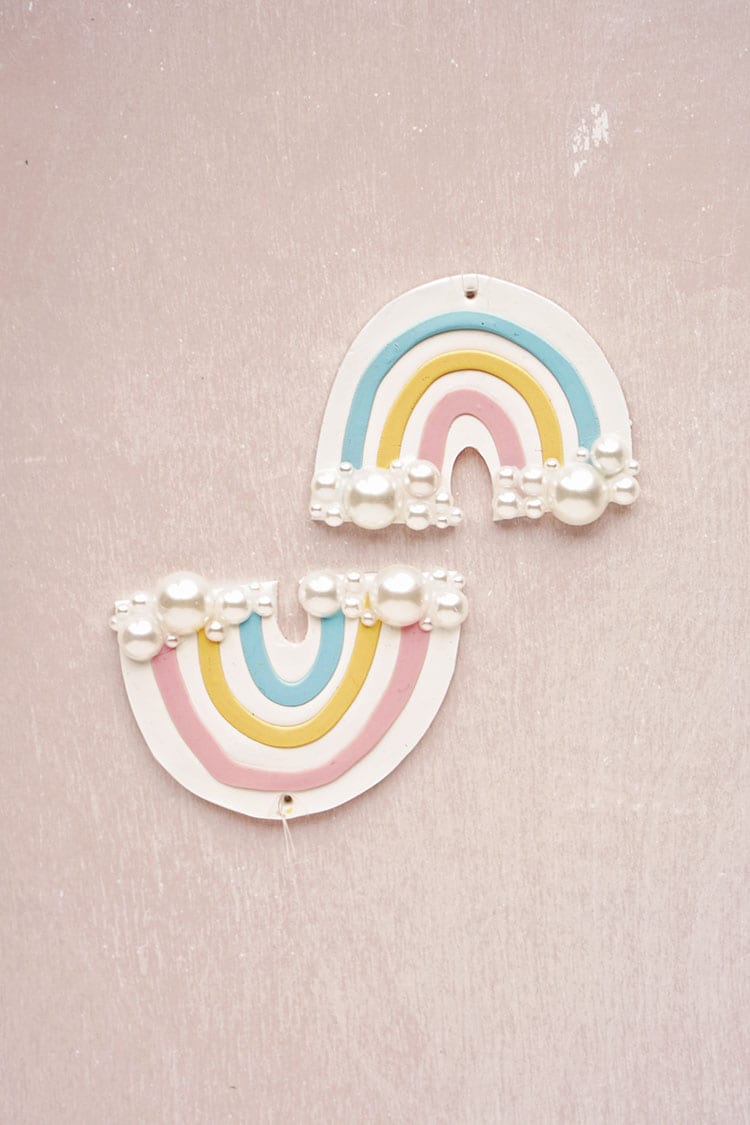
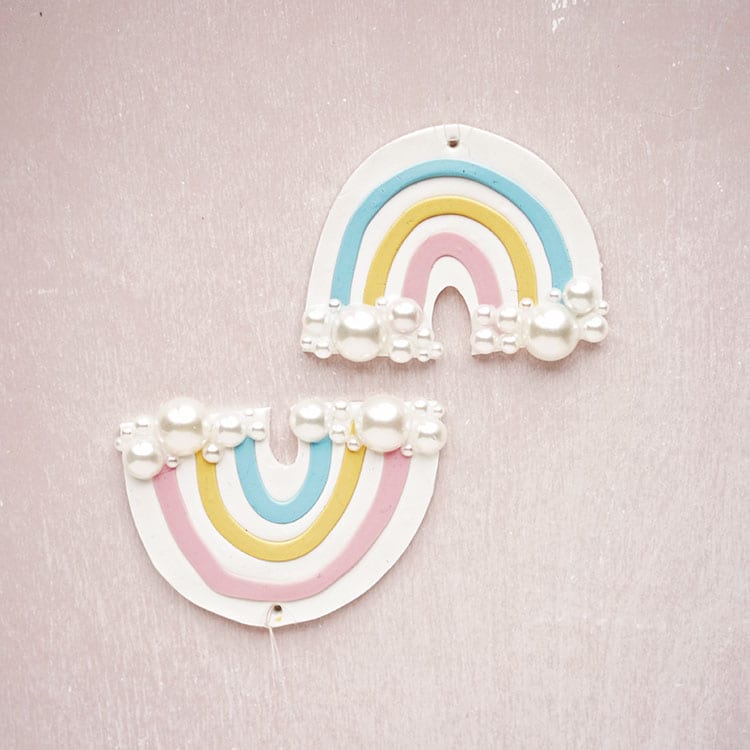
7. Apply a generous amount of glue to the bottom of each side of the rainbow. Press an assortment of flat-back pearls into the glue.
8. Let the ornaments dry overnight. Add a string or ribbon through the hole, and hang them from your Christmas tree!
Printable Instructions
Polymer Clay DIY Rainbow Christmas Ornaments
Materials
Instructions
- Roll a full brick of white clay out to approximately 1/4″ thickness.
- Roll out long, thin snakes of clay in three complementary colors.
- Starting with the inner stripe of the rainbow, cut a piece off one snake, and bend it into an arch. Shape the next color around the first, leaving a space, and then cut it to fit. Repeat with the third color.
- Use the rolling pin to gently press the stripes into the clay. They don’t need to be completely flat against the surface of the white clay, but they should be pressed most of the way down.
- Use an exacto knife to cut around the stripes, leaving a white border. Poke a hole in the white border near the top of the rainbow, but not too close to the edge.
- Bake the ornaments on a glass or aluminum foil surface in an oven preheated to 230 degrees Fahrenheit (110 Celsius) for 30 minutes. Let them cool completely before removing them from the surface.
- Apply a generous amount of glue to the bottom of each side of the rainbow. Press an assortment of flat-back pearls into the glue.
- Let the ornaments dry overnight. Add a string or ribbon through the hole, and hang them from your Christmas tree!
Notes
- Tip: Use 3/16″ rolling pin guide rings to roll out an even slab of clay.
- To get a perfectly even roll of clay, use this clay extruder. You can make “snakes” in various sizes and shapes.
- Tip: Use an oven thermometer to make sure your oven is the right temperature. My first batch of polymer clay was an epic fail, and it turns out my oven runs 40 degrees lower than the temperature it’s set to!












Nice post. I learn something more challenging on different blogs every day.
Do you also check our article that has provide useful information.
In this website will provide useful knowledge about health.
beta cyclodextrin as a cholesterol reducing agent
This decoration is very creative and suitable for Christmas. io games
Famups is voted the best site to Buy Twitter Followers by the likes of Men’s Journal, Atlanta Mag, Washington CityPaper, Mercury News
Lovely! It was so nice. I love that DIY. I can’t wait to give it a try. Thanks for sharing.
https://hancockssignetrings.com/