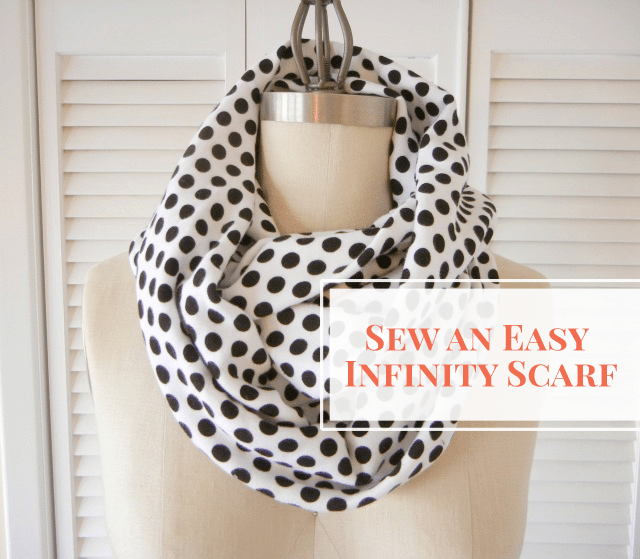
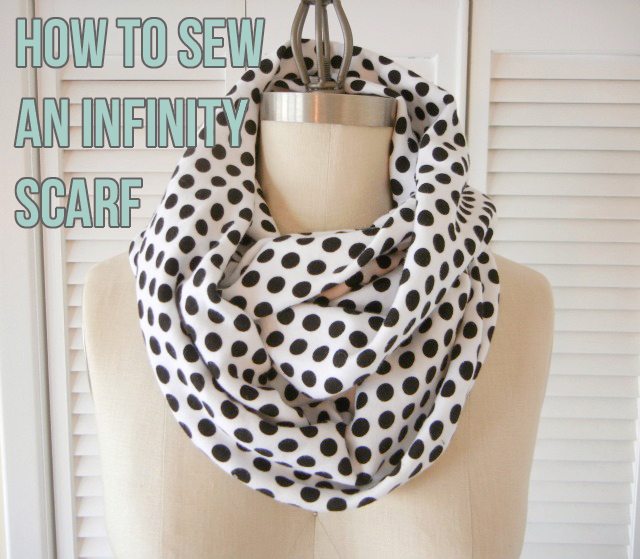
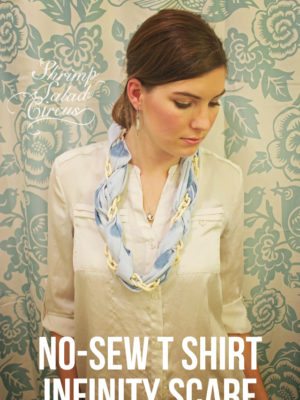
Happy Thursday! Today, Valerie is back with another Sewing 101 tutorial. Today, she’s teaching us how to make this freakin’ adorable infinity scarf. Be sure to read her blog to get to know her a little better, and if you love her style, but sewing just isn’t your thing, pop over to her shop to pick up the pieces already made!
Fall has officially arrived! As we enter into this season of cooler weather and shorter days, what better project than a new scarf to keep your neck cozy? This infinity scarf is simple, fun, and (fair warning) addicting – you’ll want one in every color! These would also make a great gift – the holidays will be upon us before we know it.
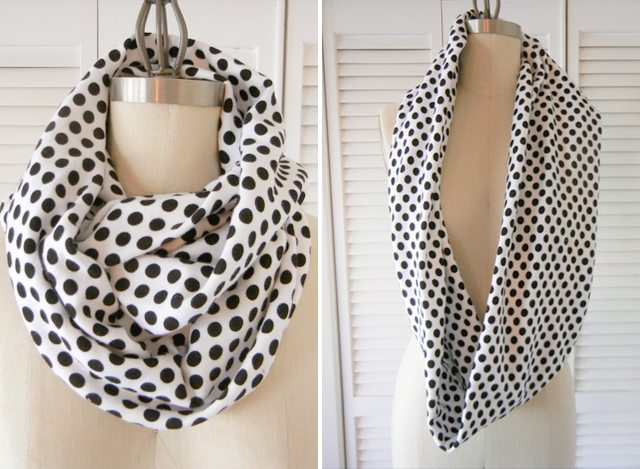
Read on for the full tutorial, and don’t miss the other posts in my Sewing 101 series: Essential Tools . Get to Know Your Sewing Machine . Sew a Super Simple Skirt . Make a Turban Headband . Two Ways to Add Pockets to a Skirt
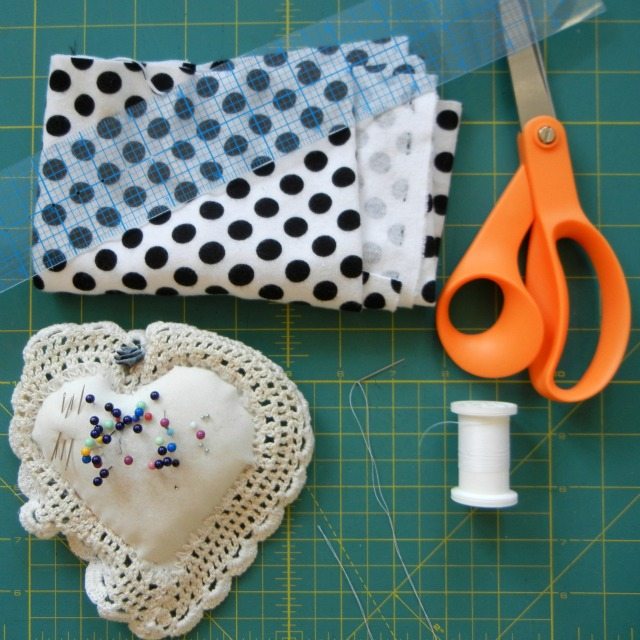
Supplies for the Easy Infinity Scarf
- Fabric – either knit (stretchy) or woven (non-stretch), 1-2 yards (depending on final length and width of your scarf)
- Matching thread
- Sewing machine
- Scissors or rotary cutter
- Pins
- Needle
- Ruler or flexible tape measure
Supply list contains affiliate links. Thanks for supporting my blog!
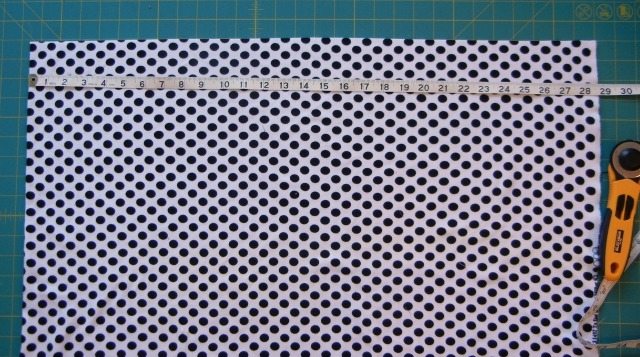
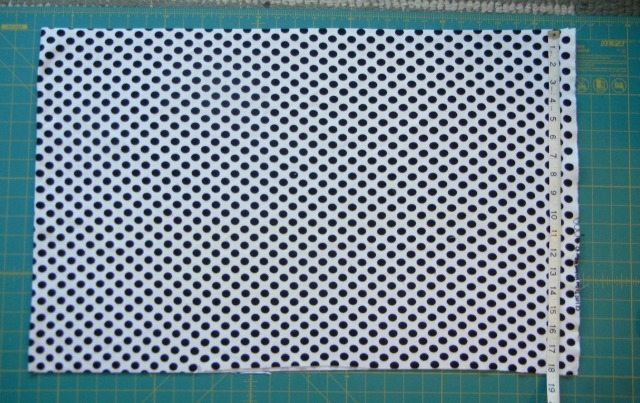
Measure out one long rectangle from your fabric. My rectangle is 58″ long (29″ x 2 since my fabric is folded at the left) and 18″ wide. You can change the length and width depending on how you would like your final scarf to be. I wanted to double my scarf over my neck two times, so 58″ is long enough to do that. If you only want it to go over your head once, 25-30″ is long enough. For the width, keep in mind that your final scarf is going to be half the width you cut. Since I cut out 18″, my final width will be 9″. You can make yours thicker or thinner, depending on your preference.*If you don’t have enough fabric for one long rectangle, you cut out two rectangles (1/2 L x W) and sew them together at one of the short ends to create the long rectangle.
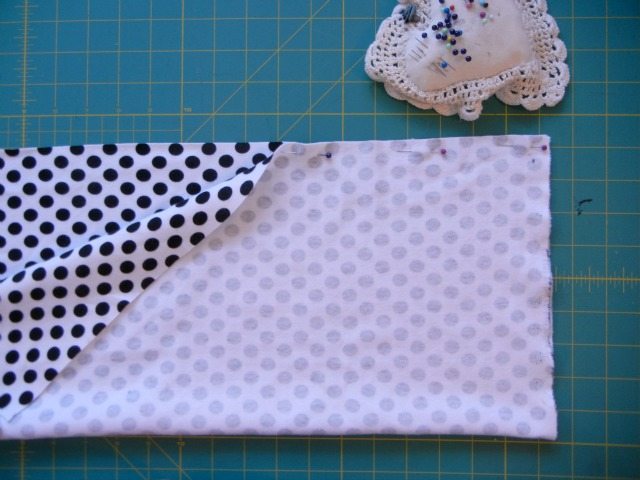
Fold the rectangle so that the two long edges meet with right sides together (the right side of your fabric is the side you want to be visible when you are finished).
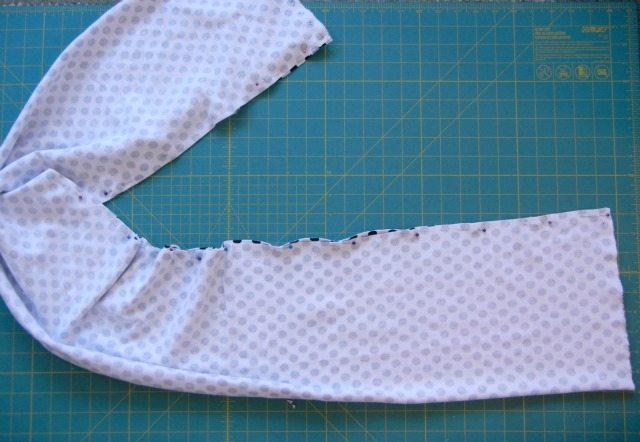
Pin along the long edges.
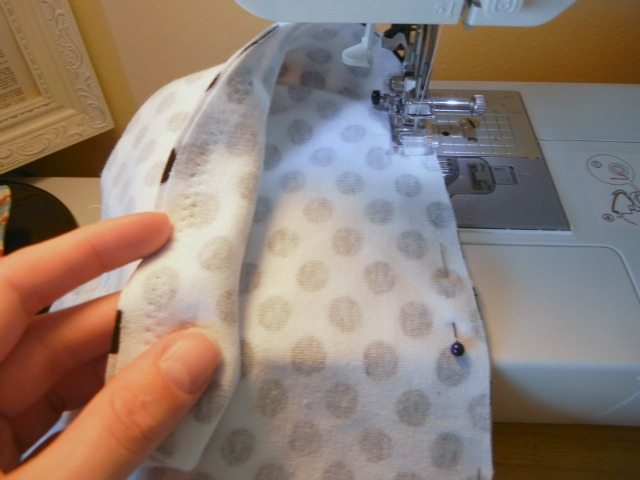
At your sewing machine, sew the entire long edge that you pinned. If your fabric is stretchy, use your zigzag stitch; if your fabric is a woven, you can use a straight stitch.
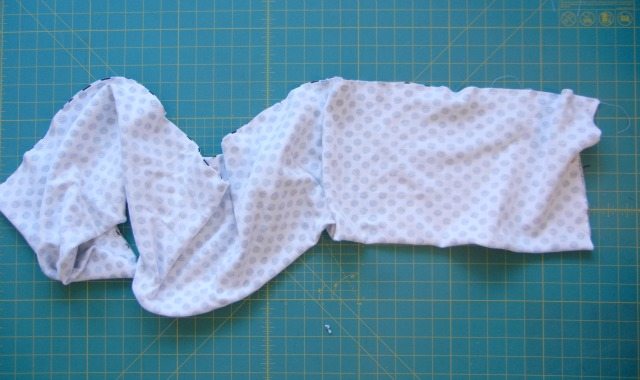
You now have one loooooooong tube of fabric.
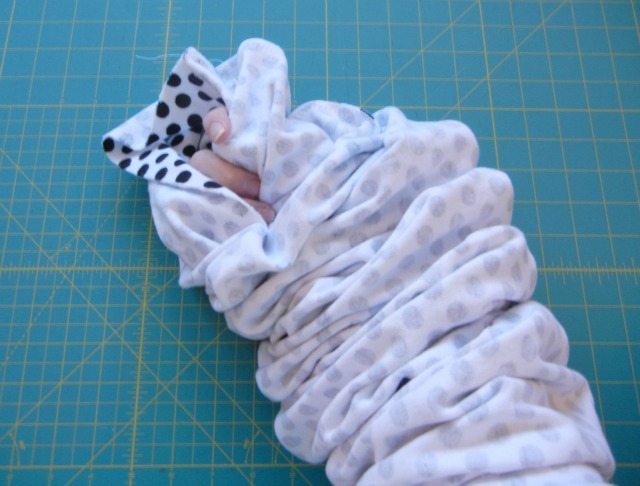
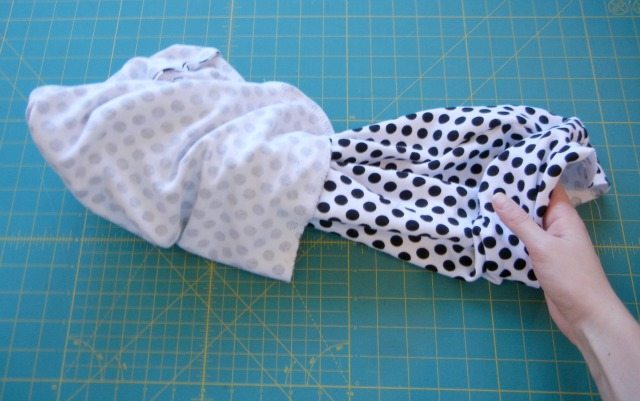
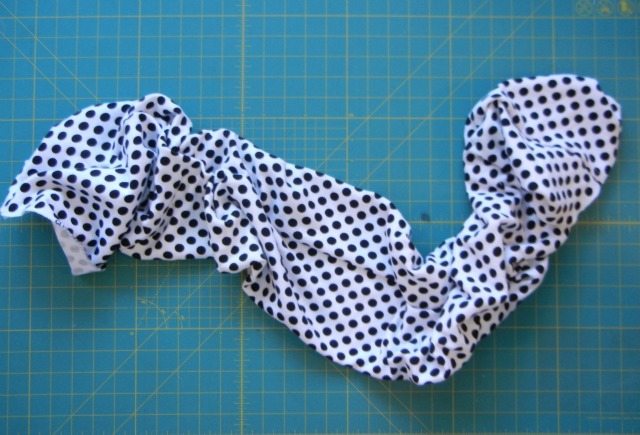
Put your arm through the middle of your long tube, and grab the end on the other side. Then pull the far side back through the middle of the tube, flipping it right side out as you go.
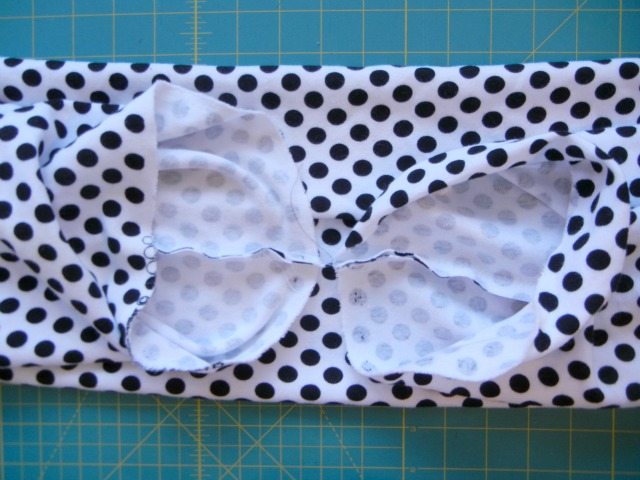
Bring the two ends of your tube together and match the seams together.
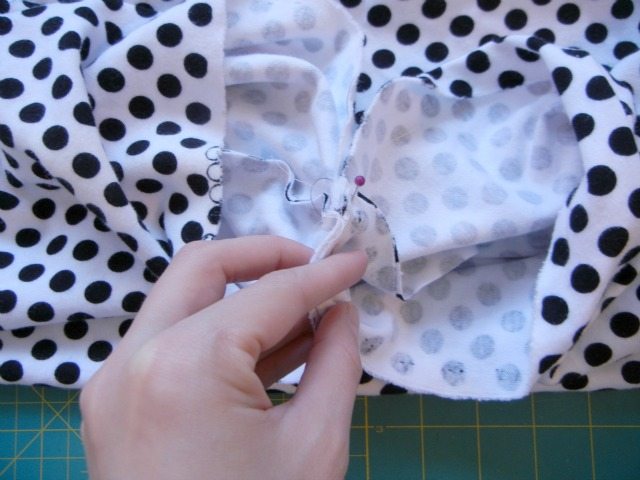
Pin the ends together where the seams meet.
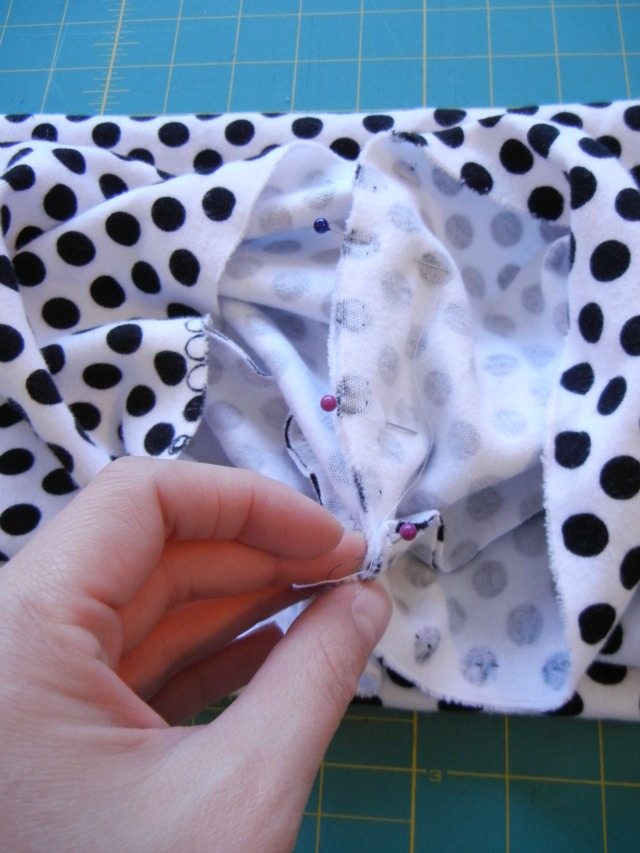
Working your way up, continue to pin the edges of the ends together. You will not be able to pin it all the way around, and that is perfectly fine! We want to sew on the inside of the scarf, but since it is currently right side out, we won’t be able to sew the whole edge.
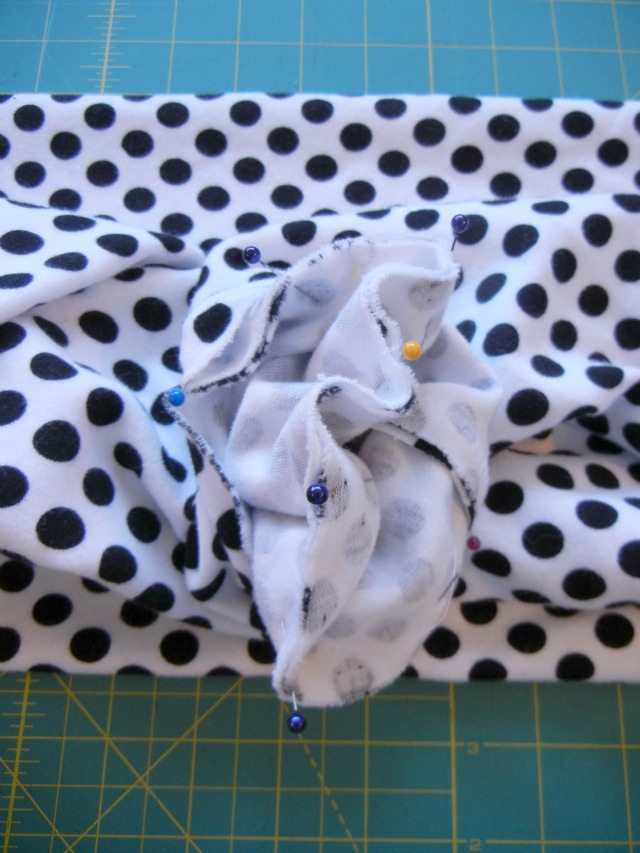
Pin as far as you can, and when you can no longer make the edges meet at the top, take it to the sewing machine.
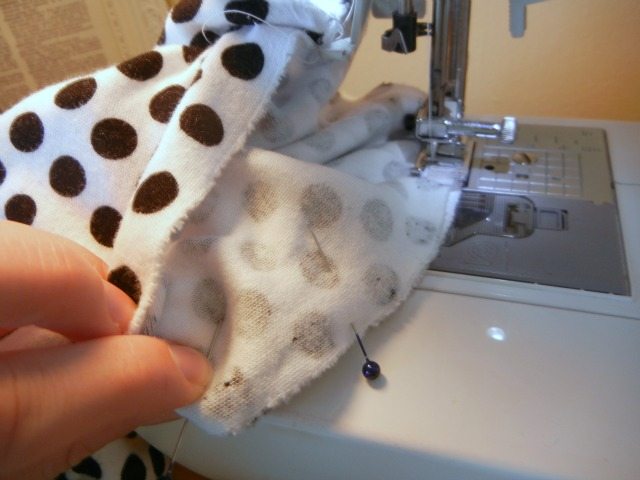
Starting at the pin where the seams meet, use a straight stitch to sew around the edges, taking the pins out as you go.
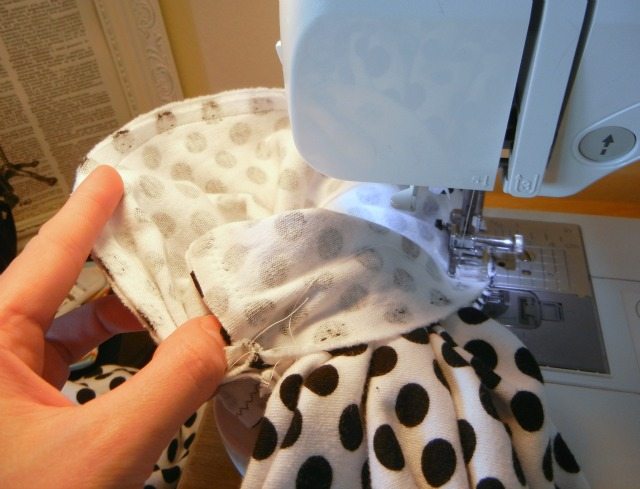
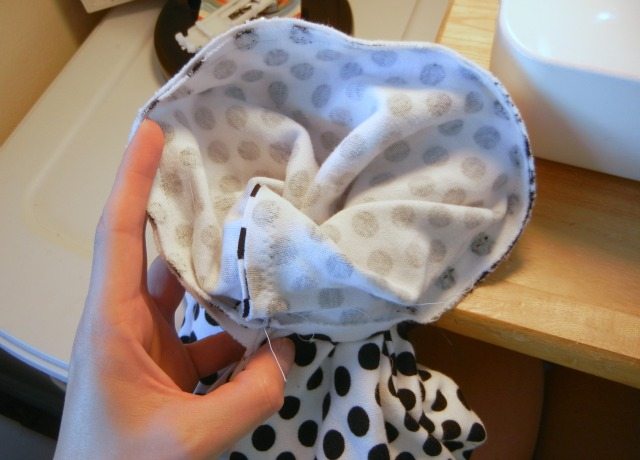
Keep sewing until you are in danger of running back over the rest of the tube. Eventually, your scarf will look like the picture above – kind of like a lollipop, with the circle of the ends of the tube sewn together at the top, and the rest of the tube sticking out the bottom. When you’ve sewn as far as you can, remove from sewing machine.
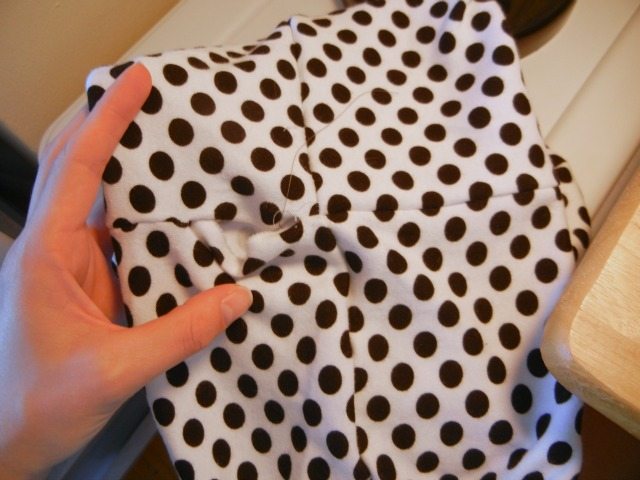
Pull on the bottom part of the tube until the ends flip back right side out. There will be a 2-3″ hole at the seam.
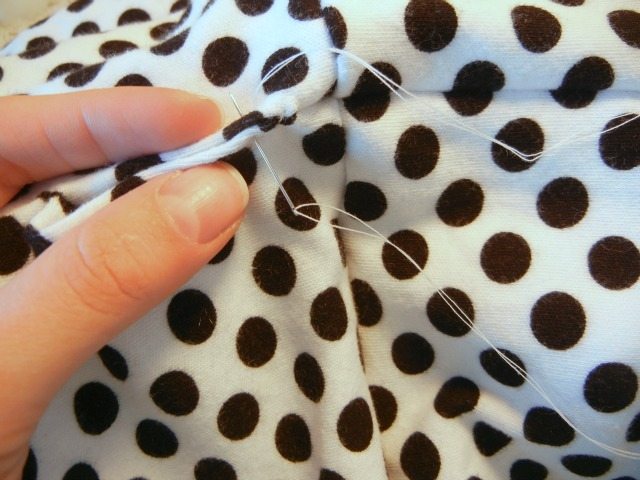
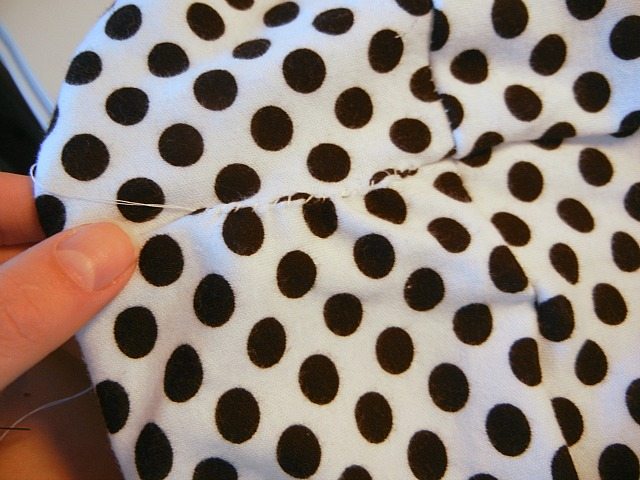
Thread a hand sewing needle (and don’t forget to knot the end!). Sew up the hole in the headband by hand, pricking just the edges of the hole to bring them together. Make it as neat as you can, but if it’s not perfect, don’t worry, you’ll hardly be able to see it on your finished scarf. Once you reach the end, make one more loop with the thread, wrap it around your needle twice, and then pull your needle tight to knot it. Clip off near the knot.
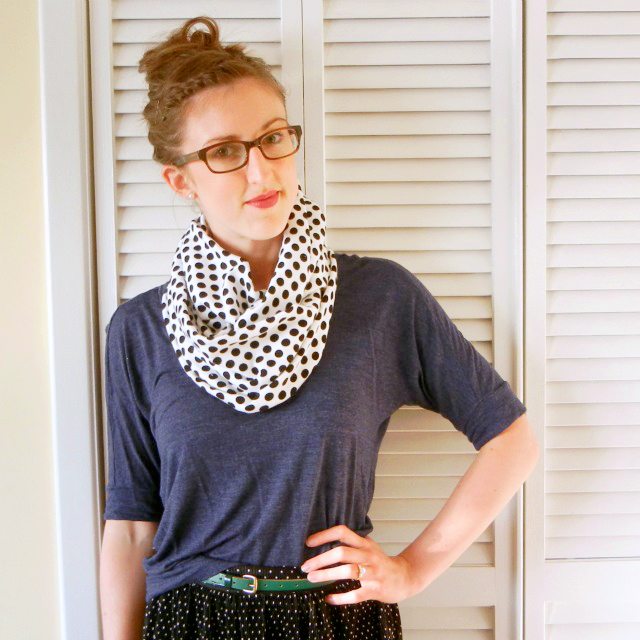
Guess what? You’re all finished! Told you it would be simple! Wrap it around your neck for instant coziness, and start planning your next one!












How wide was your fabric?
Gracias el tutorial muy claro.Le deseo muchos exitos.Desde Colombia con gran cariño.Mercy
Awesome tutorial. Even I can do this. I put a small applique design on the hand seamed part and a jeweled brioche on another. Thank you.
Thanks for the best tutorial I have been able to find! You did an awesome job!!!
Thanks for this great pattern. This is the best tutorial I found on pinterest!!!
This is so cool! I am definitely making it!!!
There is an even easier way to make this. start the way you did but when you sew up the side leave a small opening to turn right side out folding in so that the two ends are right sides together. not sure how to explain this but it will look like a sleeve opening when you get to that point stitch all the way around the circle and then turn the whole thing right side out through the opening. close opening and you are done. hope this is making sense its much easier to show.
Oh my gosh your fabulous I am doing this tomorrow as a diy! I need to hook up my sewing machine right now!!!!!!
Thank you so much for such a detailed and well layed out tutorial. I definitely feel like I can do this project. I cannot wait to begin!
Thanks for the easy to follow tutorial!
Thanks for the easy to follow tutorial!
Love this tutorial. It is so clear and easy to follow.
Thanks a lot Valerie.
Rowena Hailey (Seattle Criminal Lawyers)
Did it! Perfect and simple! Thank you.
Your tutorials are amazing. I did your super simple skirt and it came out great! Now I just need to make a matching scarf!
Looks so simple, and instyle right now. Could one be made from 100% cotton, like quilting cotton? Would it lay around like the one you show. Great blog, saved you in my favorites.
Thank you for the great directions and illustrations. You have a great blog.
Thank you for the great directions and illustrations. You have a great blog.
Hi Mary Alice, just to chime in I think quilting cotton without the stretch would be fine, you would just need to use the straight seam instead of the zig zag seam. Happy sewing girl!
Great tutorial and I love your blog. So cute. (found you through Daily Buzz)
I love this idea!! Thanks.
By the way, your blog is awesome! 🙂
This is great! I could understand everything. I love your blog!
Thank you so much for this post. I want to let you know that I posted a link to your blog in Creative Busy Bee Craft Inspirations, under the Page 1 post on Sep. 27, 2012. Thanks again.
Thank you so much for this post. I want to let you know that I posted a link to your blog in Creative Busy Bee Craft Inspirations, under the Page 3 post on Sep. 27, 2012. Thanks again.
thanks so much!! i have been looking for a little gift for a friend for next week… i guess an infinity scarf would be perfect!
btw… i looooovvvveeee your blog!!!
hello says katrin from me-dlux.blogspot.de