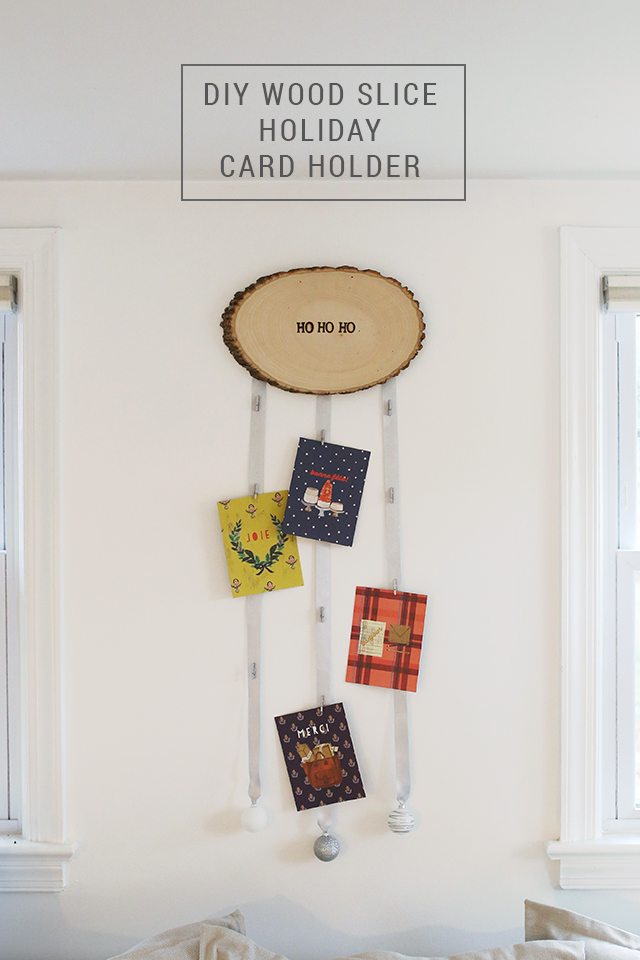
I can’t believe I’m already saying this, but the holiday season is upon us, you guys! Thanksgiving is just a couple short weeks away, and the holiday cards are about to start pouring in.
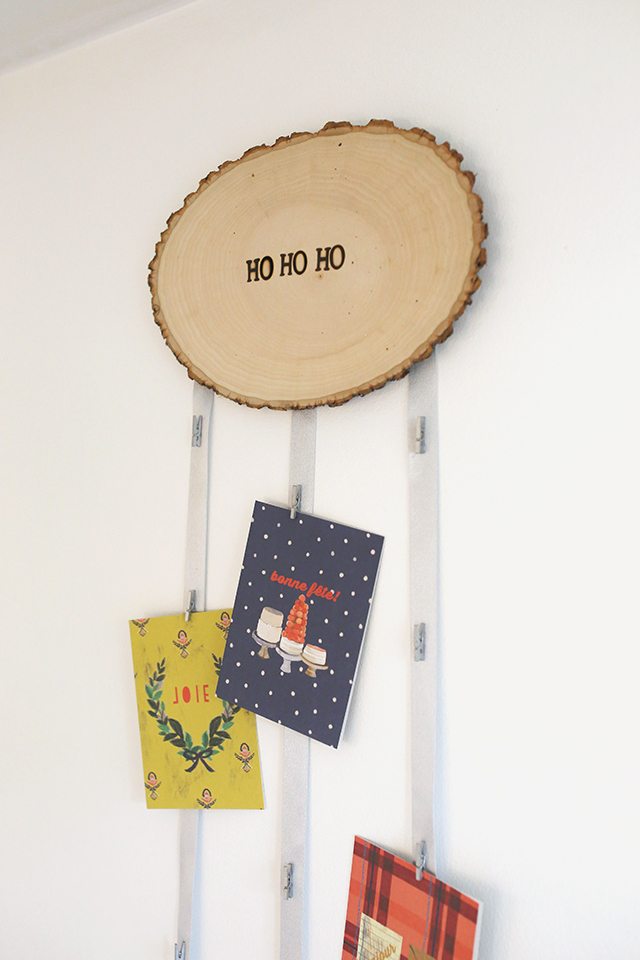
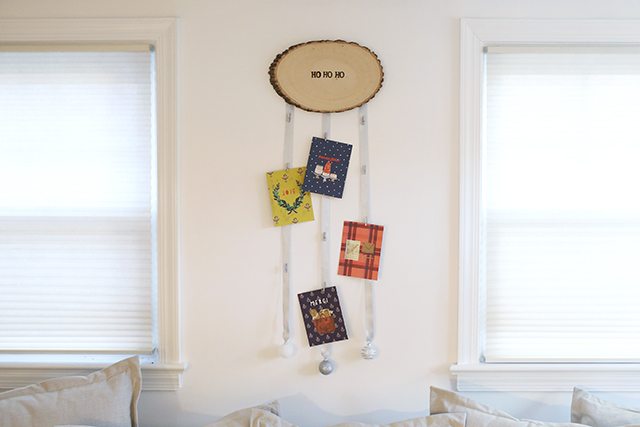
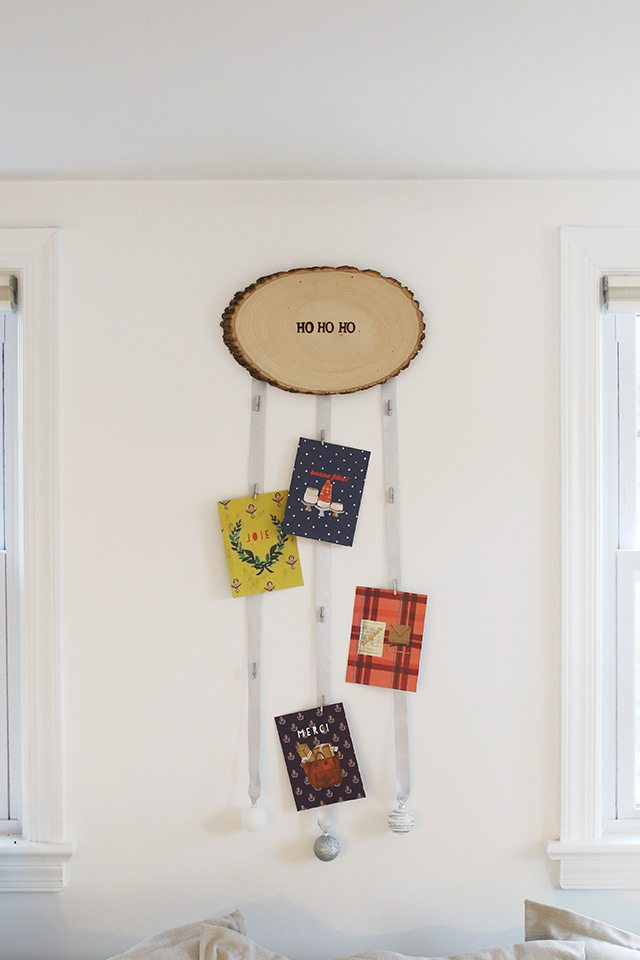
To help you get prepared for all those sweet sentiments, I’ve created a DIY Christmas card holder. Read on to find out how to make this sweet little Ho Ho Holder (I couldn’t resist) for your own home!
P.S. Scroll all the way to the end of the post to enter the Handmade Holidays Blog Hop giveaway!
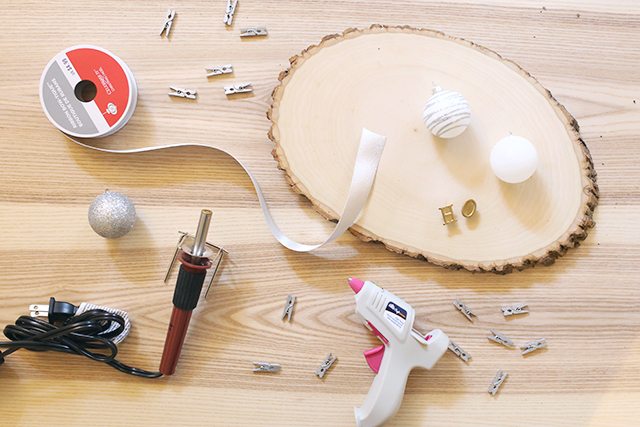
Supplies
- Log slice
- Wood burning tool
- Metal wood burning letter stamps
- Hot glue gun & glue sticks
- Pencil
- Scissors
- Ribbon – I used 7/8″ wide
- Mini clothespins
- Ball ornaments – I used 1.5″
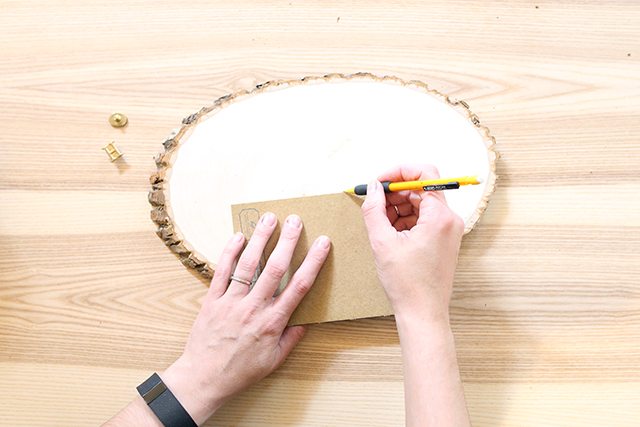
1. Mark a straight line across the middle of your log slice. This’ll be the baseline for the letters.
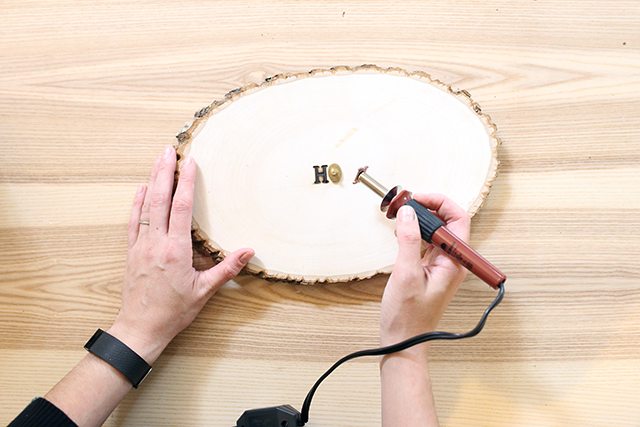
2. Position the two metal letters in the center of the wood, lined up on the pencil mark. This’ll show you where to start.
Leave the O where it is, and screw the H into the heat tool. Once the H has gotten really nice and hot, carefully use it to stamp next to where the O is still sitting, using the O as a guide.
Stamp the H again on the two outside spots. The letter is really, really hot, and if you do it all at once, you won’t have to keep handling it.
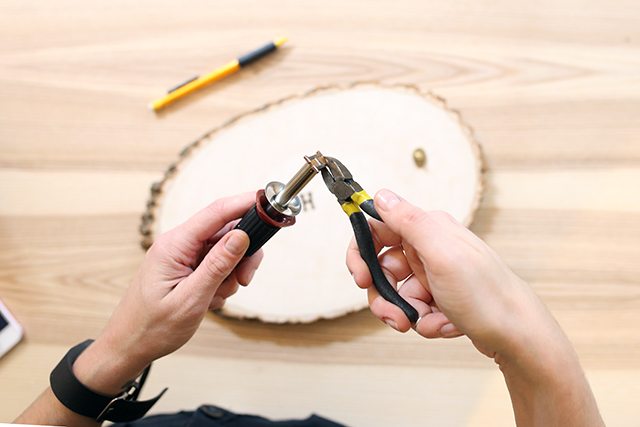
3. Use pliers to unscrew the H. It’s really, really hot, so please please please use pliers.
Drop the hot letter into a cup of cold water to cool it immediately.
Screw the O into the tool, and let it heat up.
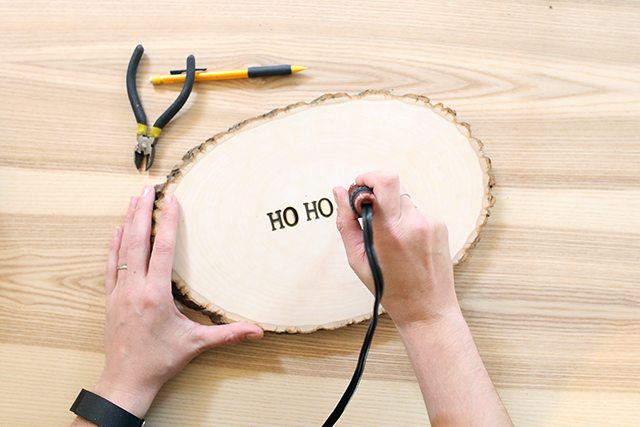
4. Stamp an O next to each H, and remove the metal letter with the pliers at the end when you’re done. Unplug the tool to cool it off.
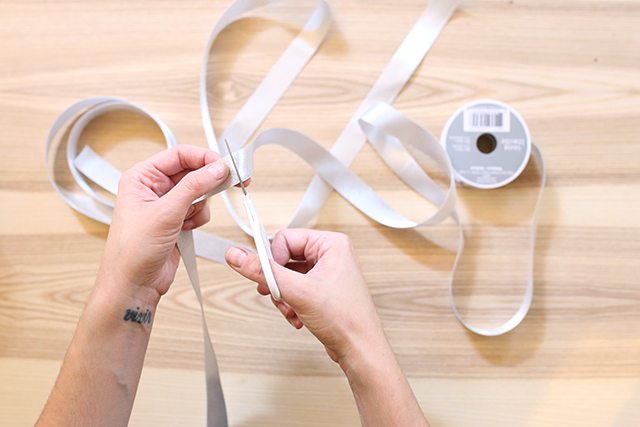
5. Cut three pieces of ribbon about 30 inches long.
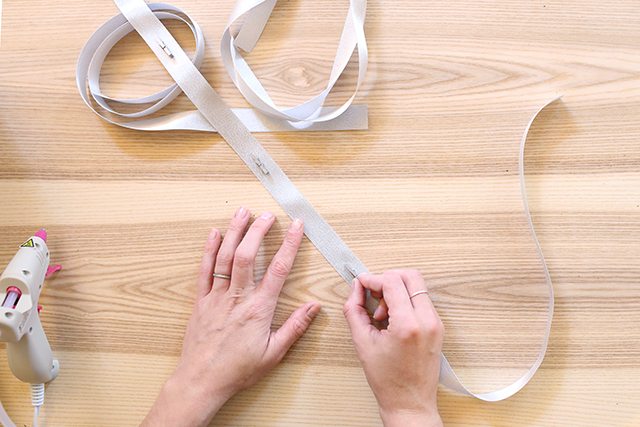
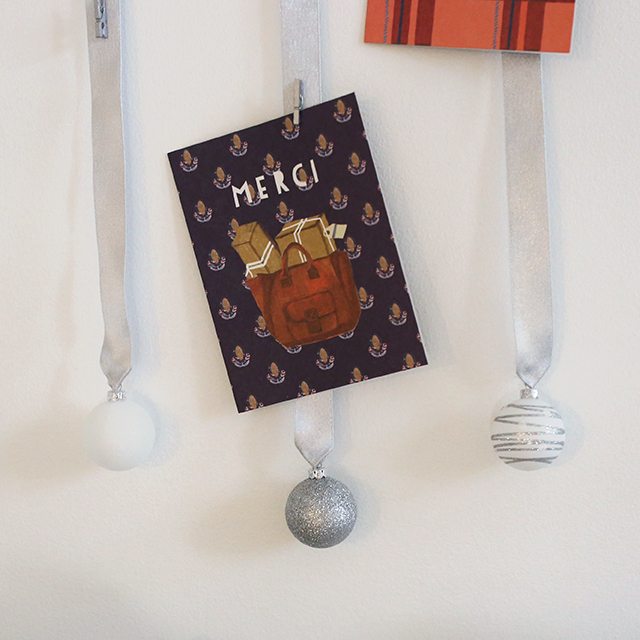
6. Hot glue clothespins four inches apart all the way down each ribbon.
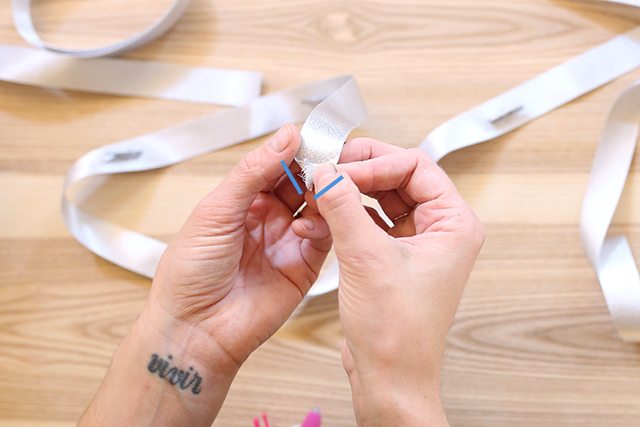
7. Dab some hot glue onto the end of each ribbon, and fold the corners in to for a triangle.
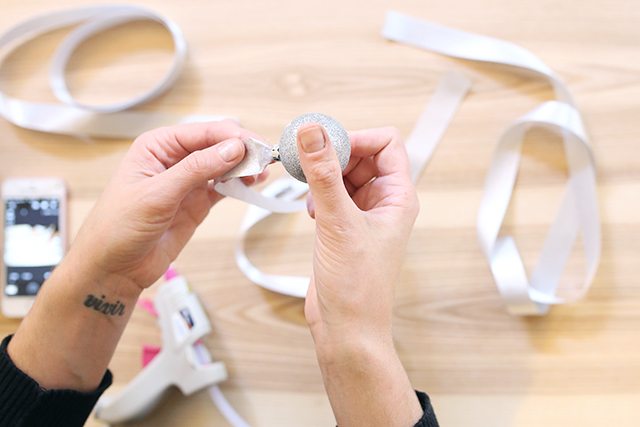
8. Squeeze a big blob of hot glue onto the back of the triangle part, and hold the hook of an ornament in the hot glue until it firms up.
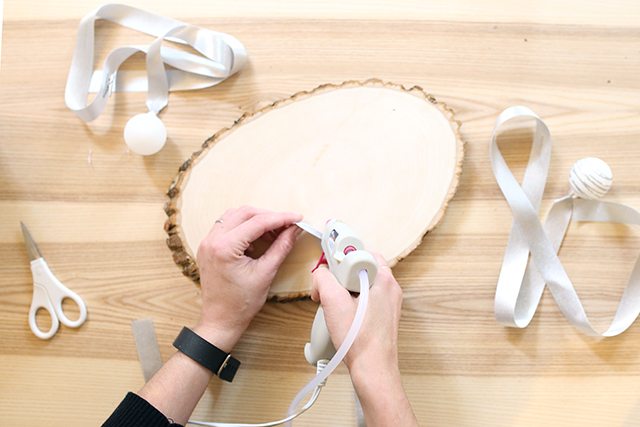
9. Hot glue the ribbons to the back of the log slice.
The Handmade Holidays Blog Hop
Check out my fellow blog hop participants to get all your holiday decor inspiration!
The Big Giveaway

Thanks to our wonderful blog hop sponsors, we have a whole slew of goodies to give away. Enter below!








This is a great DIY that is so easy to customize. Love it!
Love this idea!
I love, love, love, this!! What a great DIY and so festive 🙂 I may make mine with some plaid red ribbon for the holders 😀
-Clarissa @ The View From Here
Thanks so much, Clarissa! Share pictures if you make it! #shrimpsaladcircus